Are you selling physical products in your WooCommerce store and want to promote them with free product listings or shopping ads on Google? Then you first need to create and upload product feed to Google Merchant Center.
In this article, we’ll show you how to create such a feed using the Export Wizard with Store Manager for WooCommerce.
The Export Wizard with Store Manager for WooCommerce gives you the following possibilities:
To ensure that our file fits Google requirements, we’ll rely on Google’s product data specification. Let’s go through the procedure step by step.
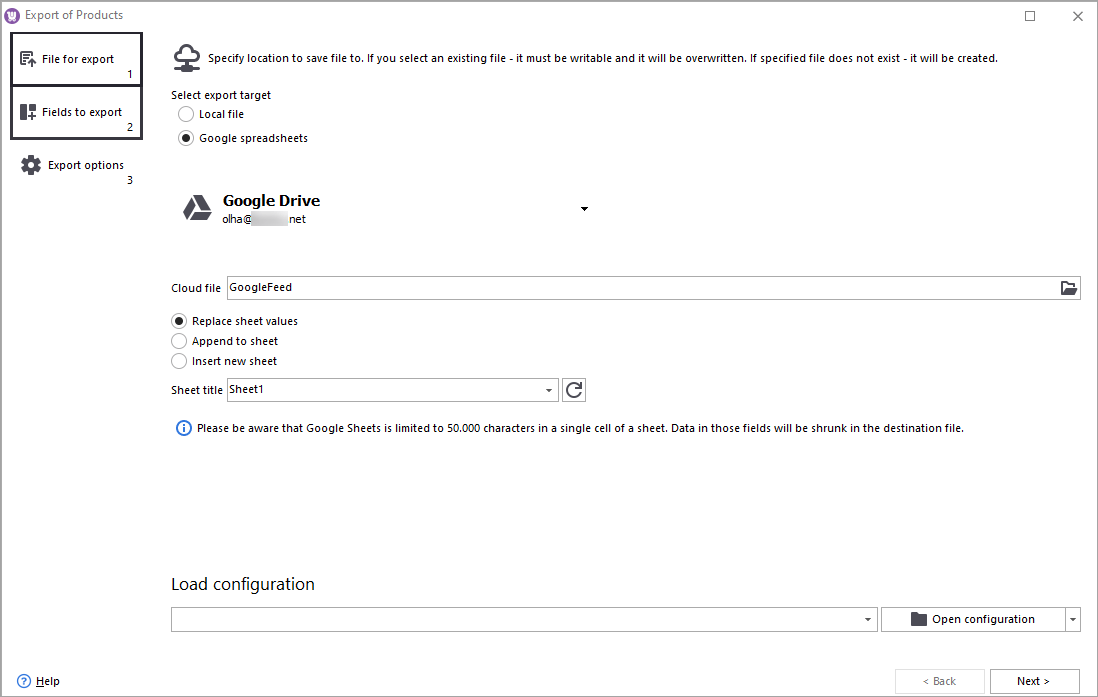
In step 1, you can specify whether to save the export file locally or as a Google Sheet. We’ll stick to Google Sheets export and create a new spreadsheet. Note: if you want to update a feed, you should select the existing sheet.
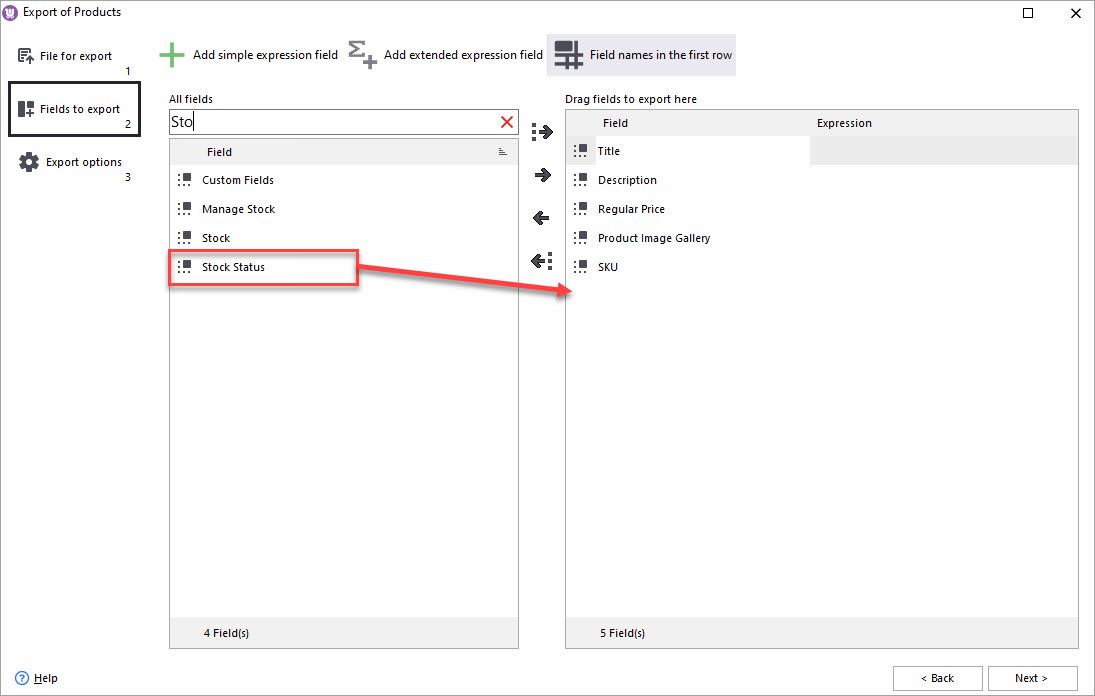
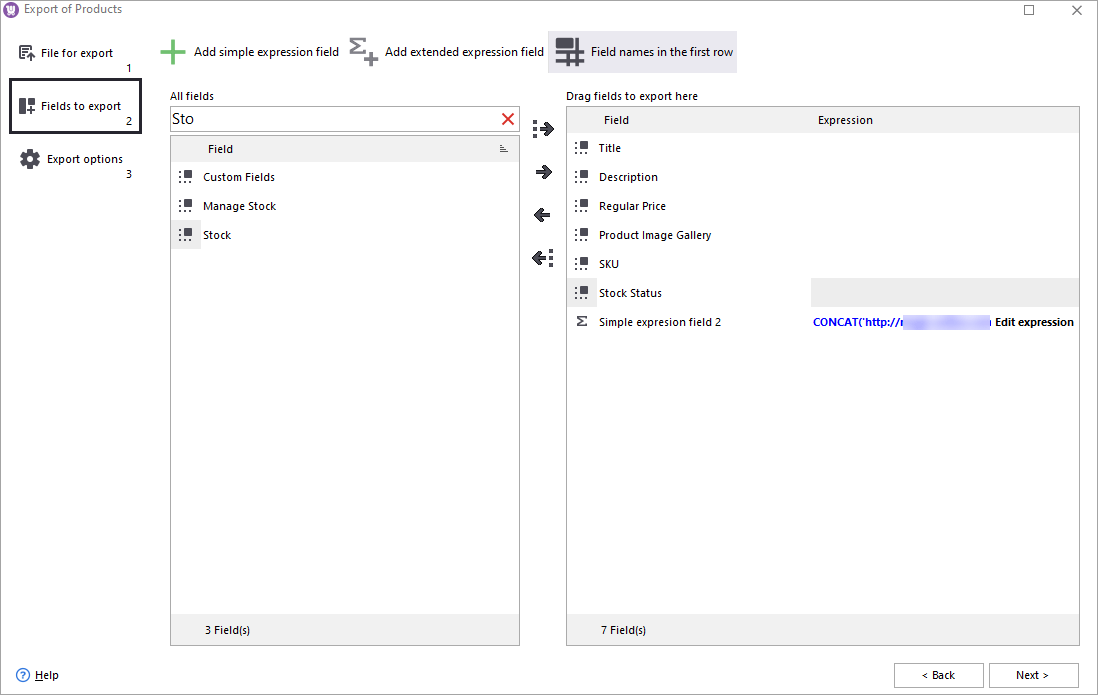
In step 2, we’ll select the fields to be added to the export file. For our example, we’ll add just basic required fields.
To add a field to the export file, find it in the left pane and double-click. Selected fields will be listed in the right pane:
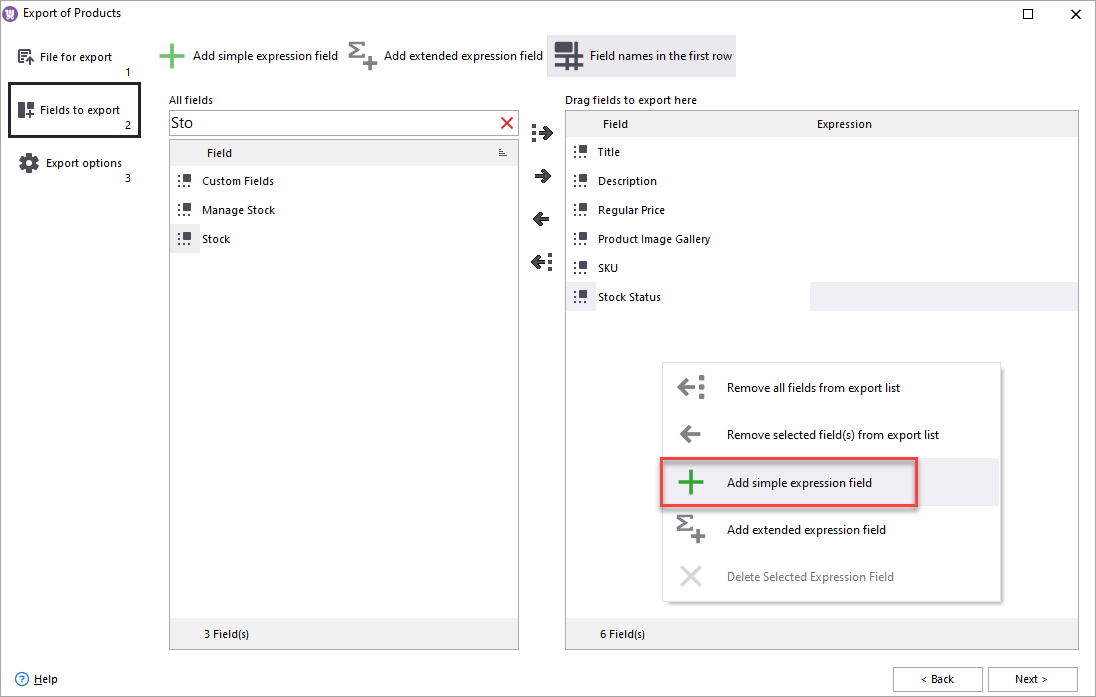
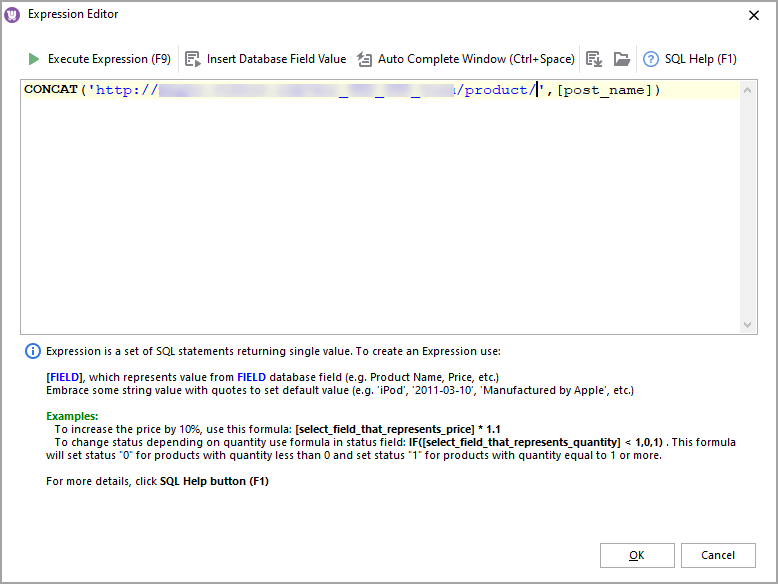
As WooCommerce doesn’t provide a product page URL, we’ll have to generate it ourselves. For this, we’ll be using the built-in SQL editor.
An URL can be generated by concatenating the domain/product URL and a post_name field. Click +Add simple expression field to open SQL Editor:
Enter the expression CONCAT('http://domain.com/product/',[post_name]) and press OK:
Now, when the expression is added, we can proceed with the next step:
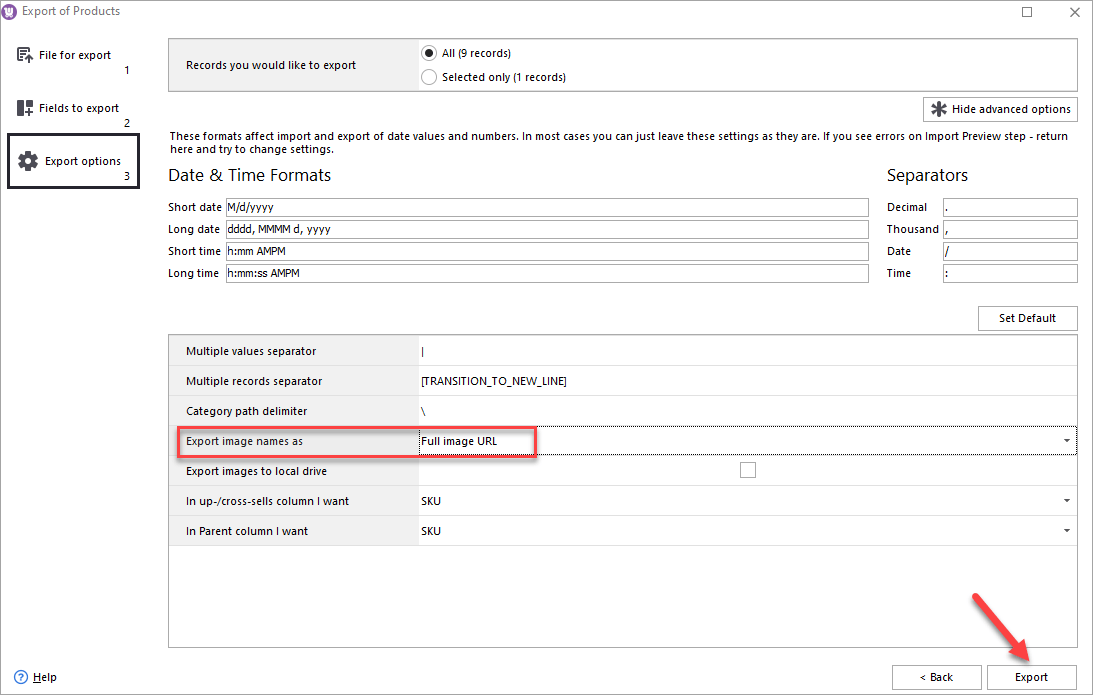
Specify what records you want to export. Expand the Advanced Options section to ensure that images will be exported as links. Once you are done, click Export:
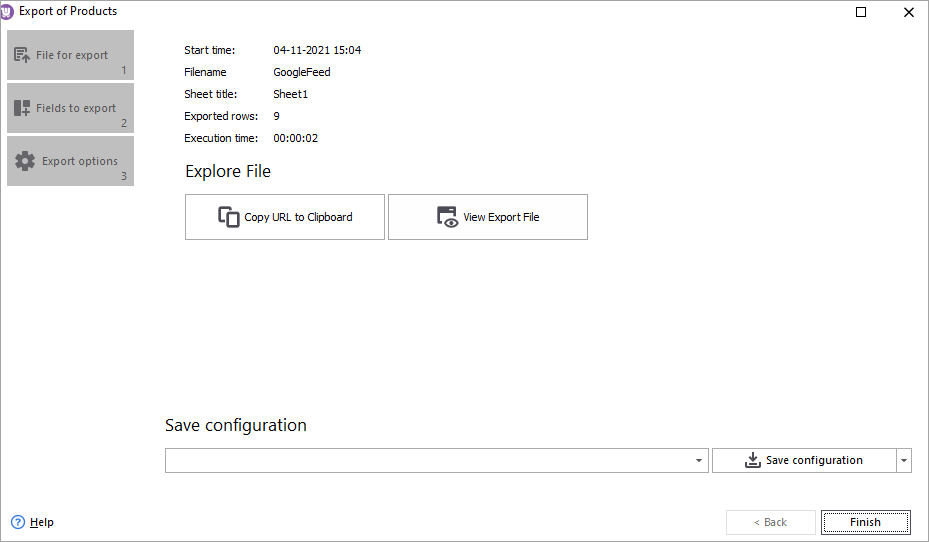
Click View Export File to open the spreadsheet. Before you close the Wizard, you can save configuration. Thus you’ll be able to apply the export setting automatically during future exports:
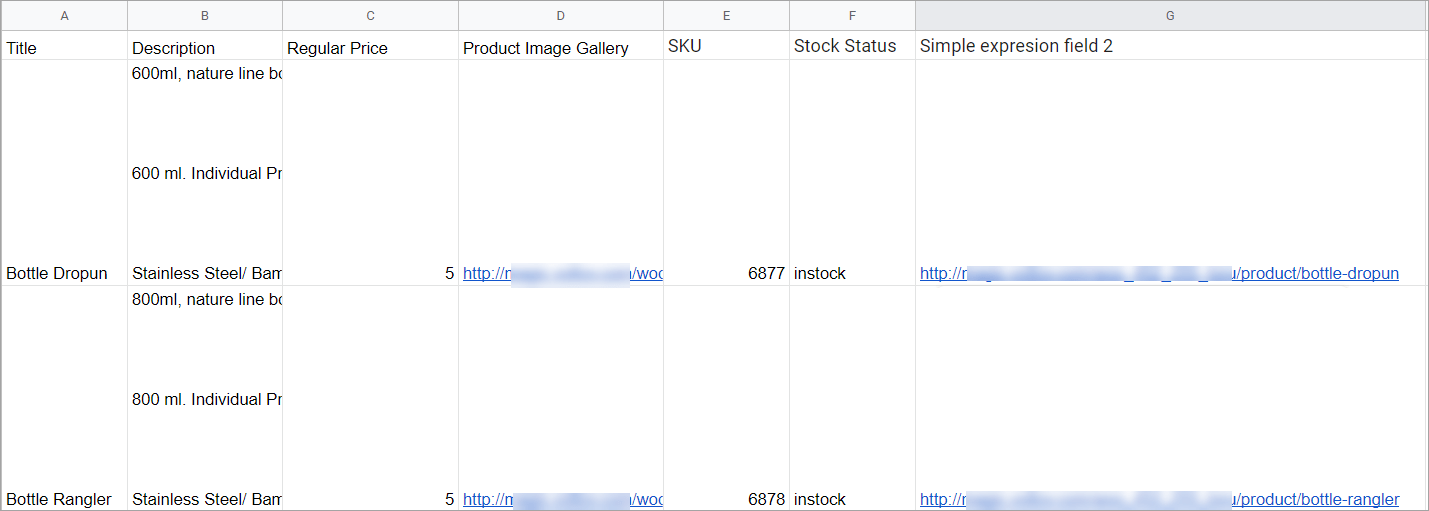
Let’s now check the exported product data. As you can see, the product link was generated. If you click the link, you will get to the product’s page.
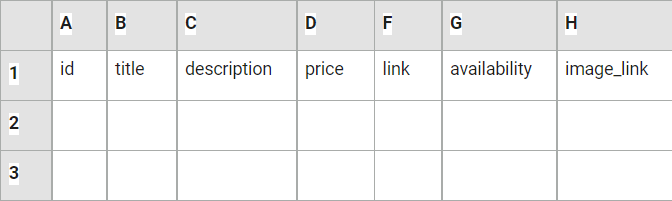
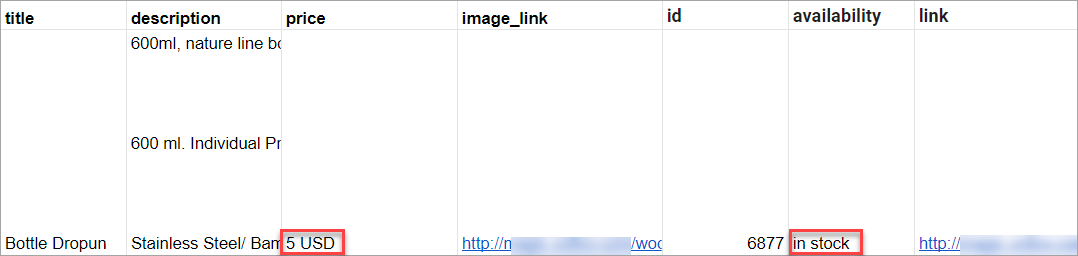
Now we have to format the spreadsheet according to Google requirements. First of all, it’s necessary to change column names:
Next, we should change value “instock” to “in stock” and add a currency sign to the price:
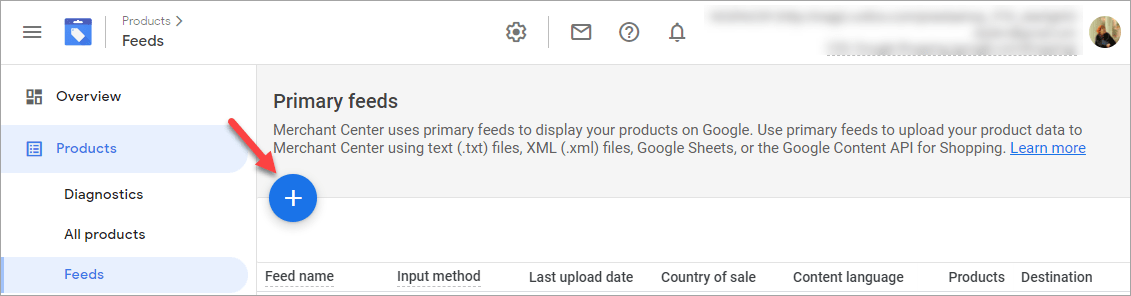
Once the spreadsheet is ready, you can submit it to the Merchant Center. Go to your Google Merchant Center account, click Products > Feeds, and then click the blue “+” icon.
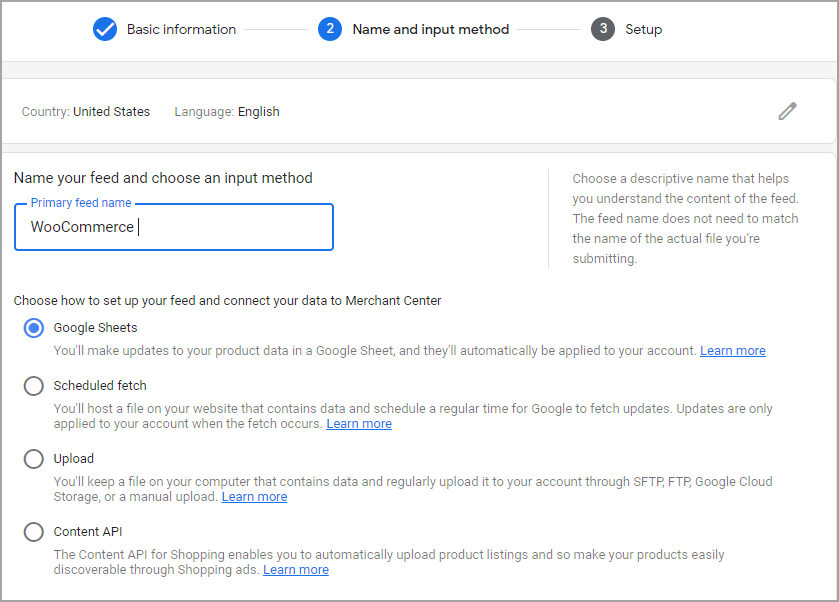
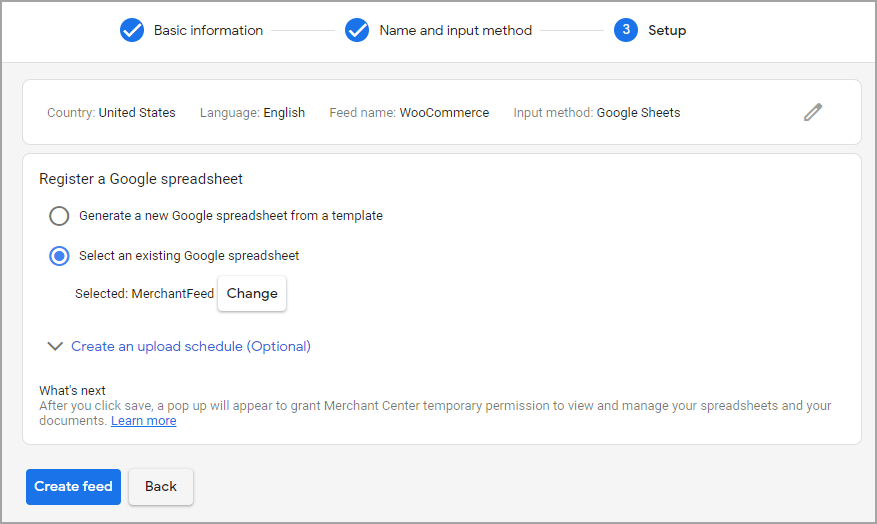
Follow the prompts to set up the feed. In step 3, name the feed and choose how you’ll input the product information (Google sheets in our case).
Now select the sheet with exported WooCommerce product data:
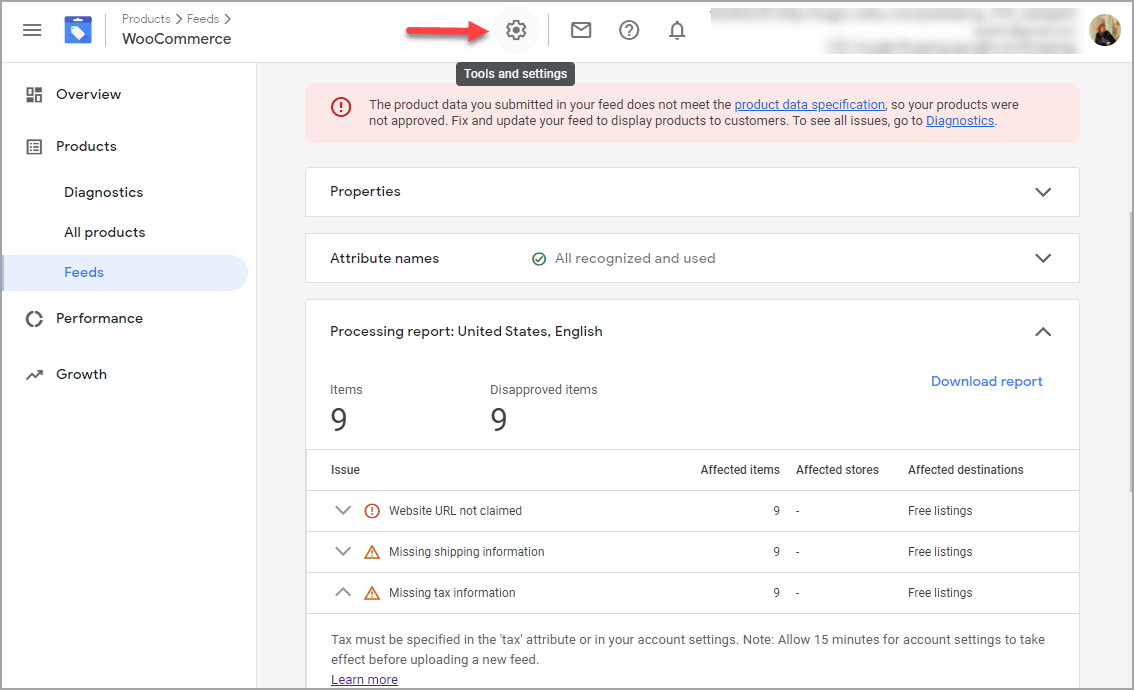
As you can see, attribute names were processed correctly. To eliminate issues, it’s necessary to verify website ownership and set up shipping and tax information in the Google Merchant account settings:
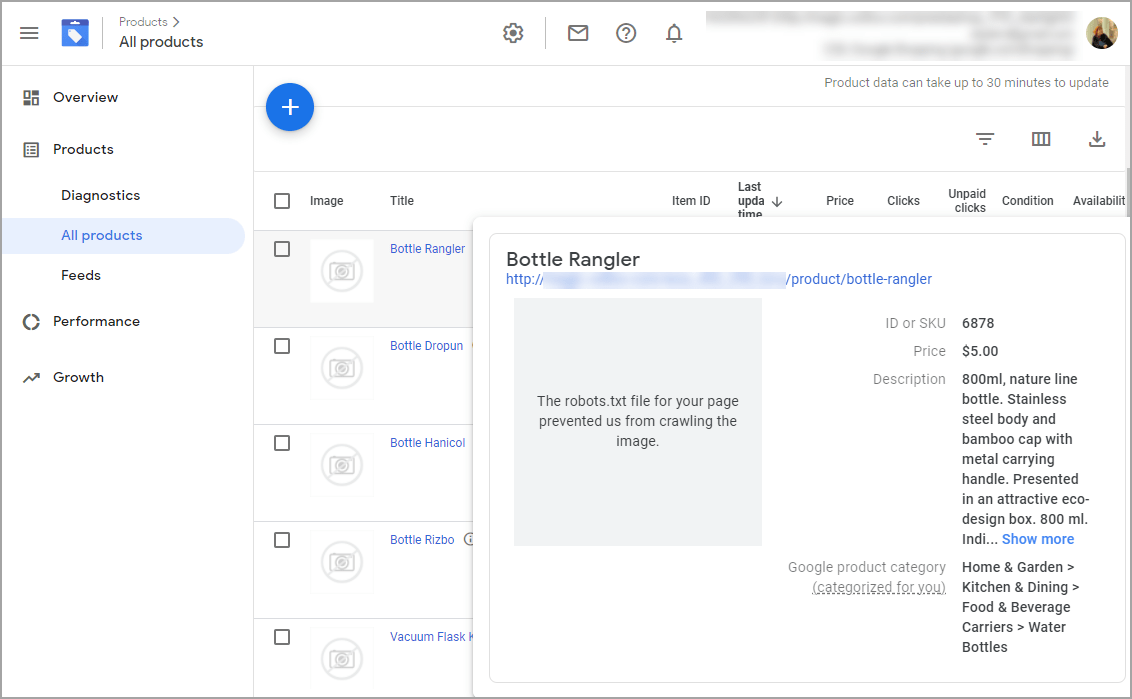
Once you’re done with the setup, you can switch to the All products page and check how products will be displayed on Google:
Featuring products from your WooCommerce store on Google can help you boost website traffic, bring you new more leads and increase sales. Use the Store Manager for WooCommerce export tool to generate product feed and get your Google Shopping campaign up and running!
Adding or updating order information manually may take too much time. Store Manager offers the possibility to swiftly import orders to WooCommerce as a CSV file. Read More...
When you export WooCommerce orders to Google Sheets you get more functionality to filter, sort and analyze data, get insights, create reports, send a link with info to your sipplier. Read More...
Use ChatGPT with the Store Manager for WooCommerce software for fluent automated translation with no recurring fees. Read More...
Generate product short descriptions based on product name, attributes, or any other field in bulk with ChatGPT for WooCommerce Store Manager. Read More...