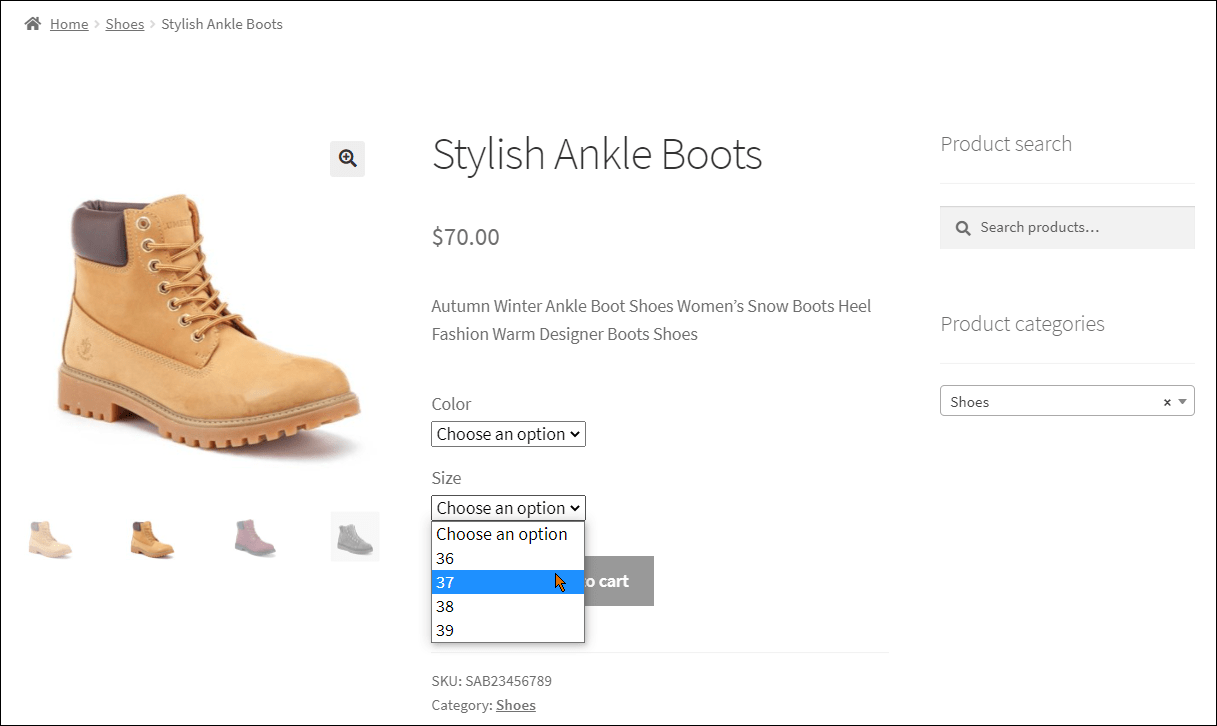
If your WooCommerce store sells variable products, you've come across the right post. Here you'll learn how to import WooCommerce variable products and bypass monotonous and time-consuming work of adding variations manually.
Store Manager for WooCommerce import tool allows creating and updating product variations in a quick way.
First and foremost, you should prepare an import file. Take a look at the fields that you need to include so that products with variations could be created correctly.
Important: Reading the File
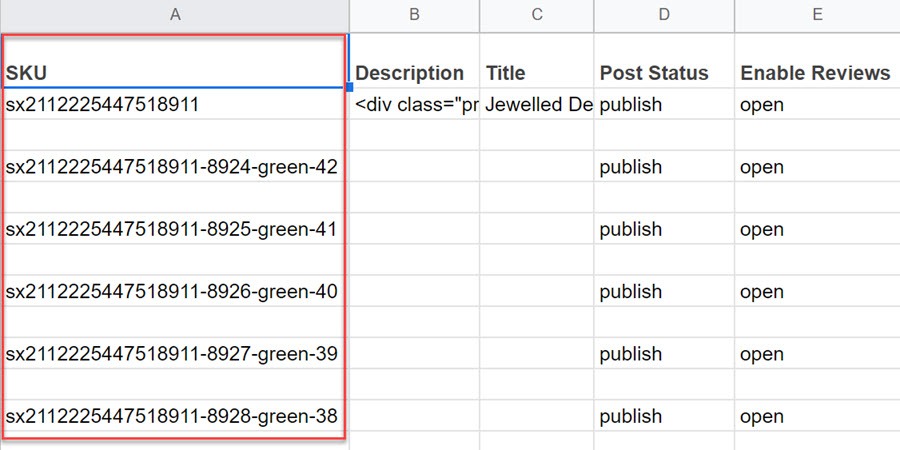
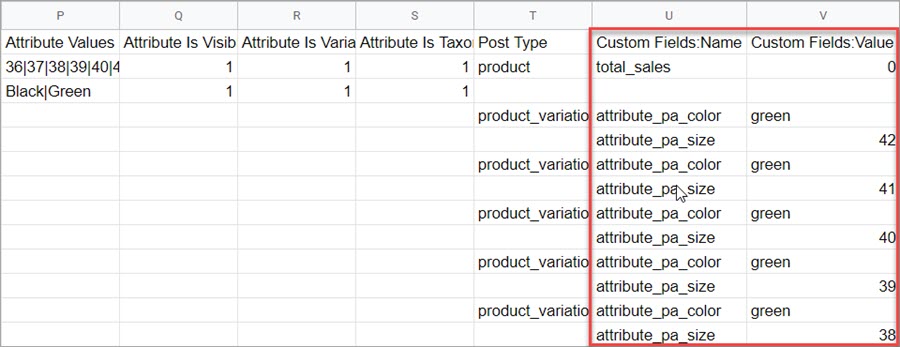
The first two rows in the file stand for a parent product. Each next line contains a product variation.
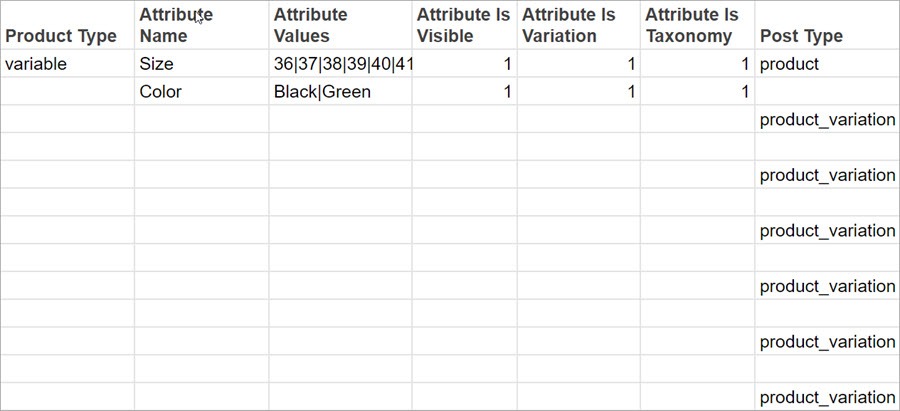
In our example, we're going to create associated items varying in color and size. These attributes are specified for the parent product within separate rows in 'Attribute name' column.
Read more about creating WooCommerce attributes with values via import.
Download a WooCommerce variations import sample file to see the structure and all required fields.
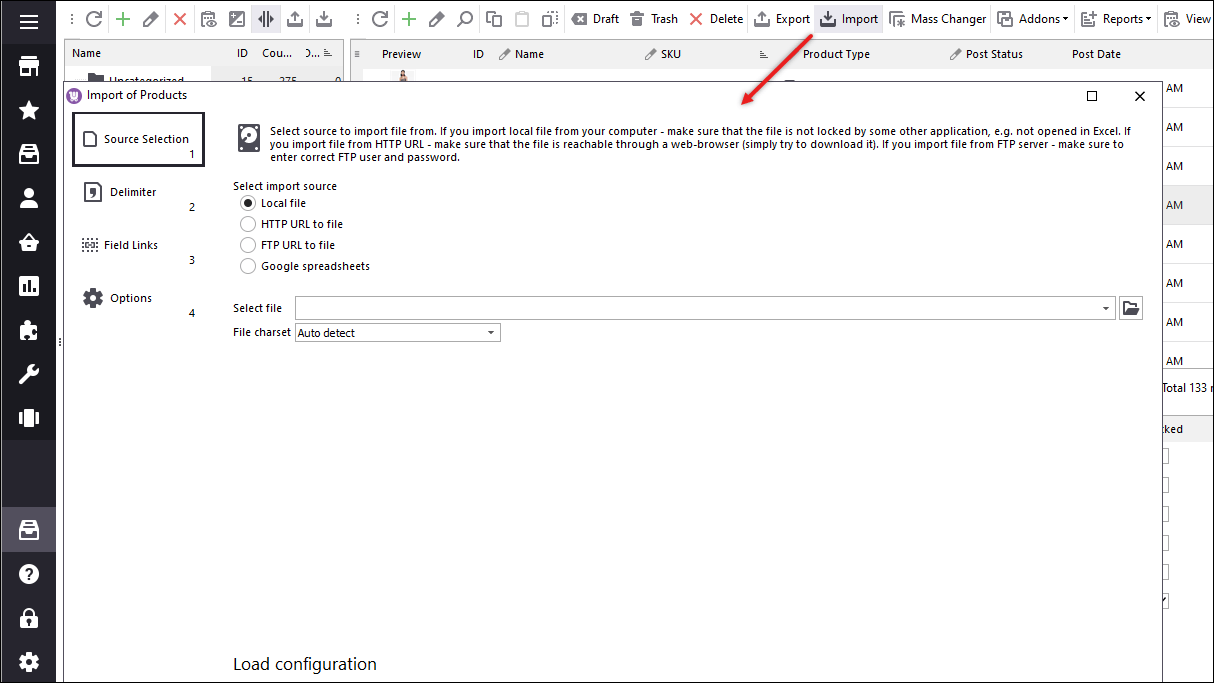
To import WooCommerce variations, use the advanced import tool with Store Manager for WooCommerce. Follow the steps in the Wizard to complete the upload successfully.
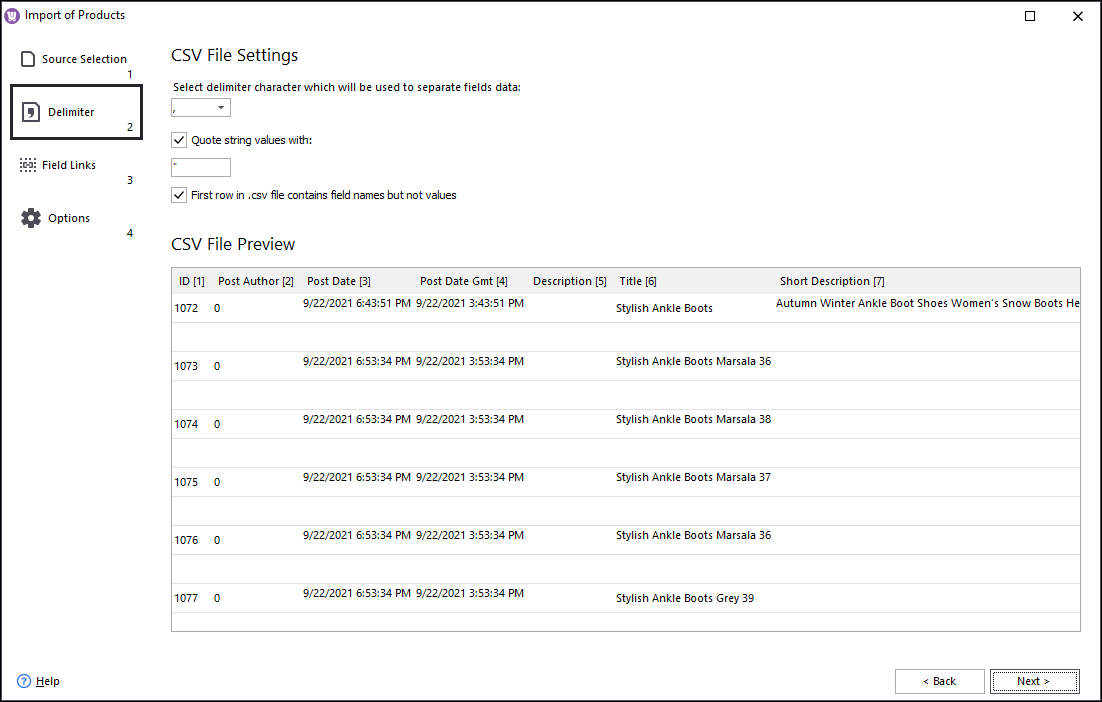
If the titles of your file columns coincide with the database fields, you can get them linked automatically.
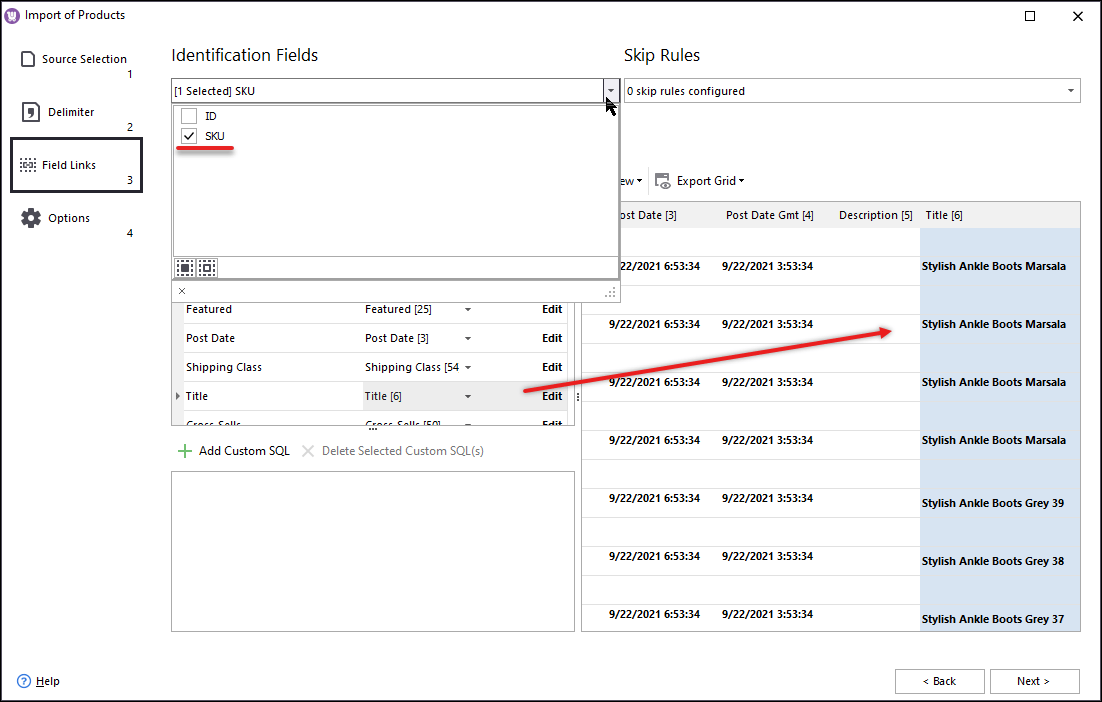
Another important thing is to set a product identifier used to recognize products in the process of data import. For the import of new products you should use SKU as identifiers. For the update of existing products, you can use just the Product ID field.
In our file, multiple attribute values are written within one cell and detached by a pipe line delimiter. So we set this character as a multiple value separator here.
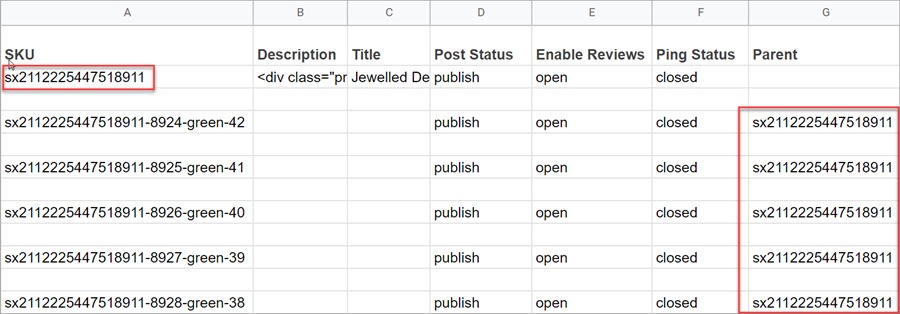
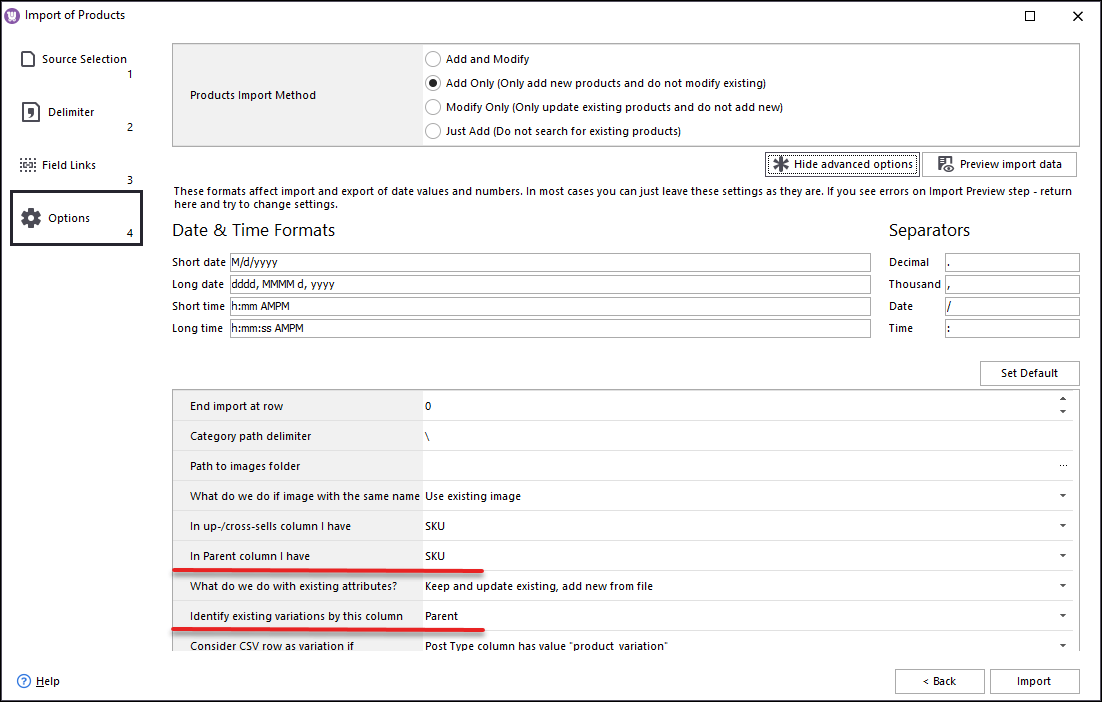
In order to create variations in the course of WooCommerce import, you have to identify them. Choose either ID (for existing combination update only), SKU or parent.
If you import products with variations that already exist at your store, you can either recreate variations for them or add new variations without removing current ones (select an appropriate option from the dropdown).
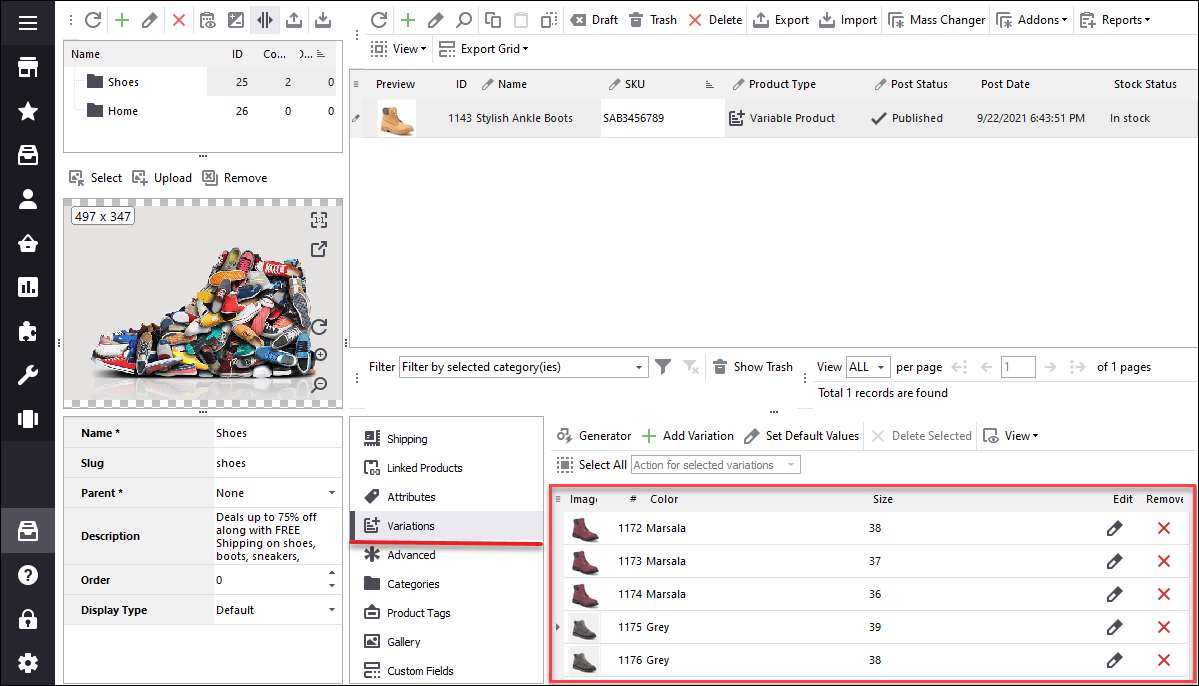
Once the settings are configured, click 'Import'. Check the import outcome on the last wizard page. Now let's check the variations in Store Manager.
WooCommerce variations have been created, they now display in the lower grid.
Add WooCommerce variations to products in bulk via Variation Generator tool in Store Manager desktop app. Read More...
Import WooCommerce images stored on your computer in local folder or from external links to variable products via different file formats. Read More...
Uploading local or remote images to your WooCommerce store to existing or along with new products via Store Manager. Read More...
Check the detailed video guide and see the required fields for performing WooCommerce product import. Read More...
When using your product to create "new" products with "variations" how does WooCommerce assign the Variation ID? I have existing products with assigned variation IDs by WooCommerce, so how does your import product know where to start picking up the variation ID number?
I see how you import to create the new product but I do not see how the variation IDs are assigned to the variable products. One of our products has in excess of 800 variations.
Please advise.
Hello, Deborah!
Thank you for your question.
The variations IDs are being generated same as in the Admin Panel, that is, variations and products share the same IDs pool. When variations are being created specifically during product import - then firstly, Store Manager creates main products (with corresponding incremented IDs), then it adds variations (with corresponding incremented IDs).