WooCommerce Product Variations. How to Bulk Add Variations
WooCommerce allows you to set versatile catalog falling back upon variable products. If one and the same product differs in some specifications, for example color and material, we speak about WooCommerce product variations that are created under variable type.
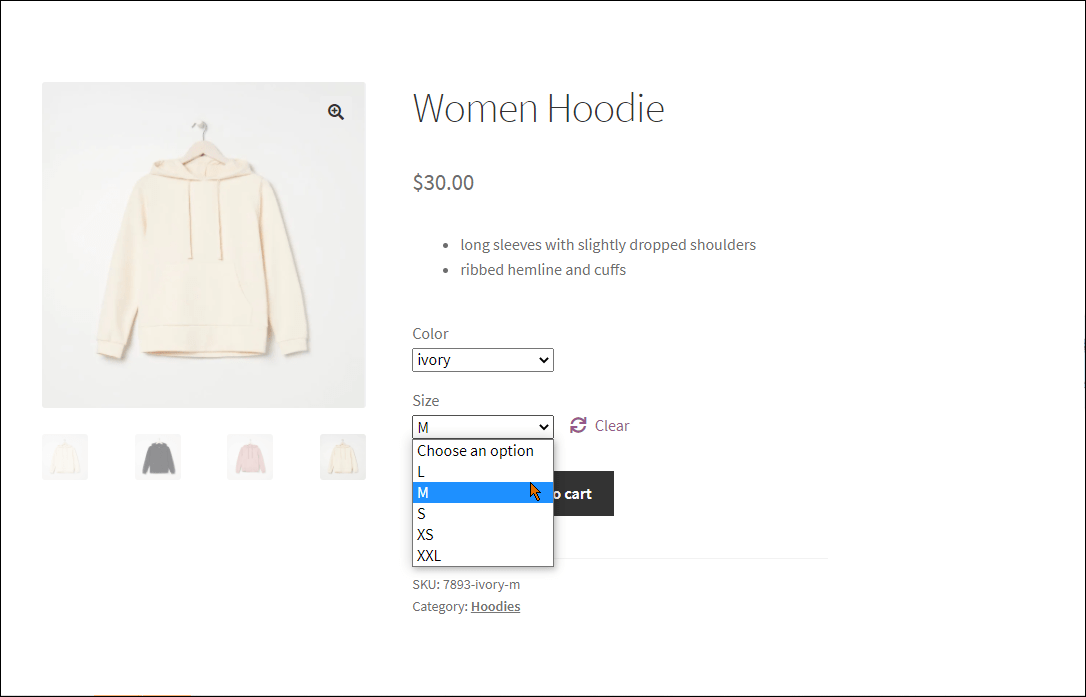
Store Manager for WooCommerce, starting from version 1.1.0.195, supports variable product type management and allows to bulk add WooCommerce product variations. Below in this post you will find extended instructions on how to configure variables with Store Manager application.
1. Add Attributes for WooCommerce Product Variations
In WooCommerce attributes are used to provide extra details about items. When selling variations, you should also add attributes on the basis of which product selections will be created. As for example, we have test product - evening dress - that will come in several sizes and color. Size and color will vary and respectively these are WooCommerce attributes.
Each of attributes possesses values respectively. For example, small, medium, large are values for size. These values are called 'terms' in WooCommerce. Now we are going to create 'size' and 'color' attributes and assign terms to them via Store Manager for WooCommerce in the following way
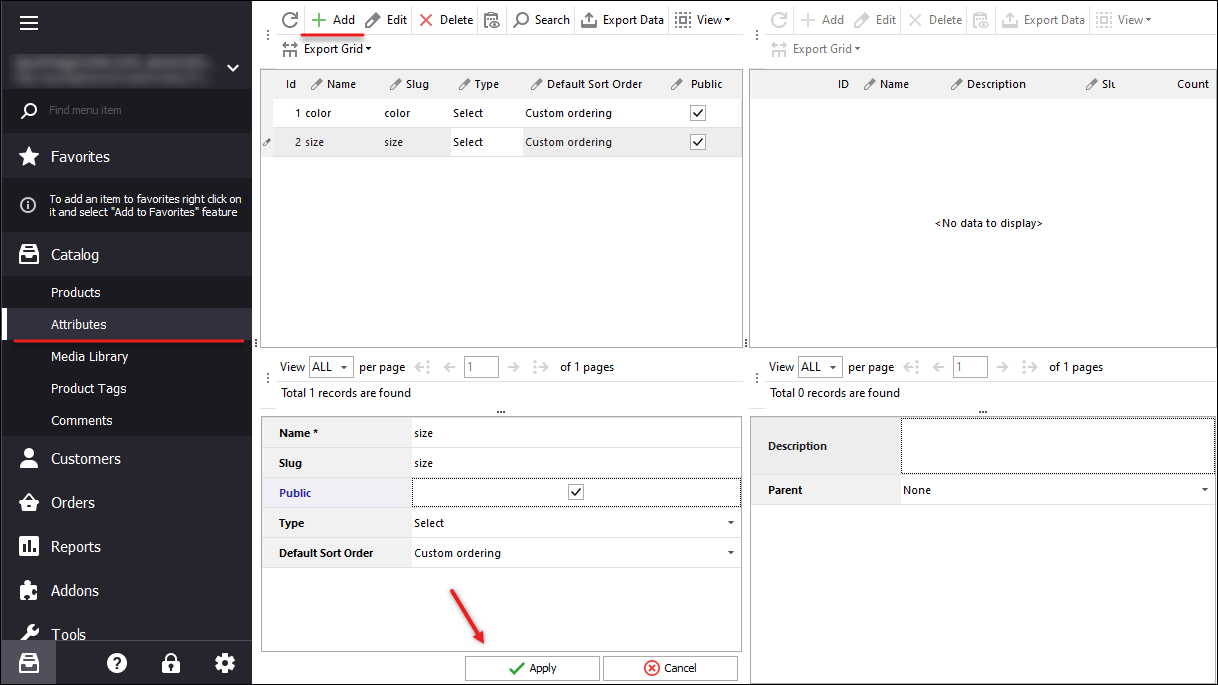
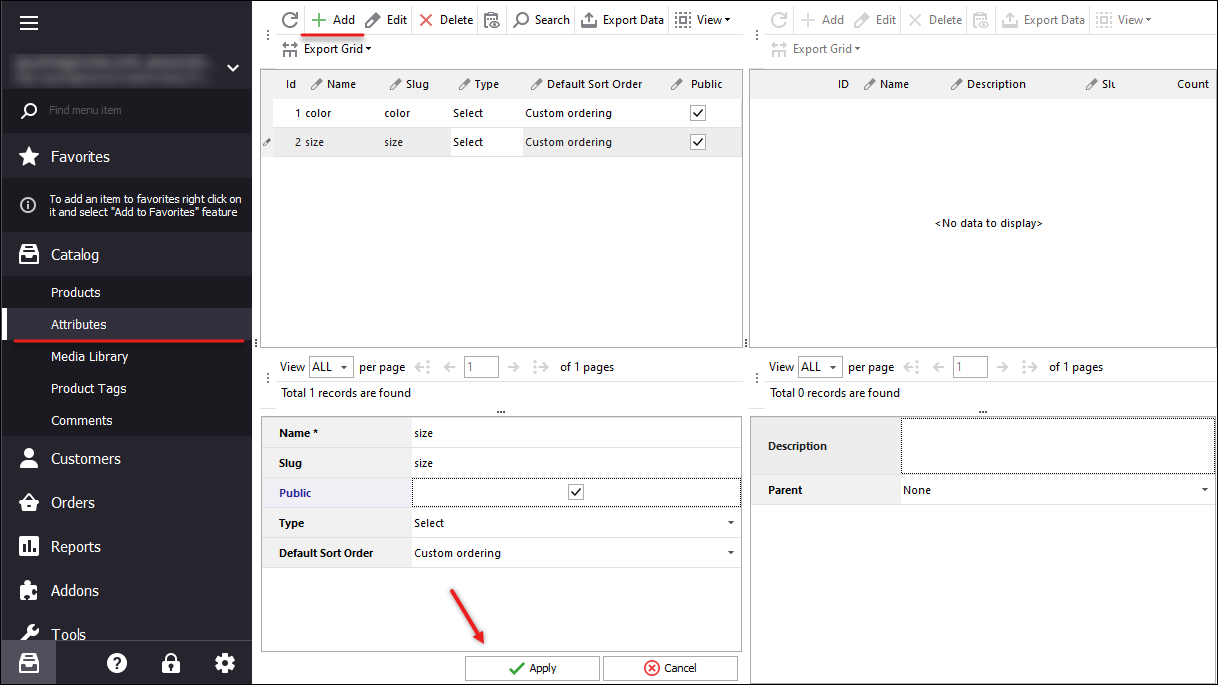
- Navigate to Attributes section of Store Manager disposed under the Catalog menu
- Hit Add button on attribute toolbar and provide attribute related details in the edit form, its name, slug, sort order.
- Save the attribute by pressing the Apply button below in the window.
- Highlight the attribute you have created and press Add button on Term toolbar.
- Input Term details in edit window and save modification done.
The form is divided into four sections by default. Upper sections list attributes and terms, lower ones stands for attribute and terms adding/editing. Although, Store Manager supports dockable window functionality what means, they can be moved within the application and you can customize the layout.
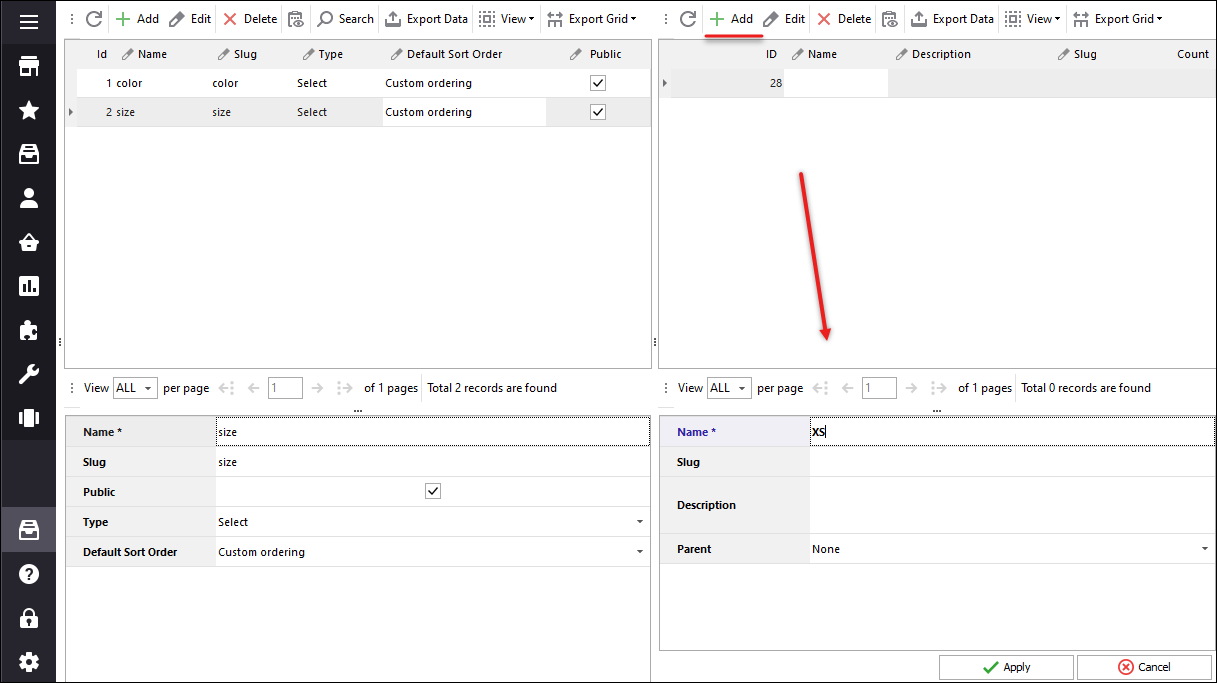
Add as many terms and attributes as you need for WooCommerce product variations generating in the way, we have just described.
2. Create Variable Product
Once you have configured attributes and terms, create main merchandise with variable type.
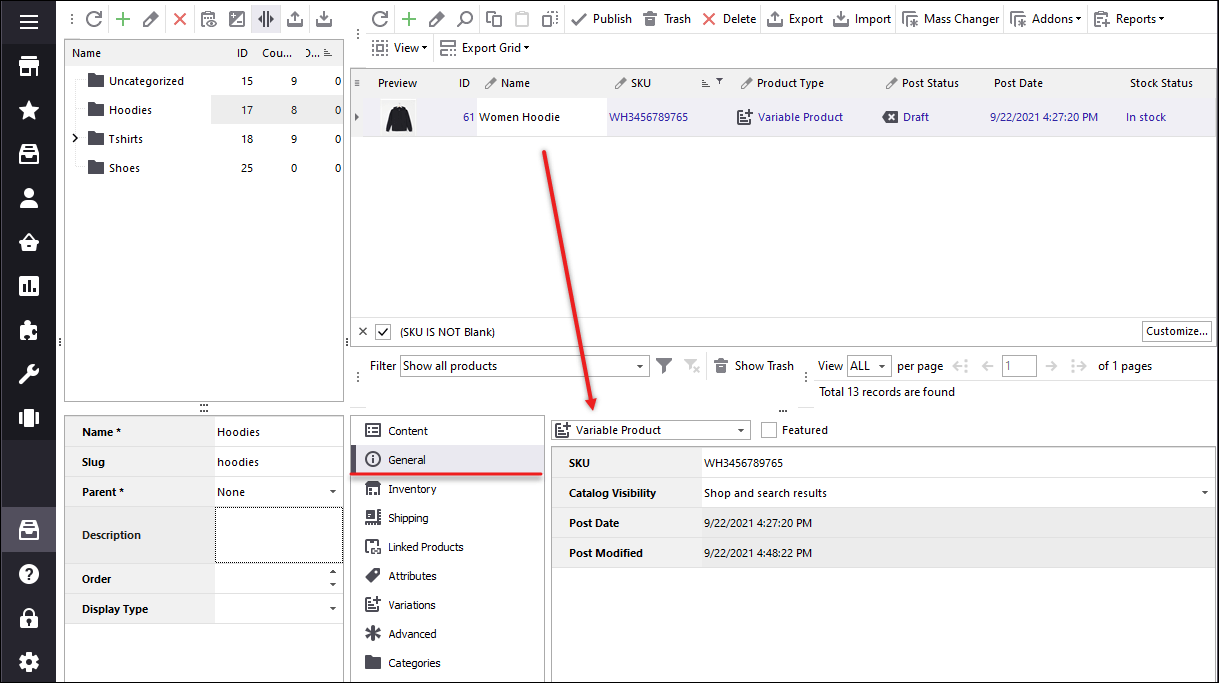
- Navigate to the category product with variations will be listed in and press Add icon either on the product toolbar or in the context menu.
- Input product name, description, short description in Content tab and move to Product Data tab. You see the dropdown with available product types on the top. Set this product as variable, selecting corresponding option.
Immediately new product record will be displayed in product grid. In the lower grid below you can see multiple tabs, each standing for some product details you have to configure, among which product name, inventory, price, category, tags and other details.
3. Bulk Add WooCommerce Product Variations
The main product having been created, you can assign variations to it. In other words, Store Manager gives you the possibility to generate variations in bulk. See how it is being done.
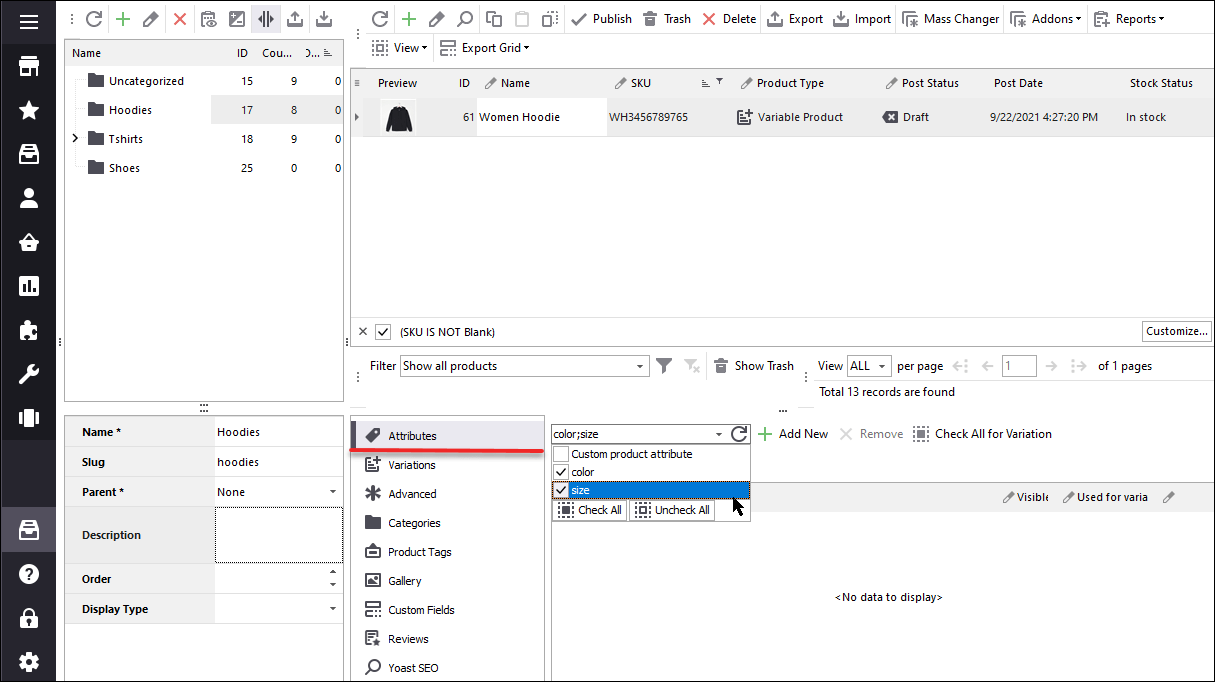
- Open Catalog -> Attributes in the lower grid of WooCommerce variable product you have created.
- You can see dropdown with all the attributes, you have created in Attribute section. Choose the one, variations will be based on and press Add New button
- Select attribute terms that will represent selections for customers at the frontend
- Now open Variations tab and hit Generator button on the toolbar to bulk add WooCommerce product variations.
- Choose attribute terms, participating in variable product generating - drag-and-drop them to adjacent pane. We have added all the terms, configured for 'Color' and 'Size' attributes.
- Generate Unique SKU - if checked, all the variations will acquire unique SKU
- Manage Stock - check the option if you want to track inventory for WooCommerce product variations
- Stock Status - set variation status, whether they are in stock/out of stock
Add other attributes and terms in the same way.
WooCommerce variations window has appeared as you can see. It includes available attributes and their terms, allows to select terms, on the basis of which WooCommerce product variations will be generated and variation settings (variation price, stock status, weight, tax class, description)
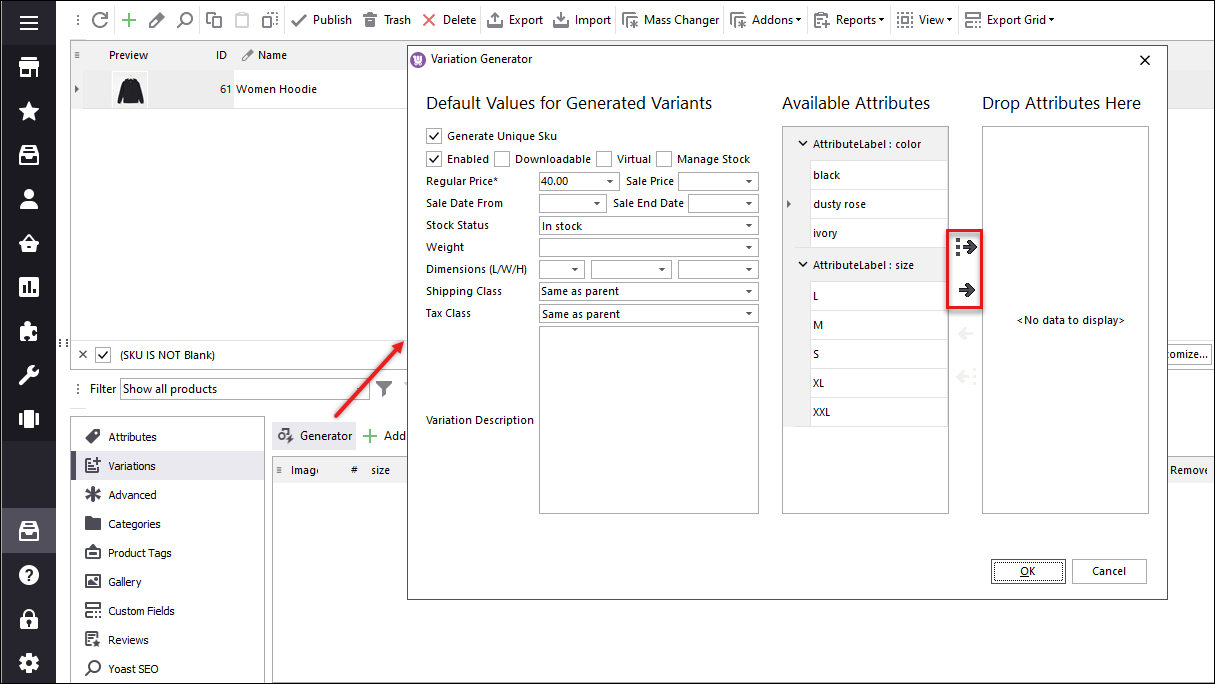
Pay attention to the settings available in the right pane.
If you enable stock management, there will appear extra field for quantity and backorders as it is displayed at the screenshot
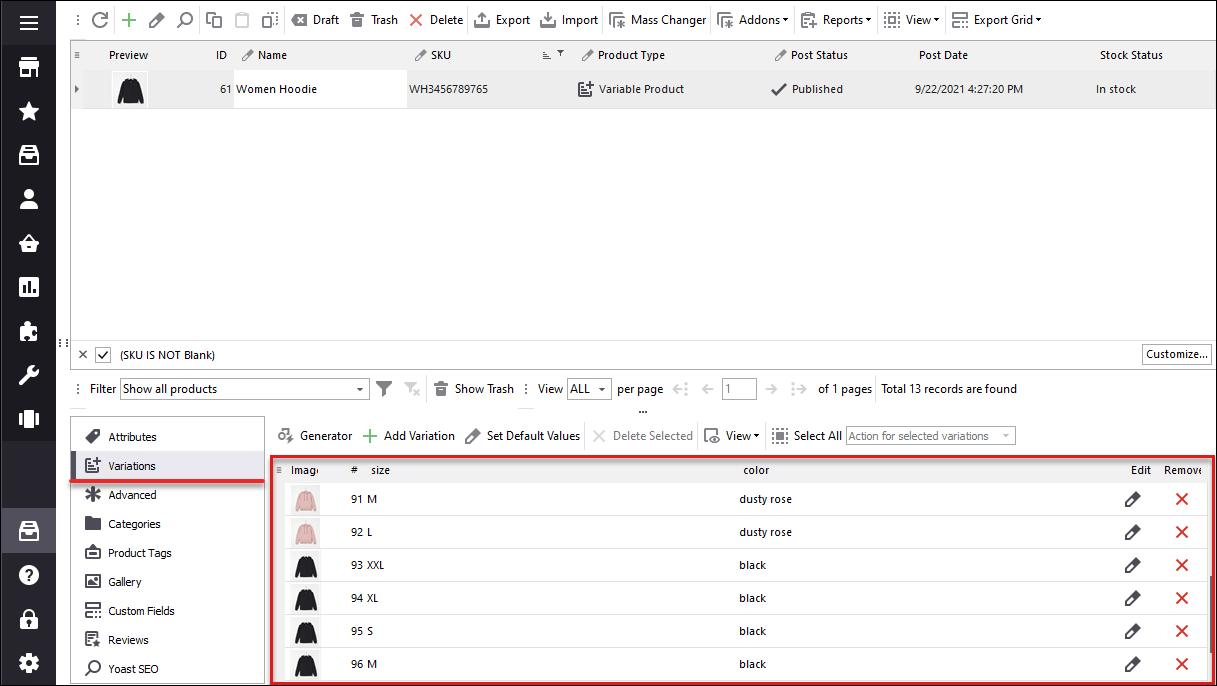
Confirm the generation and check results in Store Manager.
Generate WooCommerce Variations FREE
Get It NowRelated Articles:
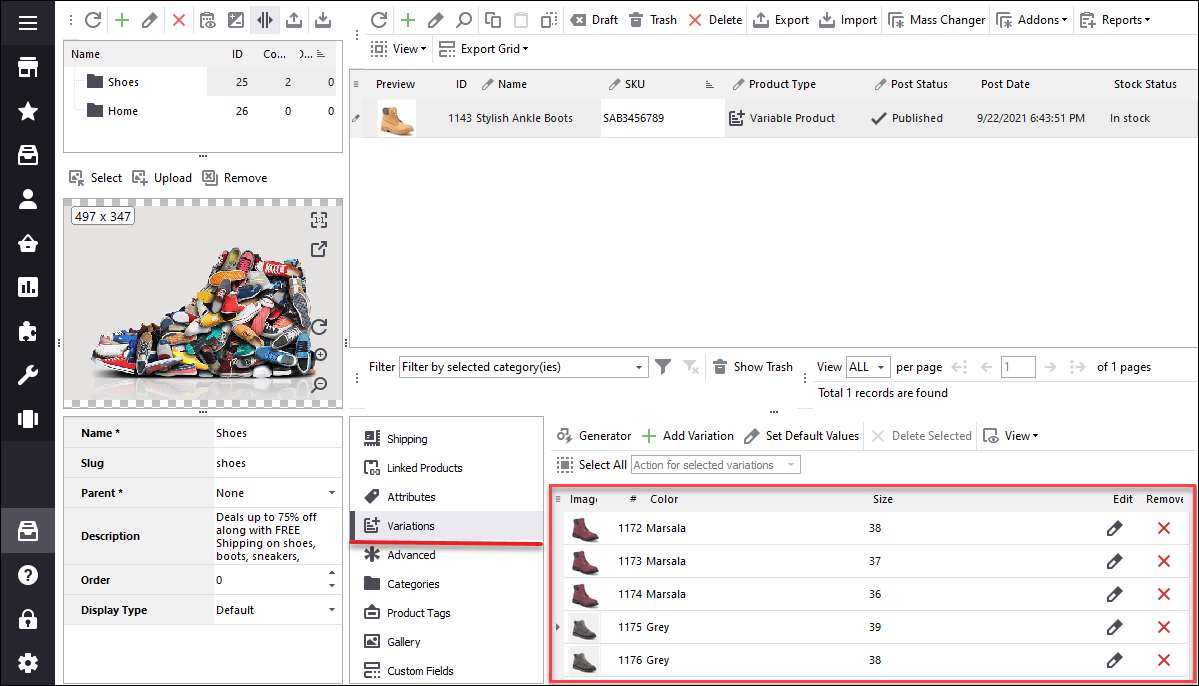
WooCommerce Import Variable Products Tutorial
Check the sample file and go through the steps of importing WooCommerce variable products via Store Manager tool. Read More...
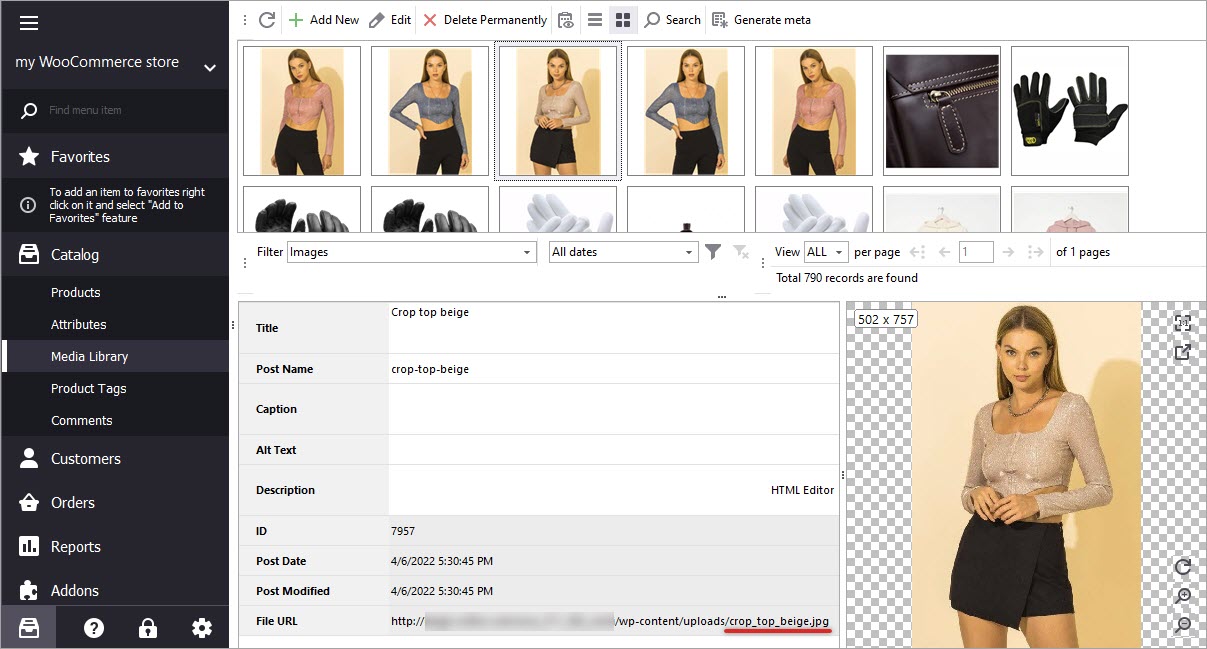
How to Import WooCommerce Variation Images
Import WooCommerce images stored in local folder or from external links having only the required fields in the .csv file. Read More...
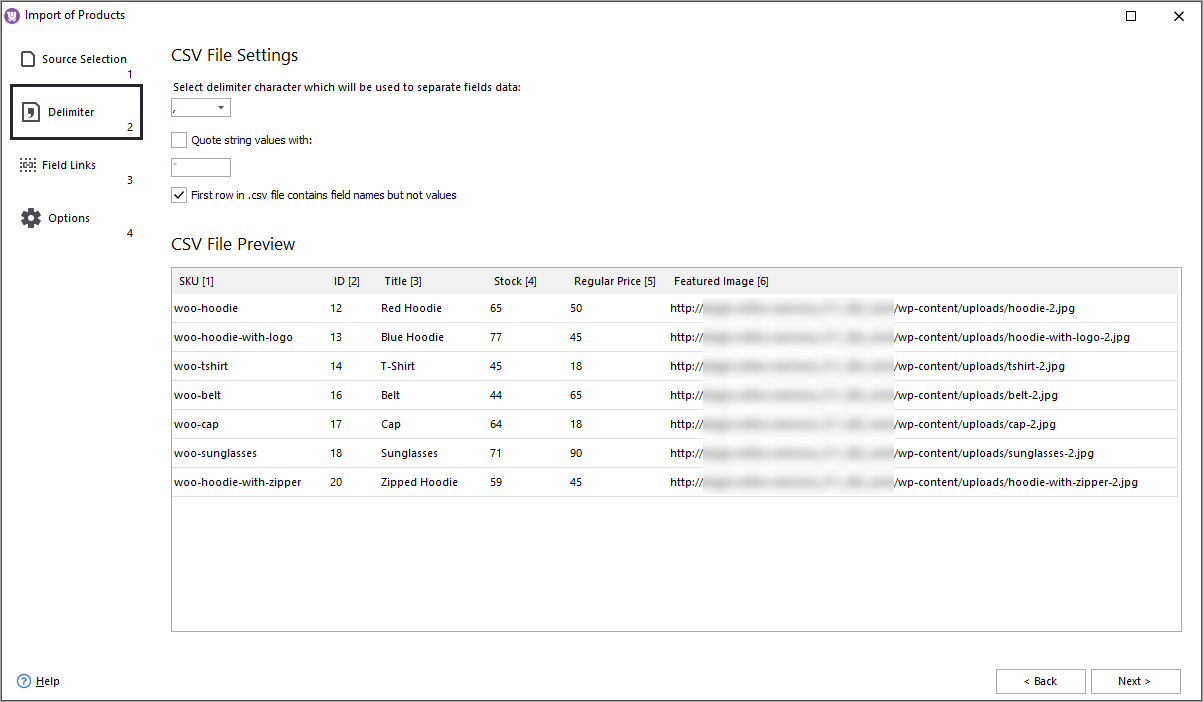
How to Perform WooCommerce Image Import
Check the import file and settings for uploading local or remote images to your WooCommerce goods with Store Manager. Read More...
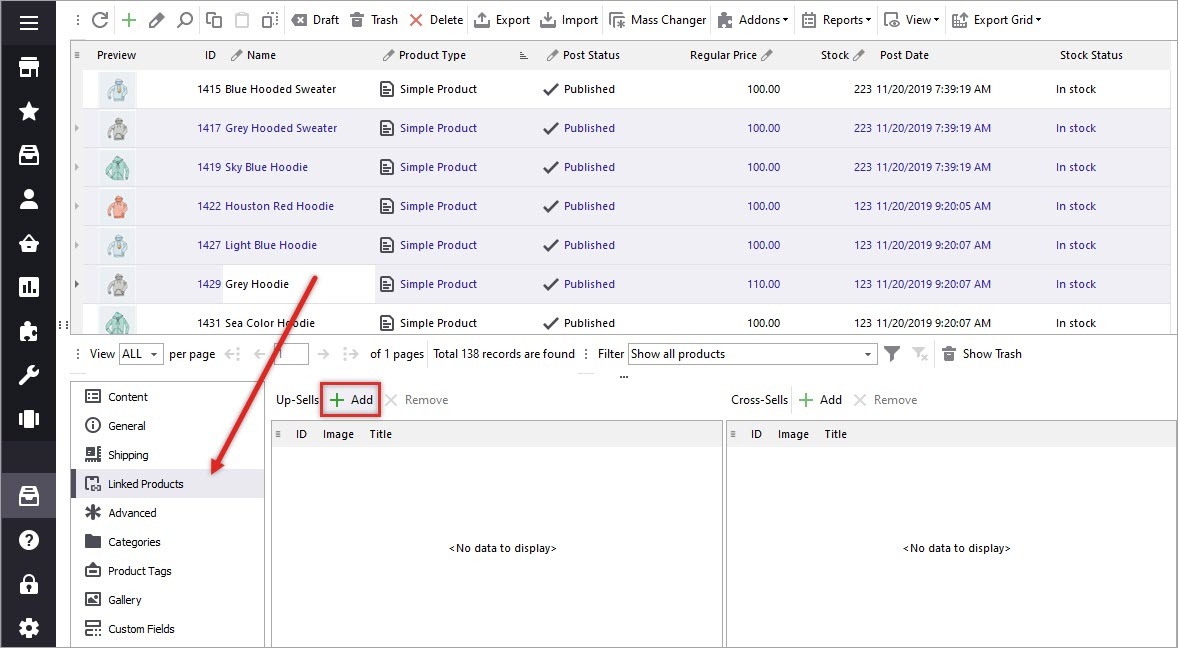
WooCommerce Linked Products: Cross and Up-selling
Select a few products to assign multiple cross or upsells products to them with a possibility of advanced filtering. Read More...
COMMENTS
Thank you for this in-depth tutorial. I am trying to work on product variations but not getting the actual results as I have already gone through several resources and following this resource to implement the product variation process. Can you please describe me further how to do this? This is the code that I think is somehow wrong. Is there any other way to set product variations?
$variation_id = woo_insert_post( $variation_post );

$variation = new WooCommerce_Product_Variation( $variation_id );

foreach ($variation_data['attributes'] as $attribute => $term_name )
Hello, James!
Thank you for your comment.
Our Store Manager software does not work with code, it connects to store database directly. So, you can work with WooCommerce product variations following the guide above.
How do you add the images to the variations?
Hello Jarrod,
Thank you for your comment.
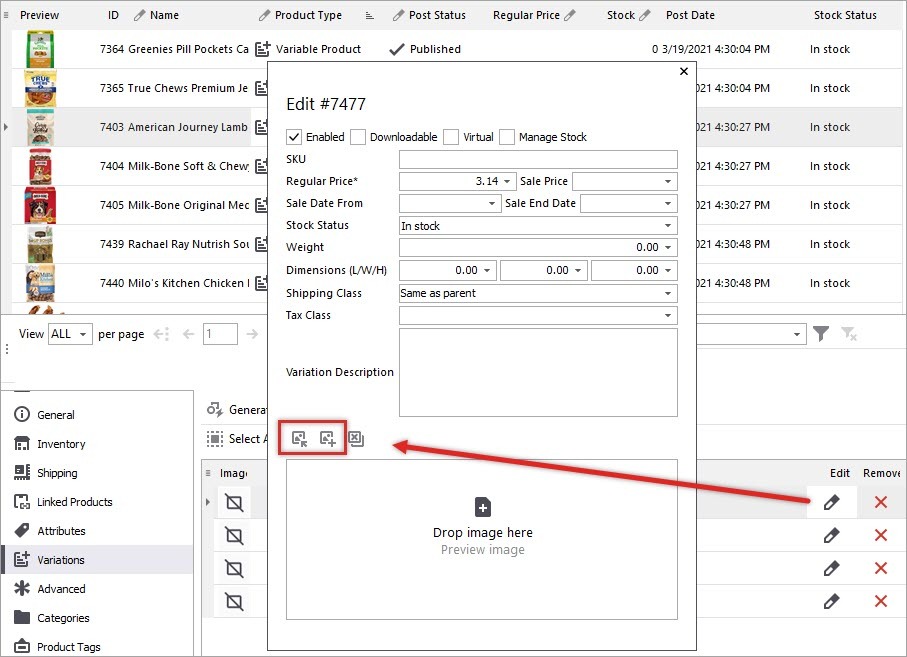
You can add images for variations either manually or via import. To add an image manually select the variation and click Edit. In the open window there will be a button to add the image.
How to import images for variations is described step by step in this article
Hope this helps)
