WooCommerce Product Import: Step by Step Tutorial
WooCommerce product import is indispensable for creating and updating store catalog. That's why it's so important to find a good import tool. The tool simple in daily usage and robust enough to solve your tasks. One of such tools is Store Manager for WooCommerce. Let's see how it works by performing a typical task - creating products via import.
Store Manager is a downloadable application that enhances the default WooCommerce functionality. It offers tools for bulk edits, advanced import/export, database backup, data generation, and others.
If you don’t have Store Manager yet, download a free trial and install it on your computer. Connect the application to your store database and enjoy the simplicity of your store administration.
Important
We recommend you to make a database backup before import so that you could restore it if needed.
How to Prepare a File for WooCommerce Product Import
The Store Manager Import Products tool is very flexible when it comes to the file structure and doesn't have strict requirements.
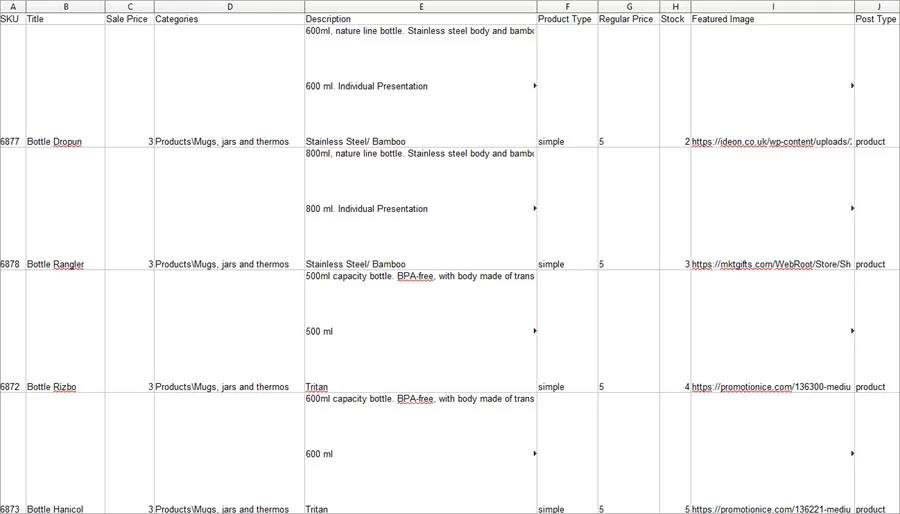
To create new products via import, you would want to include more fields to most fully present the products in the catalog. These are title, description, category, image, price, SKU, stock, product type, visibility, brand, etc. Though if needed, you can create products with minimum fields in the file and add more details later. Here is a file we're going to import. Store Manager allows importing external images, so we entered image URLs in the file. Also, pay attention that you should input the full category path:
For the update of existing products, your import file may contain just an identification field (SKU or ID) and the fields that have to be updated (for example, price or stock).
Steps of WooCommerce Product Import
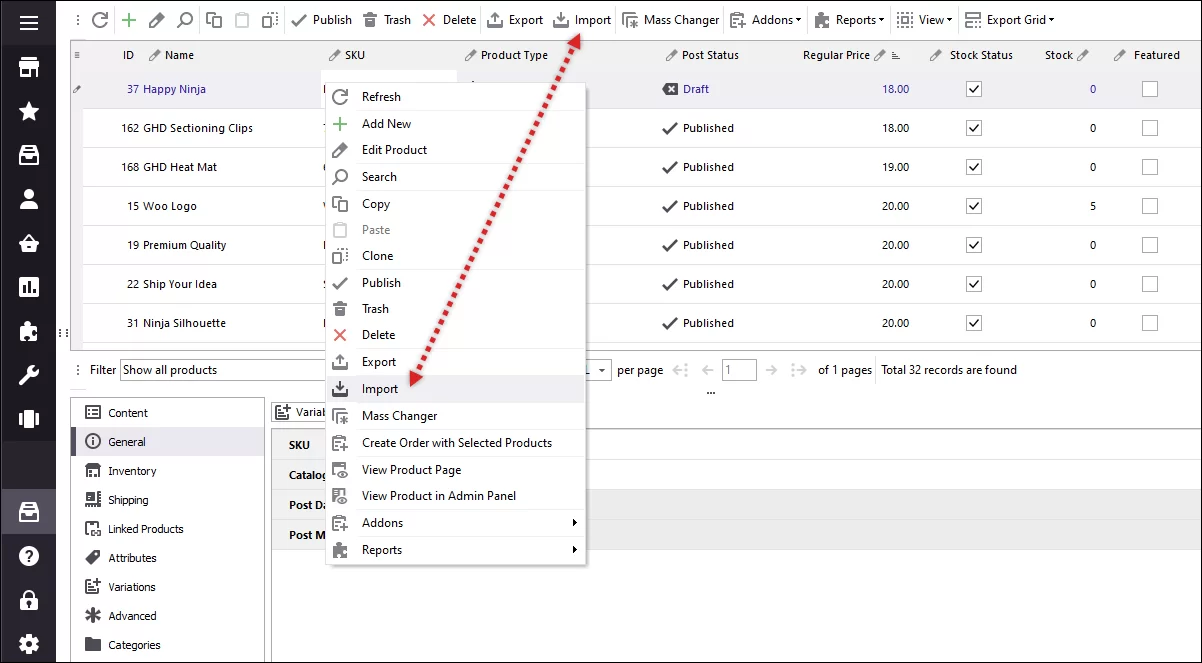
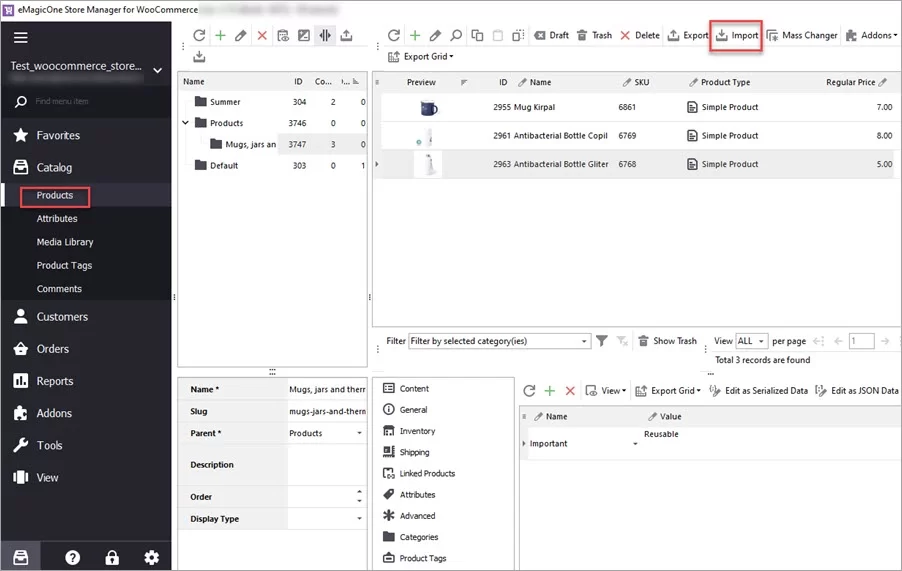
To launch WooCommerce Import Wizard, navigate to Store Manager > Catalog > Products and click the Import button:
Determine the settings on each step suggested by the wizard.
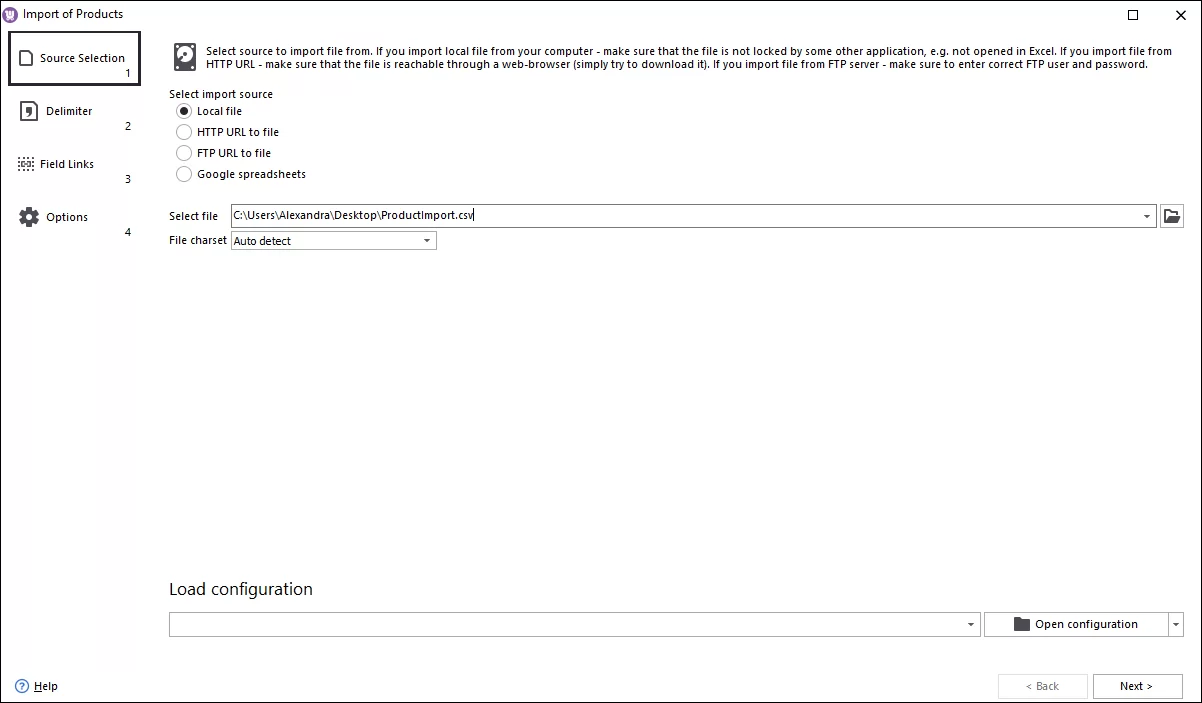
Step 1. Select file source
Store Manager lets you import data from a file stored locally and externally.
To upload an external file, specify an HTTP URL or connect to an FTP server (fill in server address, login, password).
To upload a file stored locally, just select it on your computer:
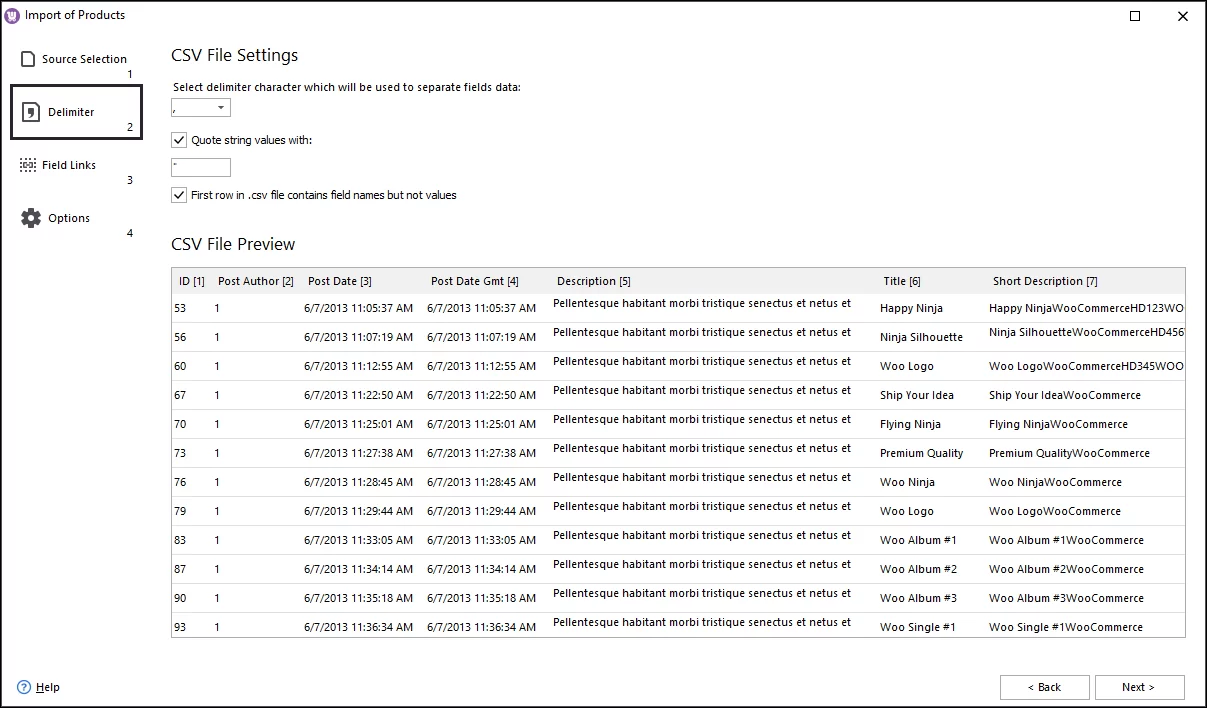
Step 2. Specify the delimiters used in your import file.
Data in CSV file is detached by delimiters, usually, it's a comma or semicolon. In this step, you should state the delimiters that are used in your case. If you specified correct delimiters, the data in the preview will look as a table. If you specified incorrect delimiters, data will be messed up. Note, that if you open a CSV file for editing in any editor and then save the file as CSV, the delimiters can change. So you should check the delimiters opening the file in a Notepad or another plain text editor.
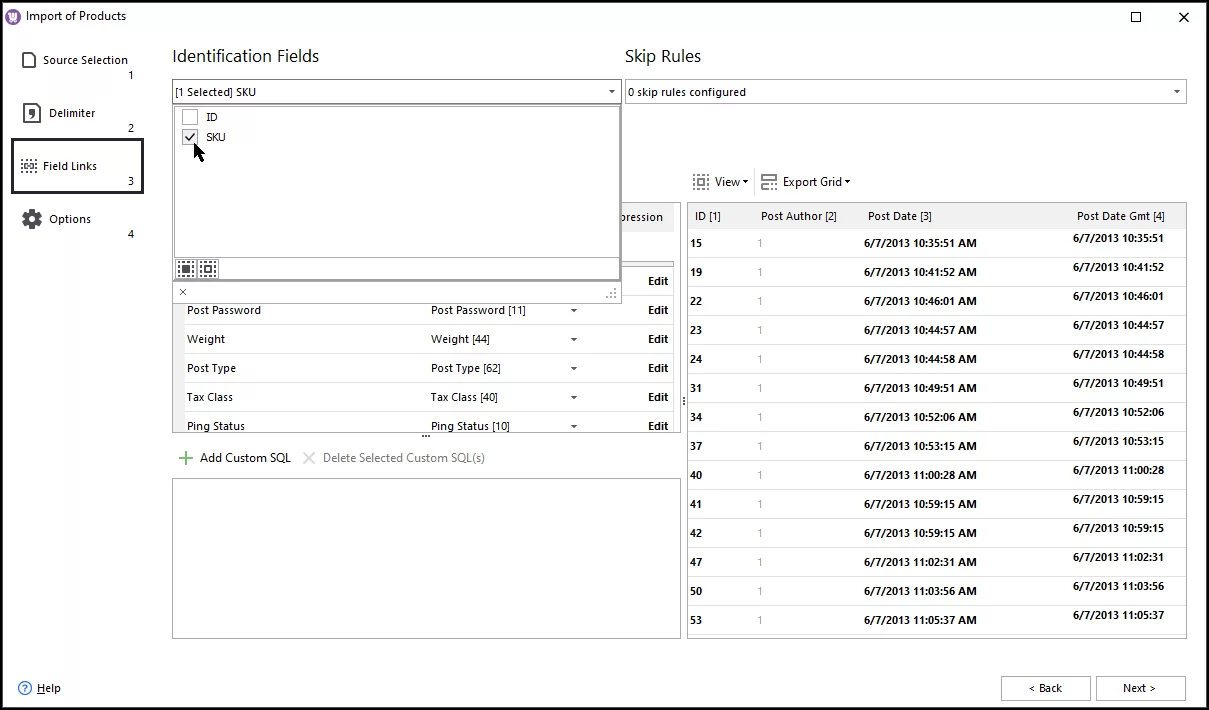
Step 3. Map Fields
Important:
Imported products must have an identifier: SKU or ID. You have to specify an identifier at the top of the window.
Note that product ID can be used only for product updates.
Also in this step, you have to link columns from your import file to the correct database fields. The window has two sections: the left section shows product database fields and the right section shows your file columns. To map fields, select a database field on the left and click a corresponding column from your file on the right. You can also use automapping by clicking the Auto Link All button.
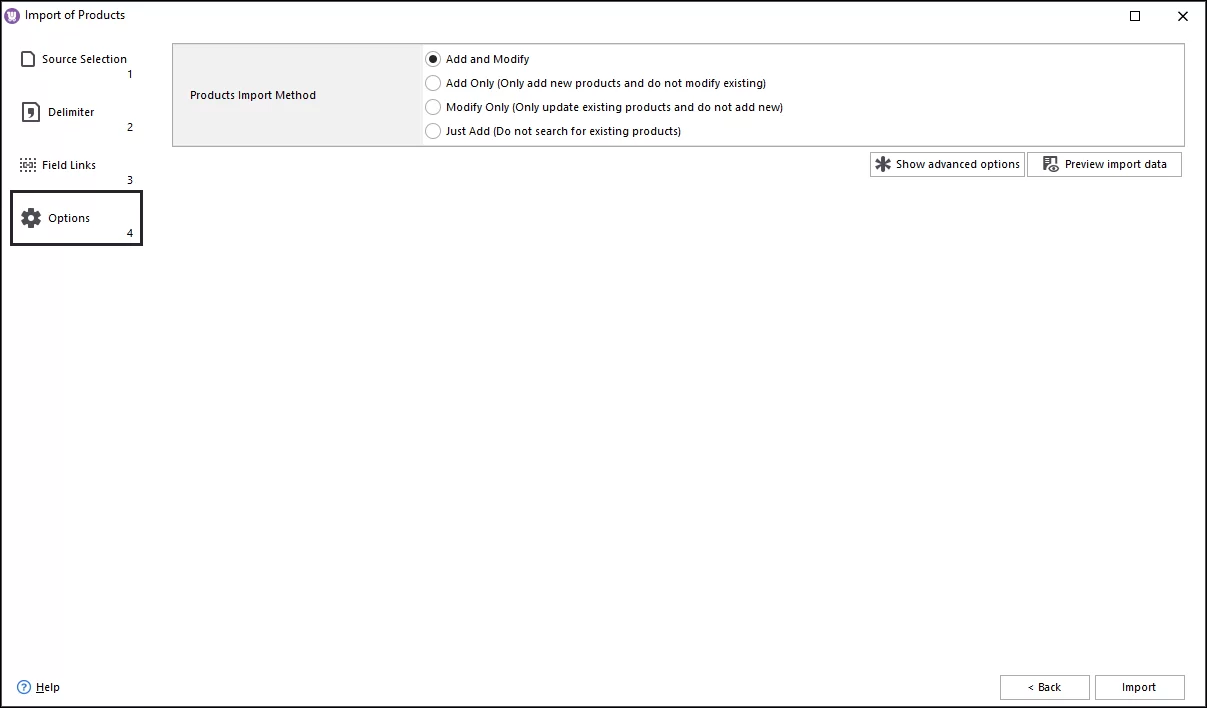
Step 4. Configure Product Import Options
In this step, you should first select the import method:
- Add and Modify - create new and update existing products.
- Add Only - don't update existing products, only create new products.
- Modify Only - only update existing products, don't create new products.
- Just Add - don't check if the imported products exist and import products from the file as new.
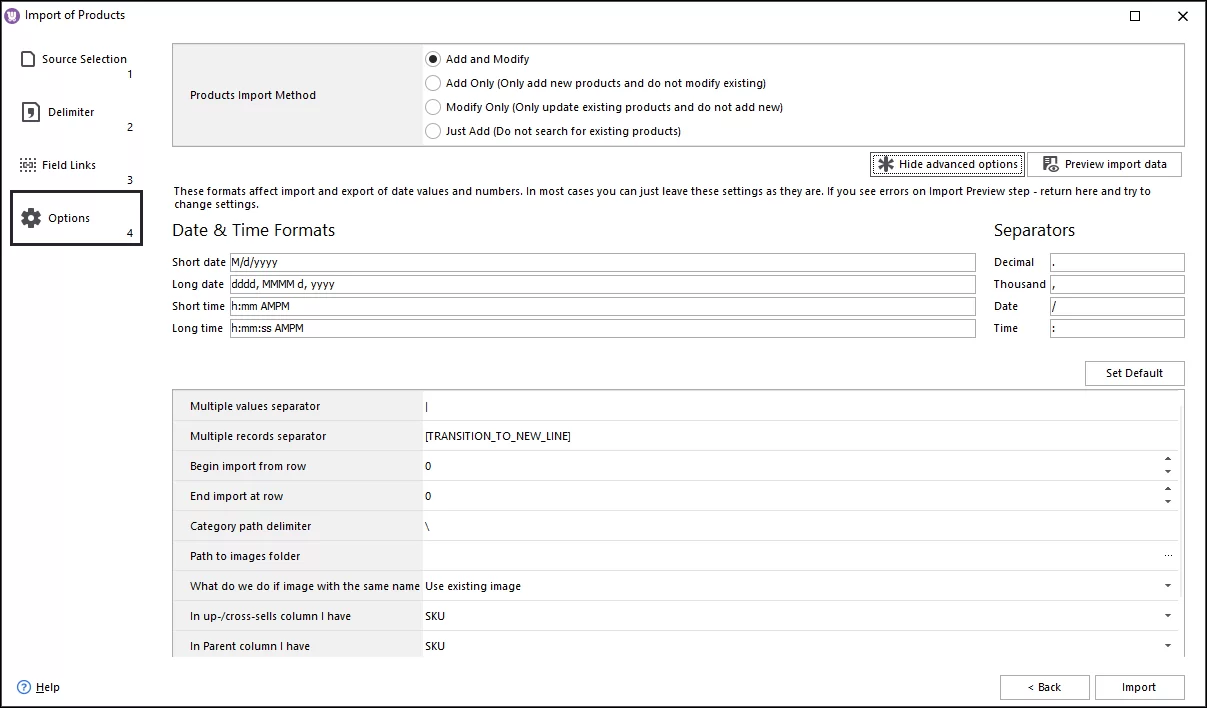
Expand advanced options to see more settings:
- Multiple values separator - if some column in your import file contains several values, they should be detached by a separator. This very separator should be specified in the field.
- Begin import from row/End import at row - you might need to import the file partially, you may indicate initial and end row. Products listed in these rows will be imported only, the others will be ignored.
- Path to image folder - uploading product pictures, you are obliged to specify a path to the folder they are stored in at your computer.
- In up-/cross-sells column I have - mind this field when you want to link up-sell or cross-sell products in course of WooCommerce import
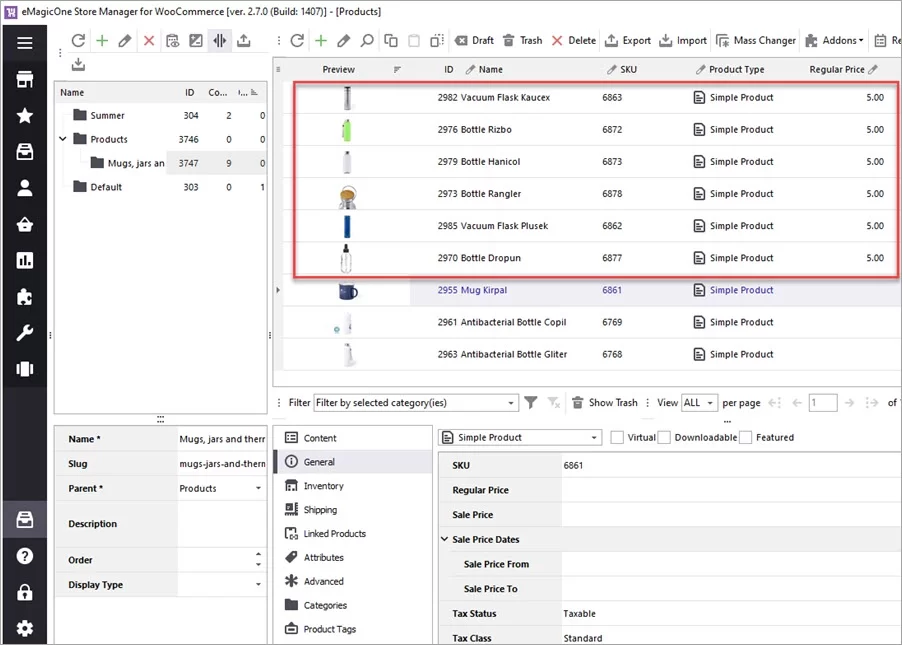
Preview data and confirm the procedure by pressing the "Import" button in the wizard. After the import has been completed, you will get import logs showing you the changes that have been implemented. Now you may close the wizard and check the products. Here is how they look in Store Manager:
If you had connected Store Manager to your store database directly, the changes will be reflected in your store admin and therefore at the frontend automatically.
If you connected Store Manager to your store via the bridge connector, you need to post the changes to your store:
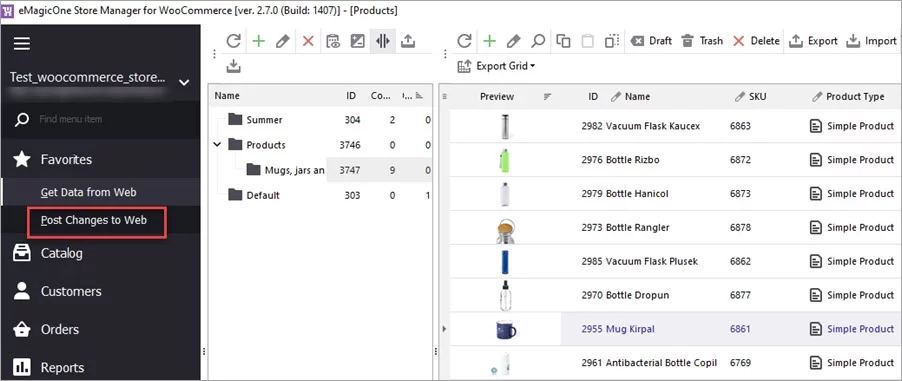
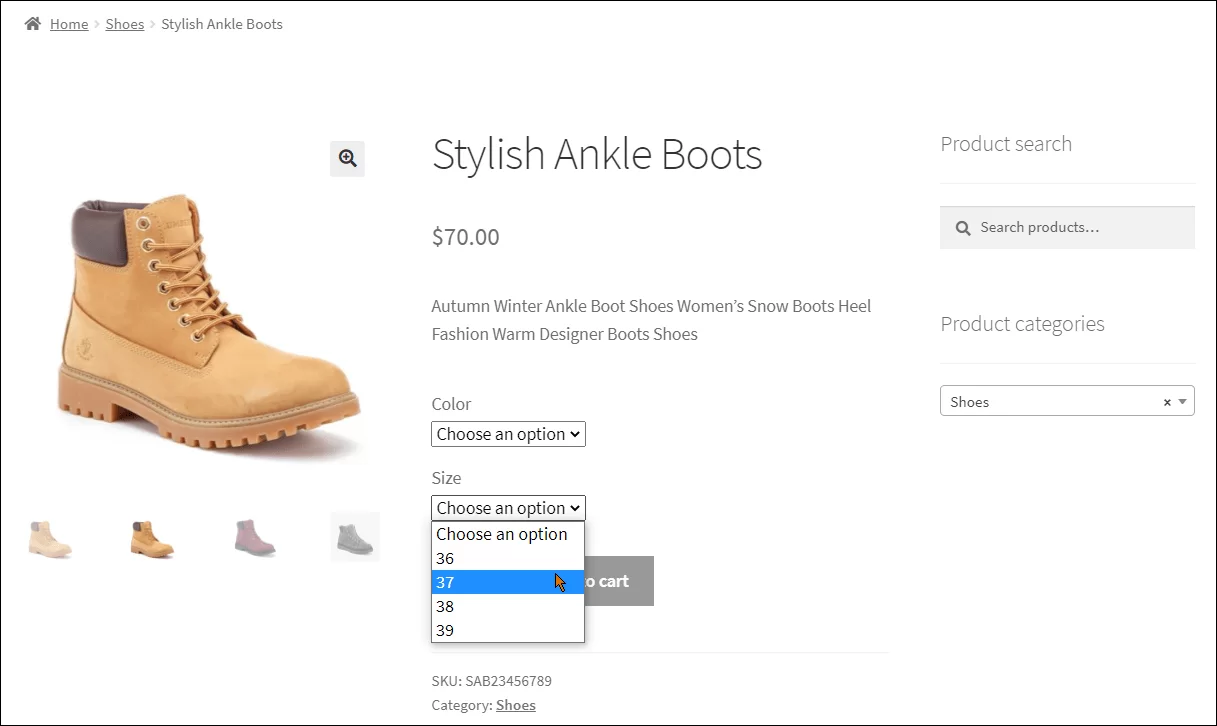
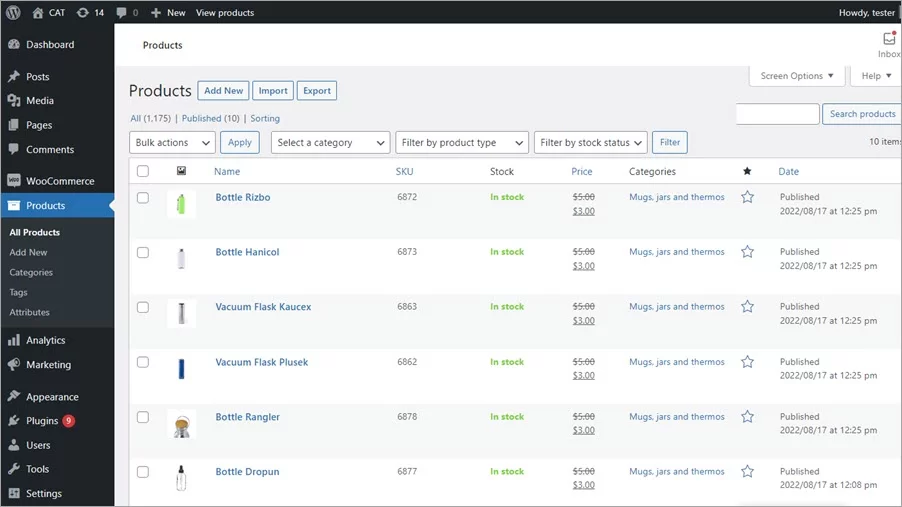
Now you can check the imported products will appear in your store admin:
That's what the import of products with Store Manager for WooCommerce import wizard looks like. Write in the comments below if you have any specific task to solve via import and we'll try to help you.