Import WooCommerce Products Preserving IDs
Do you want to import products to a new instance of WooCommerce preserving product IDs? The situation is quite common but you may find yourself stuck trying to accomplish the task. The thing is, WooCommerce autoincrements IDs when a new product is added or imported. Therefore, if you import products with IDs, the IDs from your file will not be imported and new IDs will be created.
In this article, we’ll show you a workaround that will let you import products to WooCommerce and preserve their IDs. For import, we’ll be using Store Manager for WooCommerce as it has the extra functionality needed for our task.
Store Manager is a downloadable application that enhances the default WooCommerce functionality with tools for bulk edits, advanced import/export, database backup, data generation, and others.
If you don’t have Store Manager yet, download a free trial and install it on your computer. Connect the application to your store database and enjoy the simplicity of your store administration.
The steps to import original WooCommerce product IDs will be as follows:
Step 1. Prepare a file with dummy products
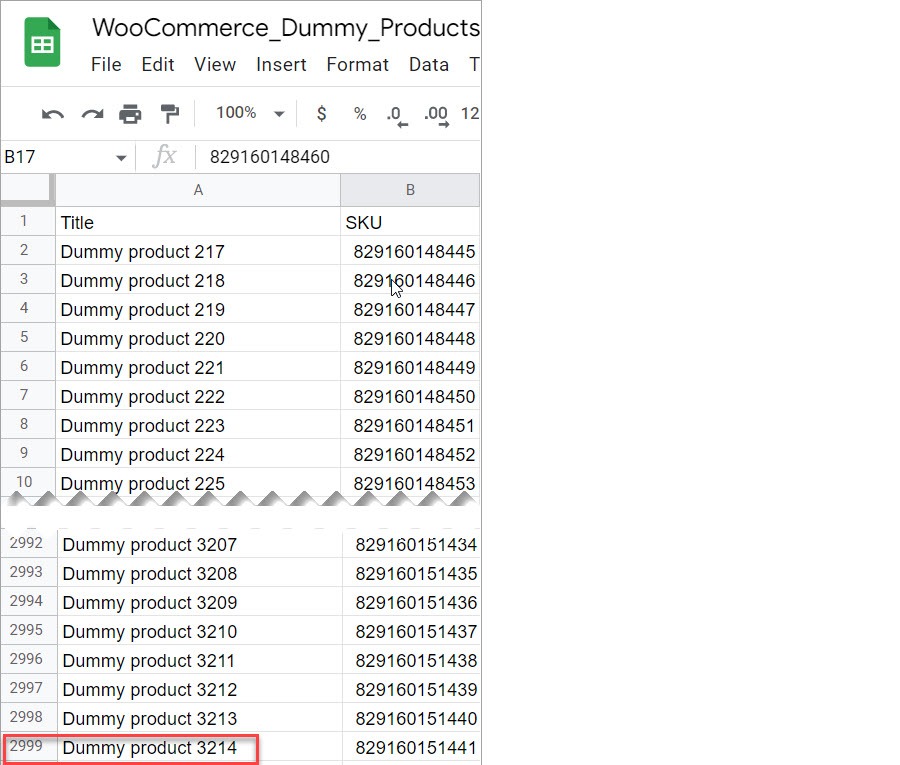
We have to create as many dummy products as the last old product ID. In our file, the largest ID is 2970. So we have to create at least 2970 dummy products.

How to prepare an import file with dummy products:
- Provide only the columns essential for creating and identifying products - Title and SKU. The thing is, WooCommerce writes into the wp_post table not only products but also other entities such as images. So to avoid messing up the IDs, import just the essential columns.
- Create the dummy product titles which they can later be easily filtered (and deleted). In our file every product title containst the word "Dummy" but you can also use "test" or another word.
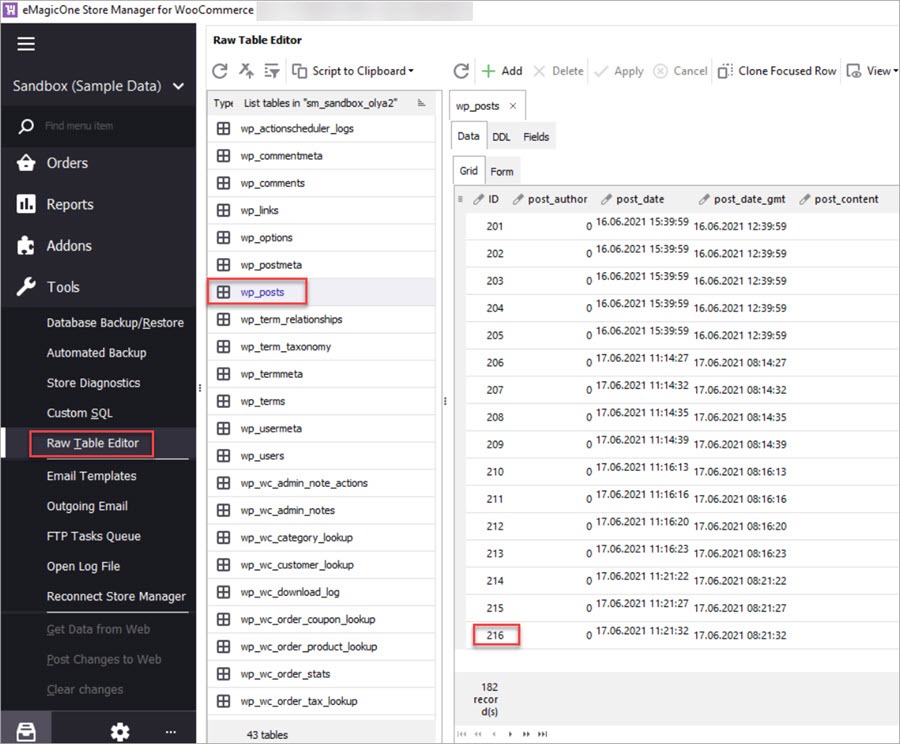
Note! Even a new WooCommerce installation may already have some IDs in the wp_post table. You can check the existing IDs by going to the Raw Table Editor in Store Manager and selecting the table wp_posts. The last existing ID in our store wp_post table is 216 so the next product created in the store will have ID 217. While this is not important in our case, this may be critical if you want to use your own approach to create products with original IDs.
After the file is ready, proceed with import.
Step 2. Import Dummy Products to create necessary IDs
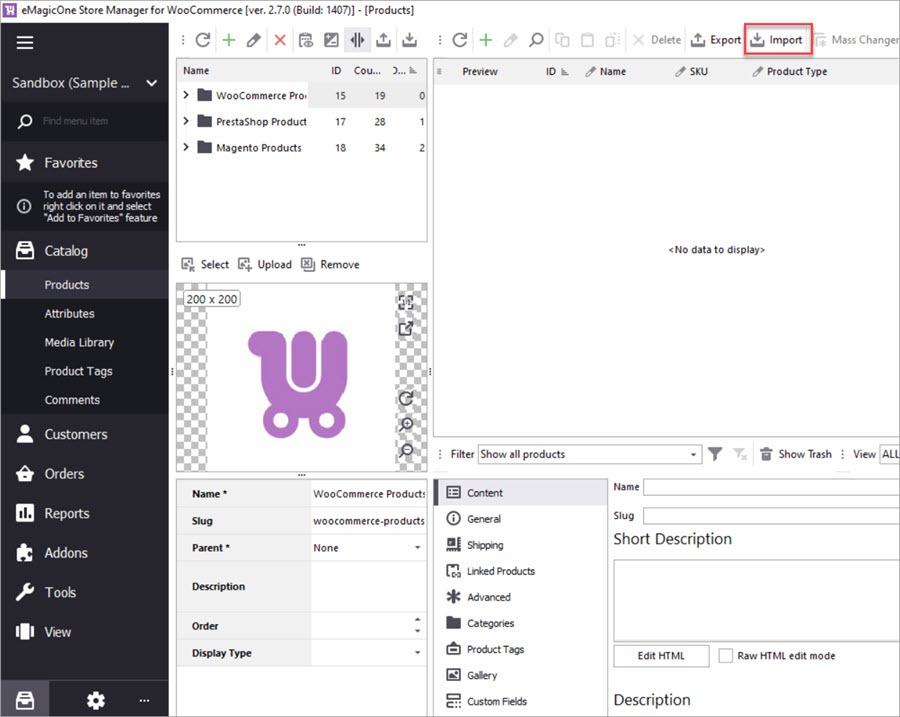
Open Store Manager > Catalog > Products > Import:
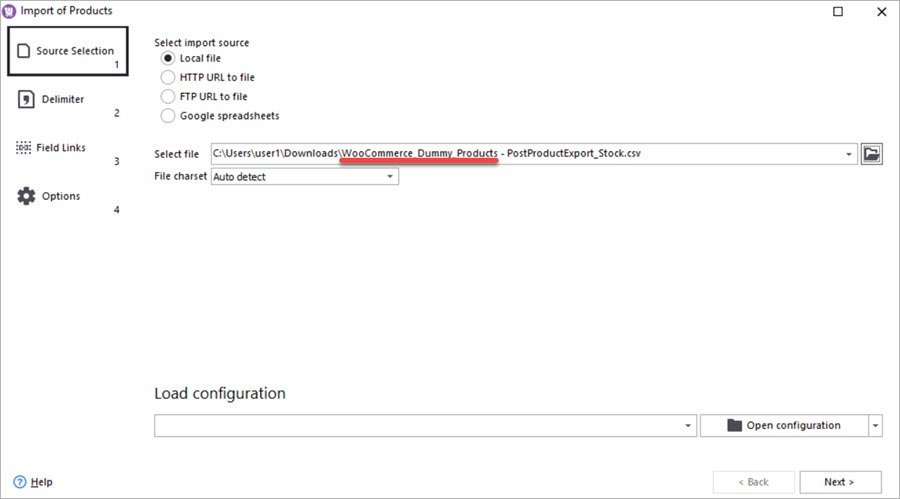
In the wizard, select the file with dummy products:
Select the delimiters used in your source .csv file and proceed to the next step.
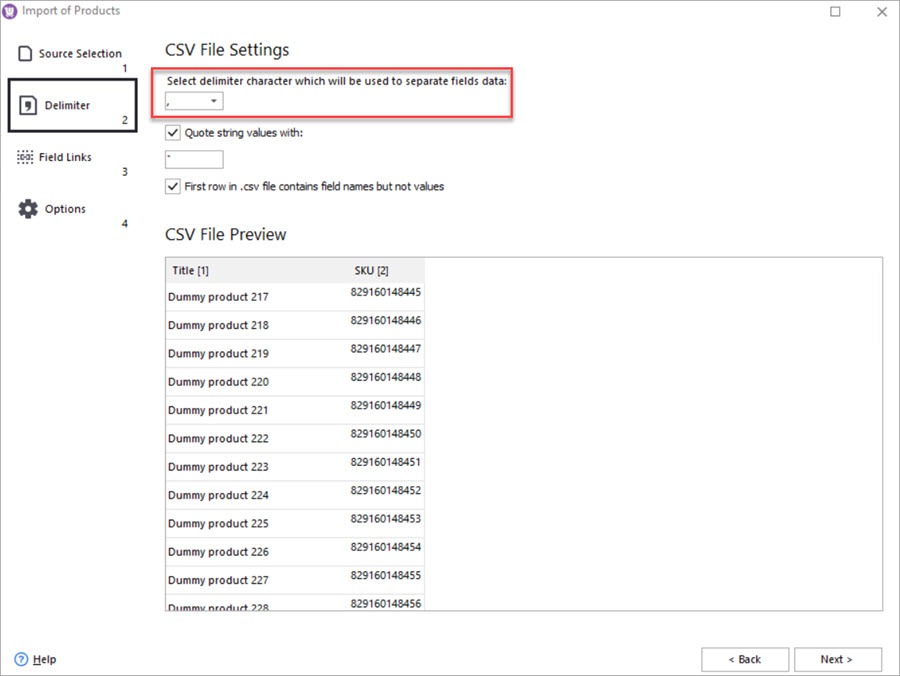
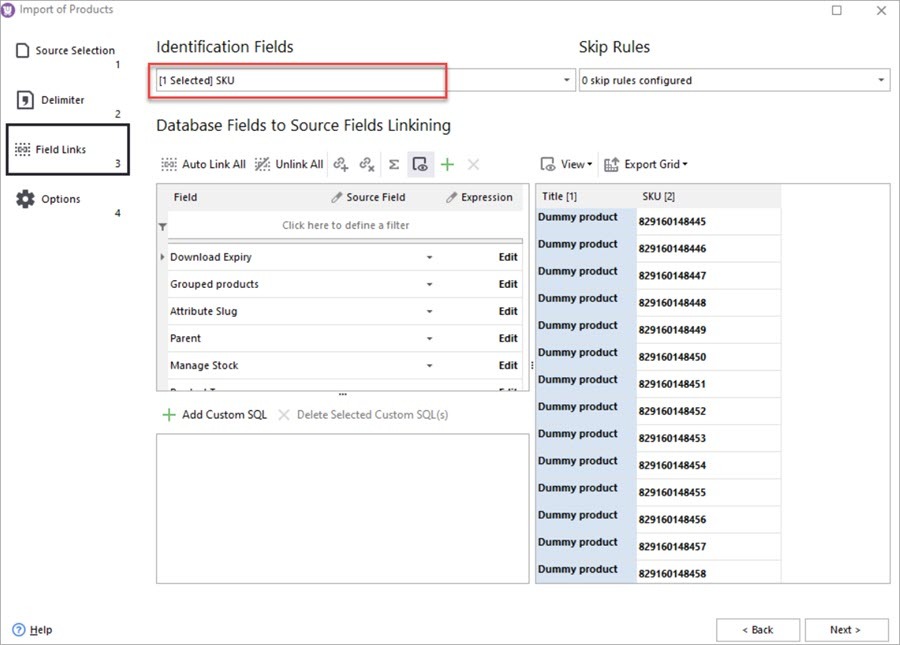
In the Field Links step, select SKU as an identifier and check fields linking:
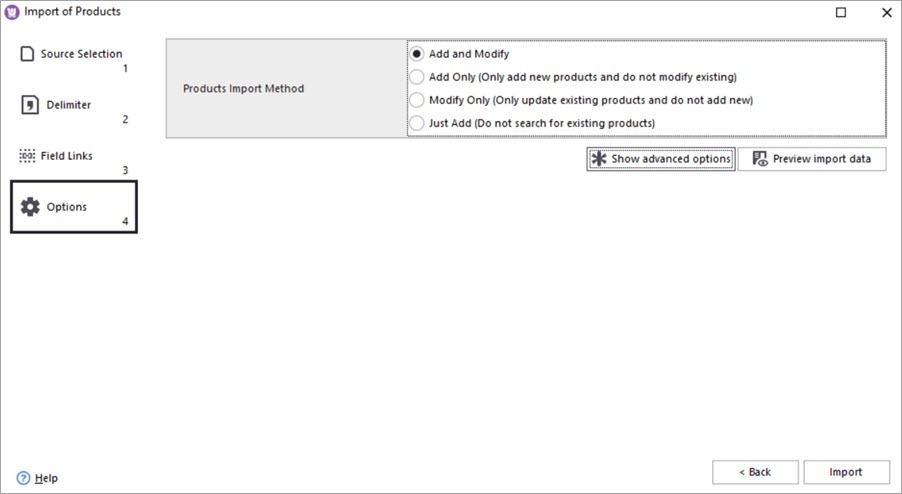
In the Options step, celect the Add and Modify import option and press Import to upload the data:
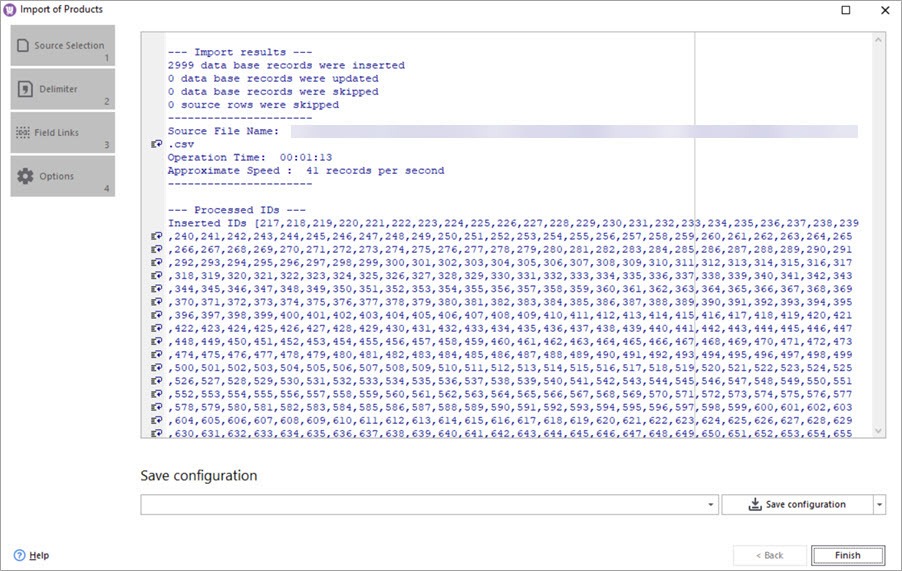
The report shows that necessary IDs have been created:
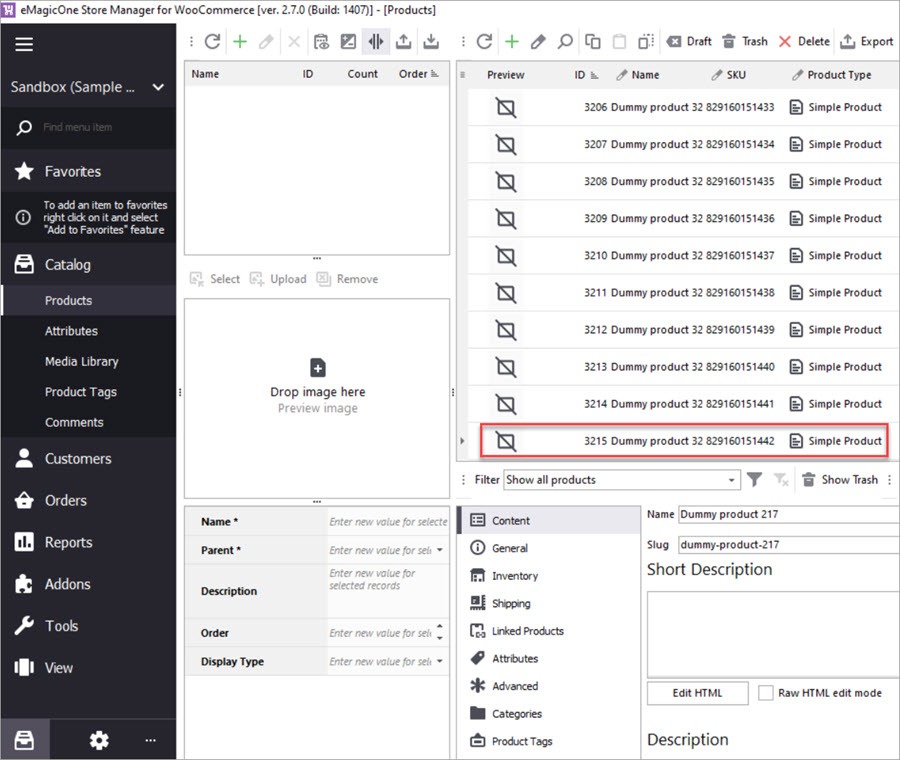
Here are the imported dummy products. As you can see, the last created ID is 3215. It means that our IDs from the import file fall within the range of created IDs.
Step 3. Import original WooCommerce Products and Override Dummy Data
Now we’ll get to importing the products with IDs we want to migrate. Here we have the file with data exported from our previous WooCommerce store. The file contains all product details.
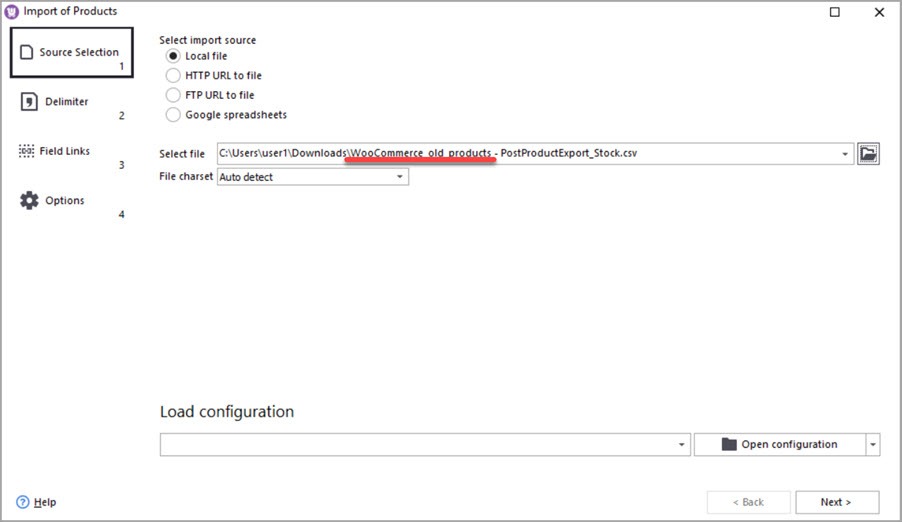
Let’s now import the file to the new WooCommerce store. With Store Manager open, go to Catalog > Products > Import. In the first wizard step, select the file with original products:
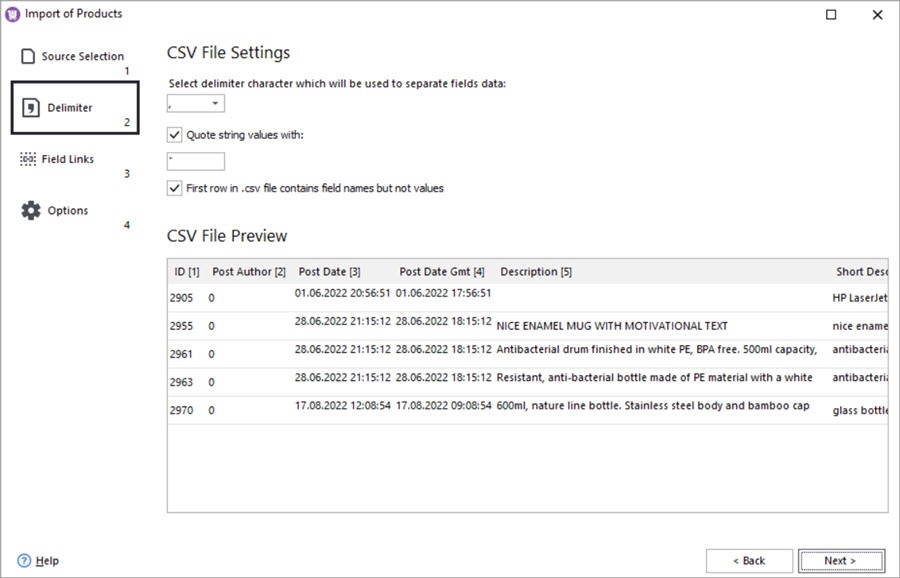
Select the delimiters and preview data from the file:
In the Field Links step, pay attention to selecting an identifier. For the dummy data to be overridden with the actual product data, you have to select ID as an identifier:
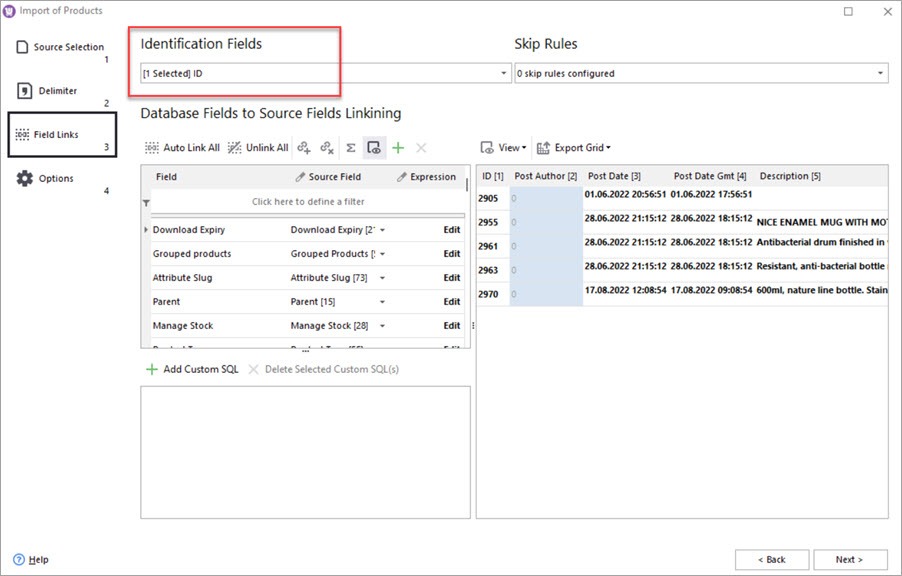
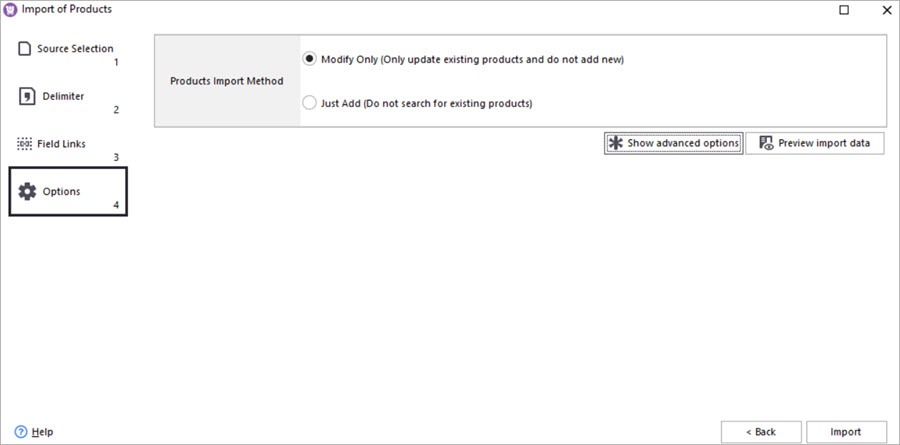
Also, check if all the database fields are linked to the file columns and proceed to the next step. In the Options step, check the option Modify Only and press Import to proceed:
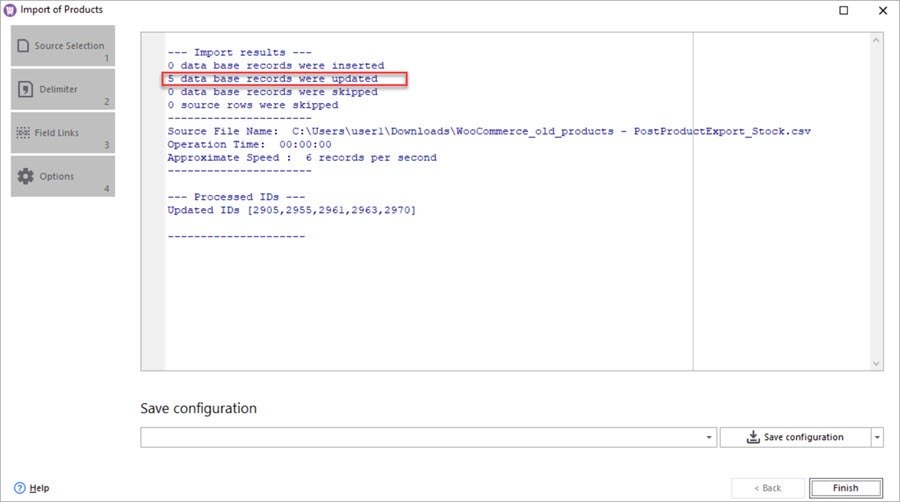
In the report we can see, that 5 products that we were importing has been updated:
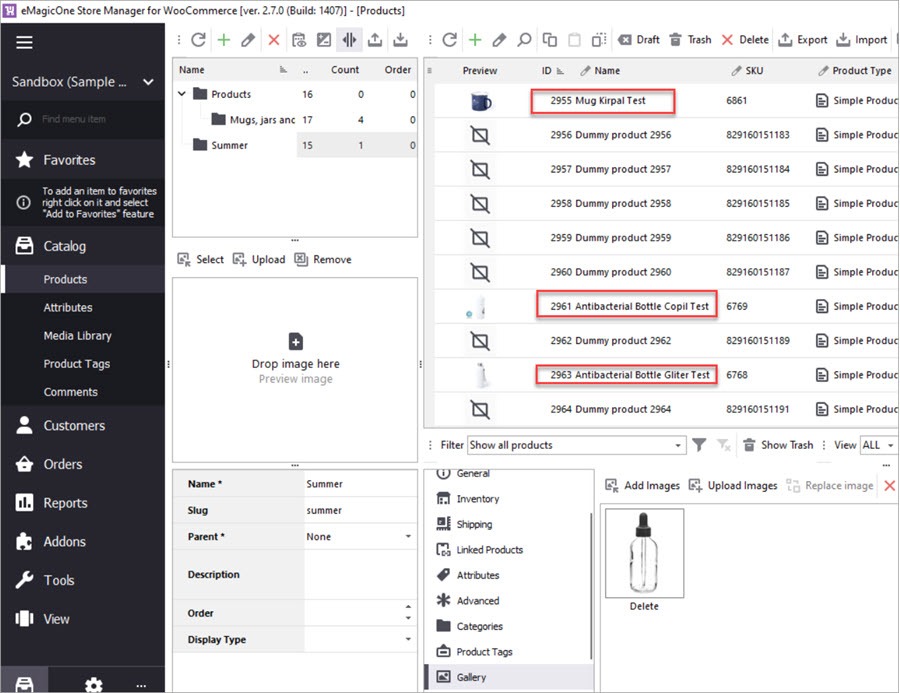
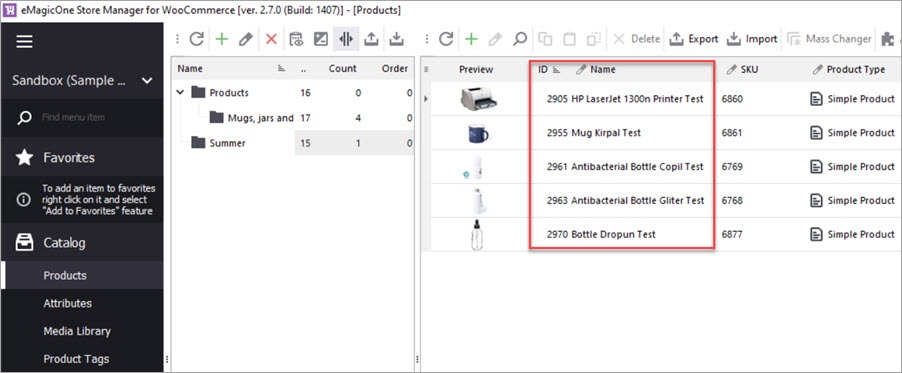
Let’s now check the products in Store Manager. As you can see, instead of dummy product data we now have original products from file. All the imported WooCommerce products maintained IDs they originally had:
Let’s now proceed to the final step and delete the dummy products.
Step 4. Delete Dummy Products
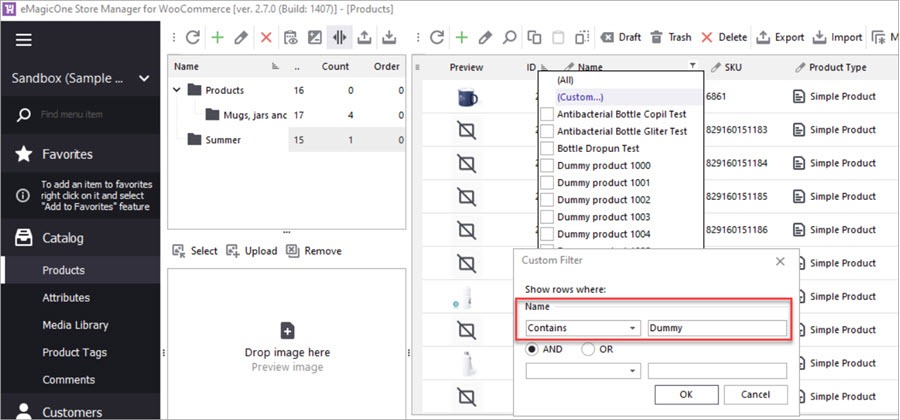
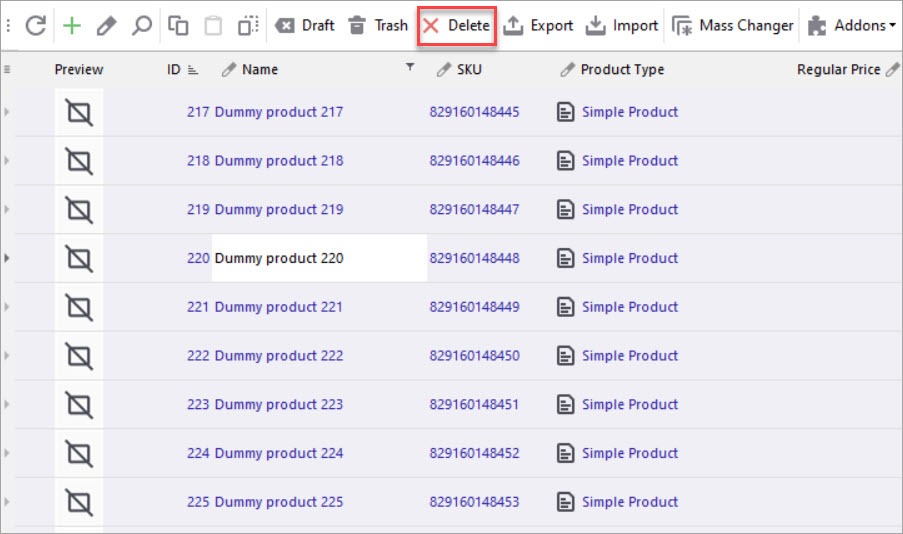
In Store Manager > Catalog > Products go to the Name > Custom filter To filter all the dummy products, select the condition Name..contains and enter “Dummy”. Press OK to apply the filter:
Select the filtered products and press Delete on the toolbar:
Now only the old products are lefts and we can see that they have exactly the samy IDs they had in the import file:
That’s the final step of migrating WooCommerce products with IDs. Write in the comments below if you managed to import your products using our instrsuction. Feel free to ask your questions in the comments below.
Import WooCommerce Products Preserving IDs
Try now FREE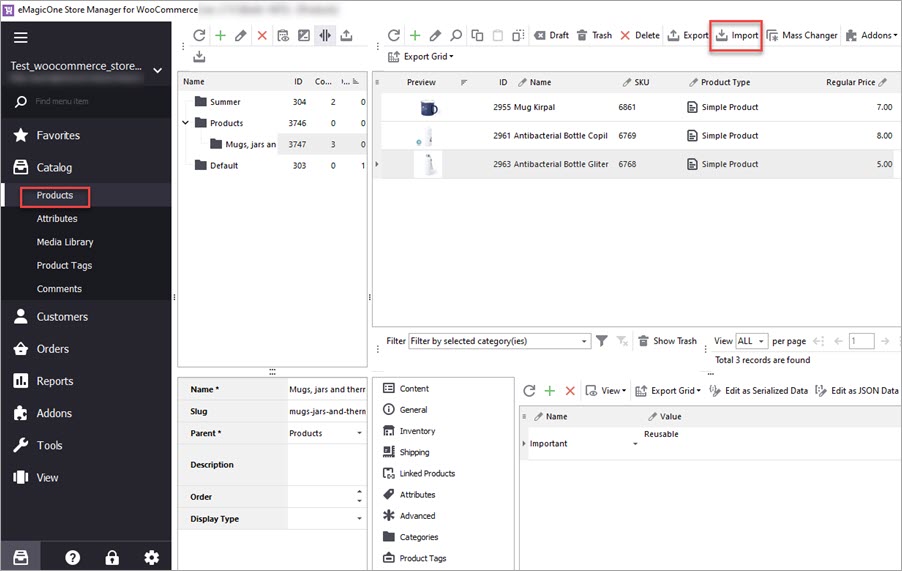
Step by Step Tutorial to Import Products
Learn how to import WooCommerce products via Store Manager.Read More...
Mass Changer: Detailed Tutorial
Perform bulk WooCommerce product updates via Mass Changer tool. Read More...
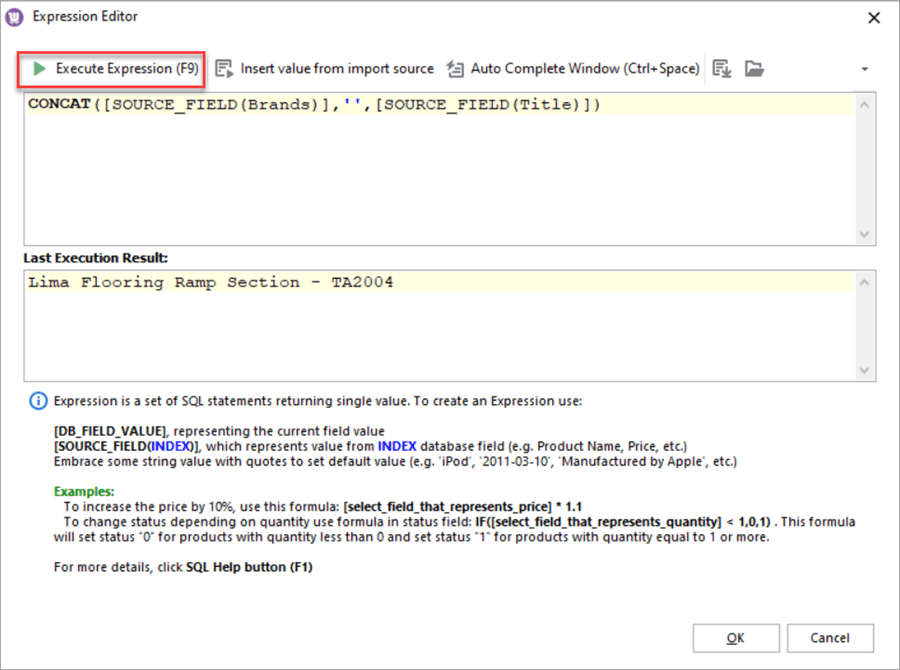
Merge Product Brand Name and Title Upon Import
How to add a brand name to a product title in WooCommerce via import. Read More...
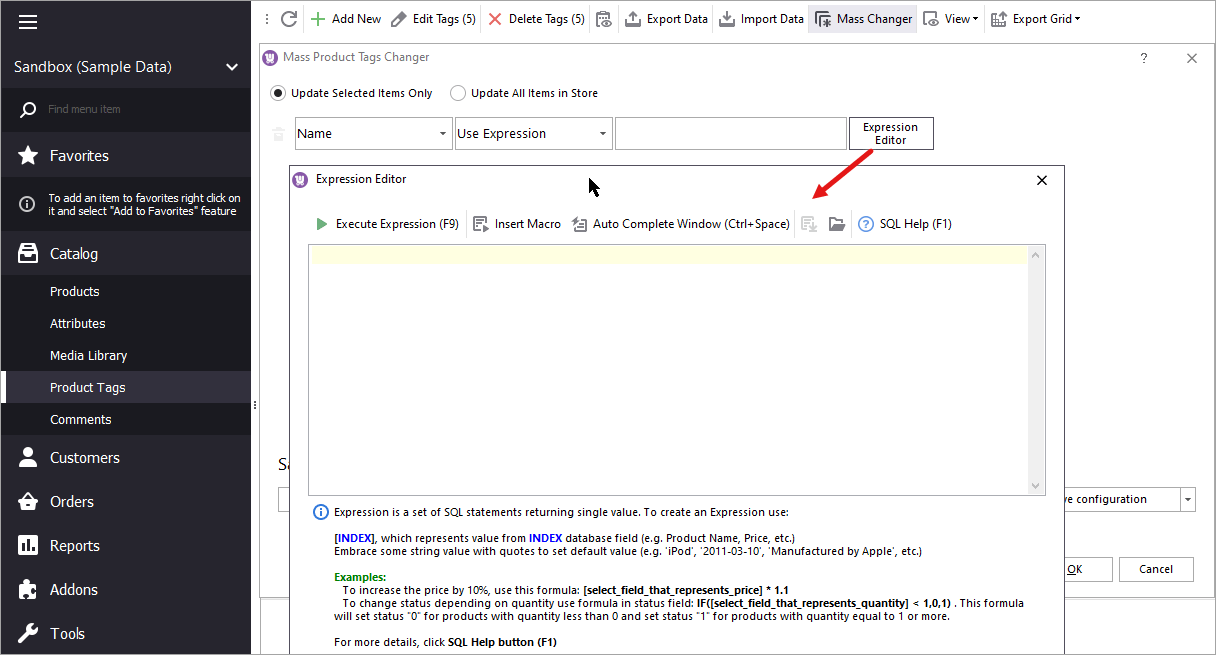
Update WooCommerce Product Tags In Bulk
How to update WooCommerce product tags in mass using WooCommerce Product Tags Mass Changer.Read More...


