Export WooCommerce Products to QuickBooks Online
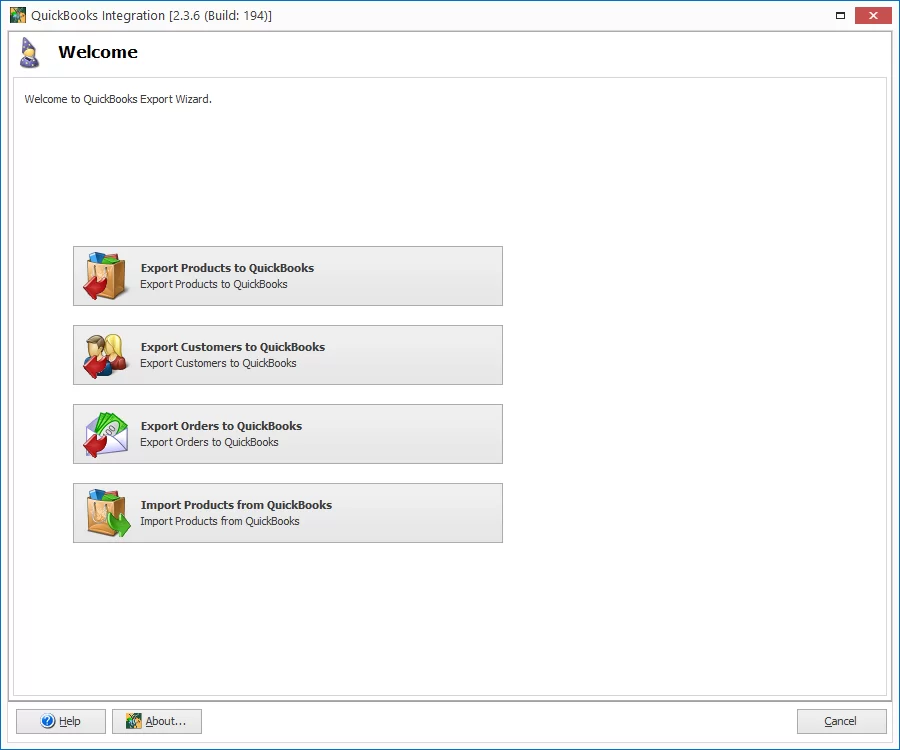
By exporting products from the WooCommerce store, business owners can ensure that their product sales, expenses, and other financial transactions are accurately recorded in QuickBooks reducing manual data entry and the risk of errors associated with it, keep their inventory records up-to-date, make informed decisions about restocking and managing their catalog etc. As you might have guessed, in this article, we’ll describe how to export WooCommerce products to QuickBooks Online accounting. To start working with QuickBooks Online Integration available in Store Manager for WooCommerce, open an addon and authorize adding a new account.
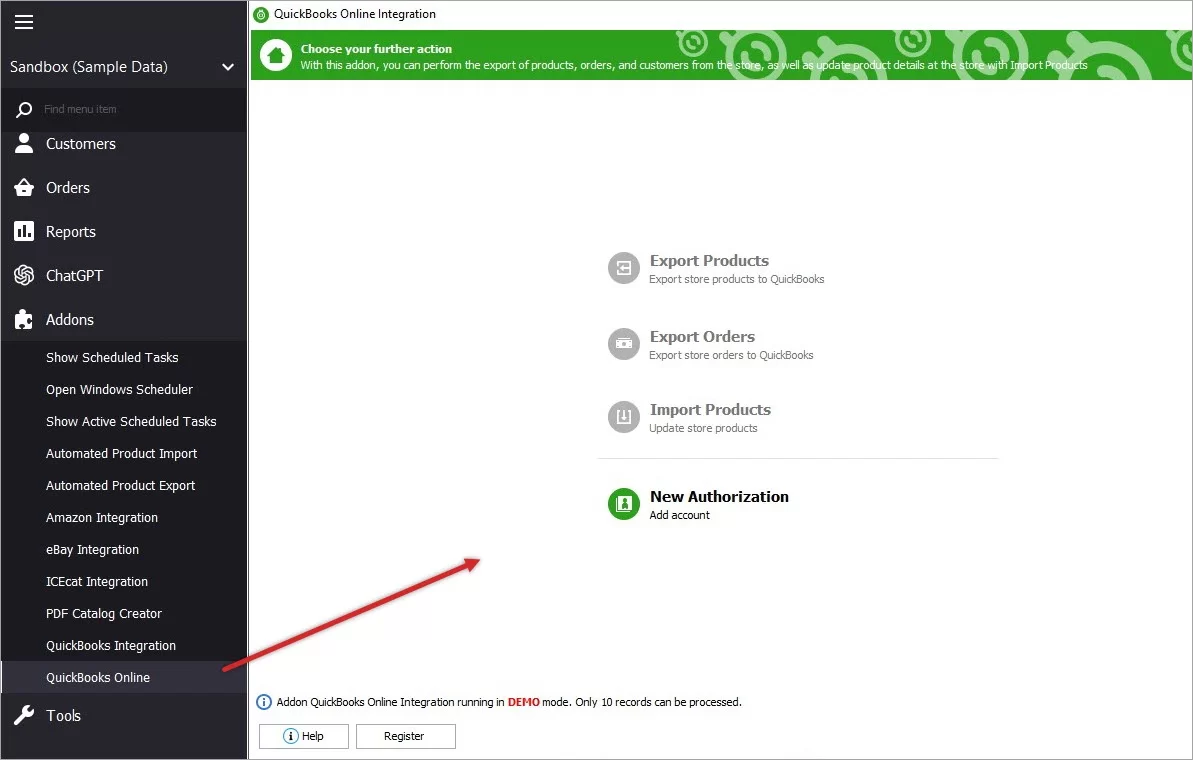
Once you are done with a login, you’ll be transferred to the next page that displays future configurations list and products assigned to them.
Step 1. Create Configuration
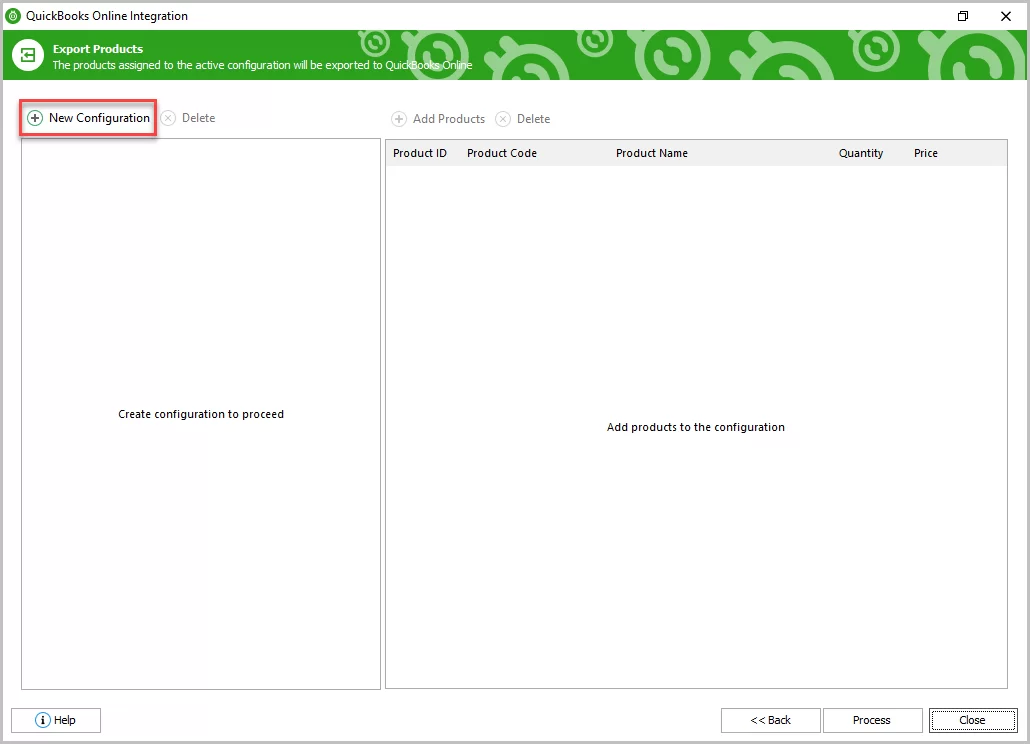
The window on the left side of the addon contains the options to create and delete configuration(s), hit “New Configuration” for the start.
Step 2. Specify Product Export Configuration Settings
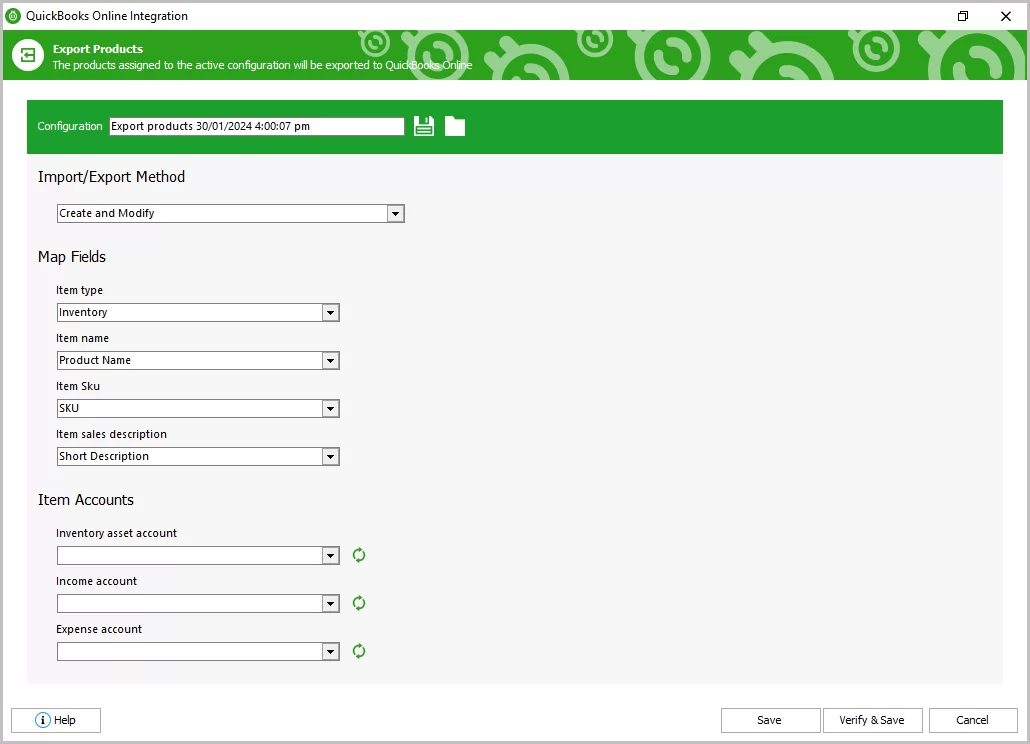
At this step you can specify the Configuration name, save it for next exports and download it from the file.
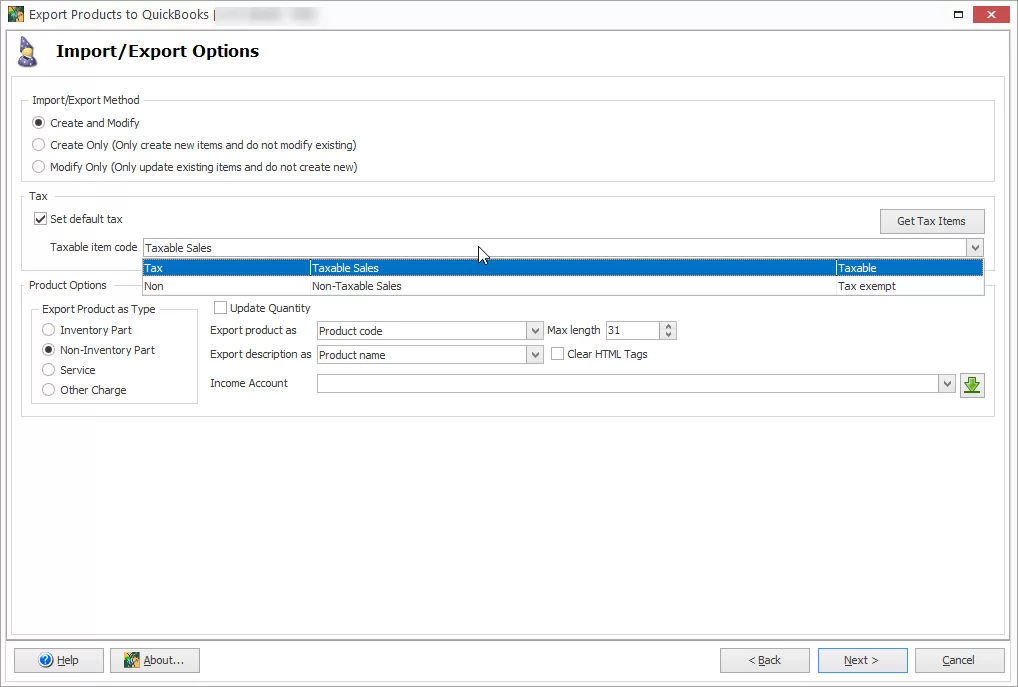
Next, select the needed Export Method among the existing ones from the drop-down list:
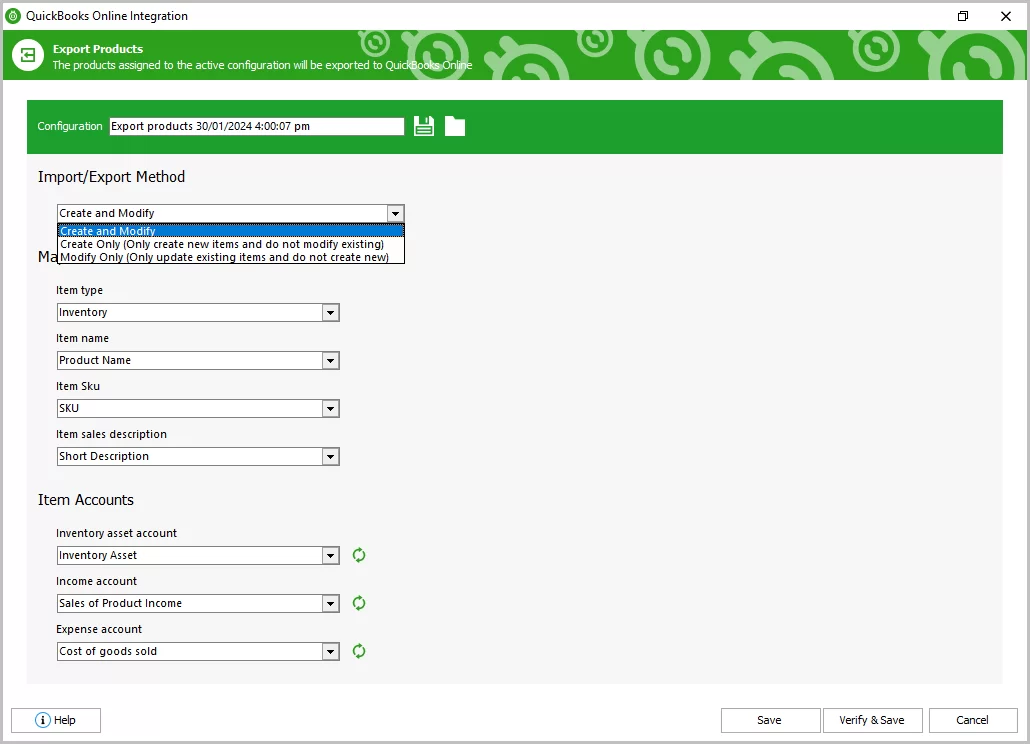
- "Create and Modify" - once the export is complete, the new items will be created and added to the available product list on QuickBooks Online and the existing products will be updated.
- "Create Only" - this method allows creating new items in QuickBooks, but the existing ones will not be updated.
- "Modify Only" - only the existing products will be updated without creating new records.
Map fields block contains the basic data of product mapping:
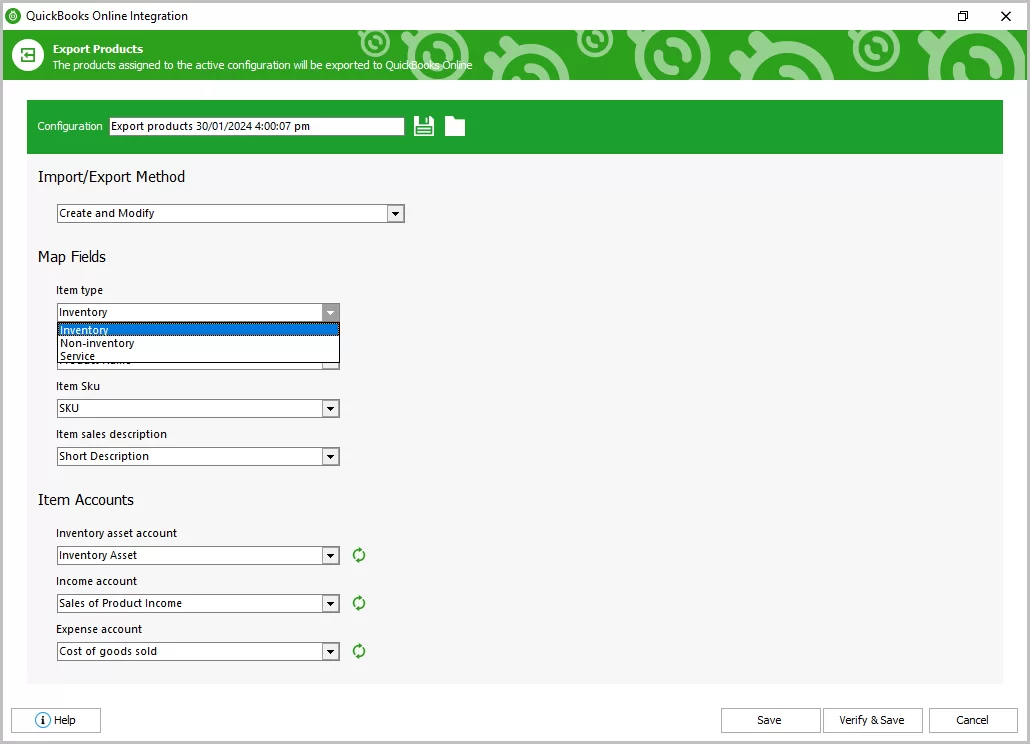
"Item type" dropdown allows specifying the type of items that will be applied to the exported products on QB Online: inventory, non-inventory or service.
- inventory - these items can be purchased, stocked, and re-sold as inventory.
- non-inventory type of goods is used for purchase, but not for tracking quantity.
- service you provide to customers.
"Item name" - choose product name or SKU field for mapping during export.
"Item SKU" - select an identifier which will be used to identify the store products: Product Name, Product ID or SKU.
"Item sales description" - define which field will be used as the product description during sales: SKU, Product Name, Short Description or Description.
Item Accounts block. This area consists of the accounts which are uploaded automatically, depending on the QuickBooks user’s settings.
Each account field has a dropdown list with the variants. If the fields are empty - you can retrieve them with the buttons on the right.

"Inventory asset account" shows the current value of the inventory: property insurance, rental insurance, interest paid, business loan interest, credit card interest, mortgage interest, inventory, inventory asset.
"Income account" records the profit from the sale of the items: HSA contribution, prepaid expenses, purchases, refunds to customers, repairs & maintenance, retained earnings, sales, sales of product income.
"Expense account" is used to pay the vendor for the items: building & property rent, buildings, business licenses, cash, commissions & fees, contract labor, contributions to charities, cost of goods sold.
The 'Verify and Save' button checks if required details are set up correctly and saves the configuration.
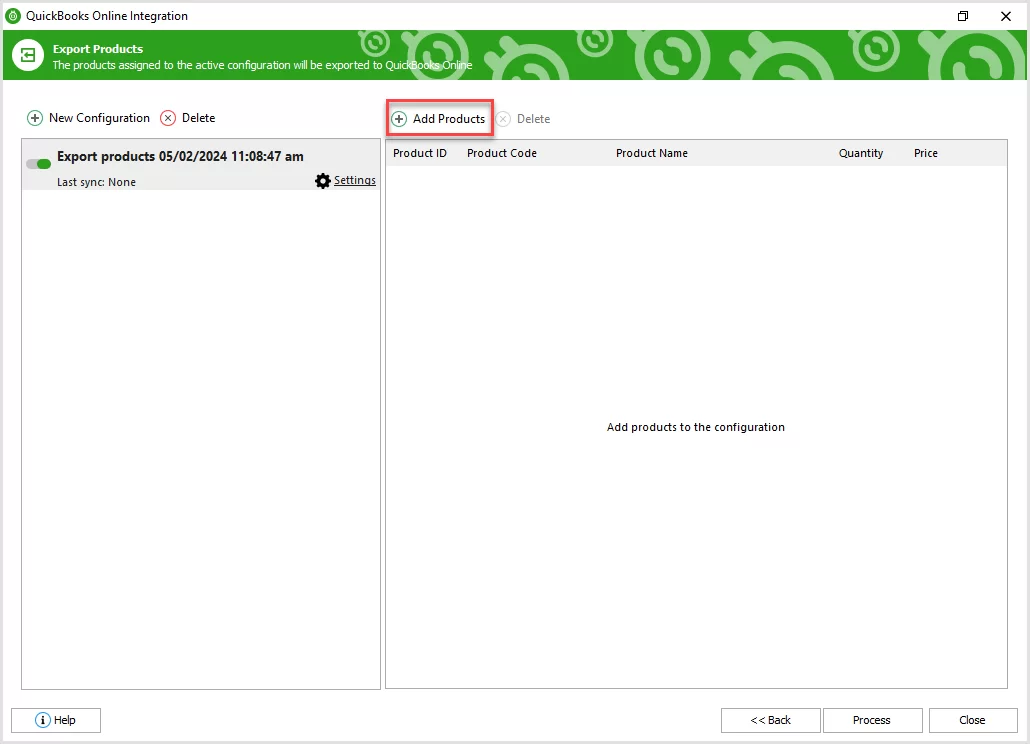
Step 3: Adding WooCommerce Products to Listing
Once the configuration is saved successfully you’ll have a possibility to add the products to it in the initial window on the right via the “Add products” button.
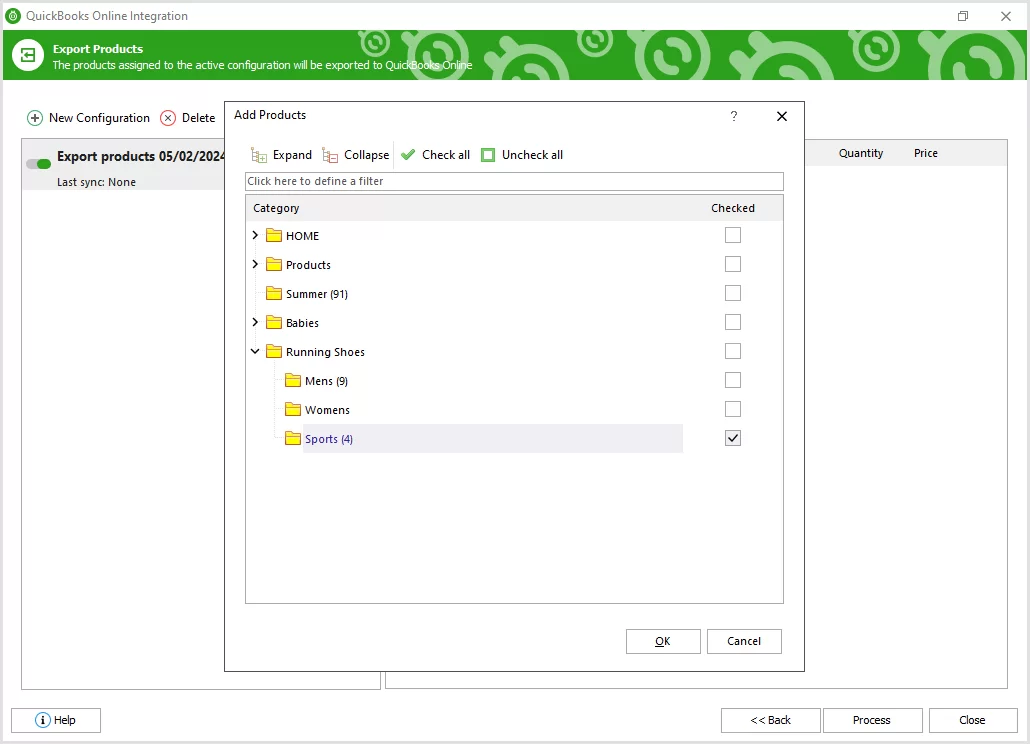
After that a separate window with category tree will be opened where you’ll need to select categories with products. Hit “OK” for further product export.
The context menu of the configuration allows activating the configuration, adding new or deleting the existing one.
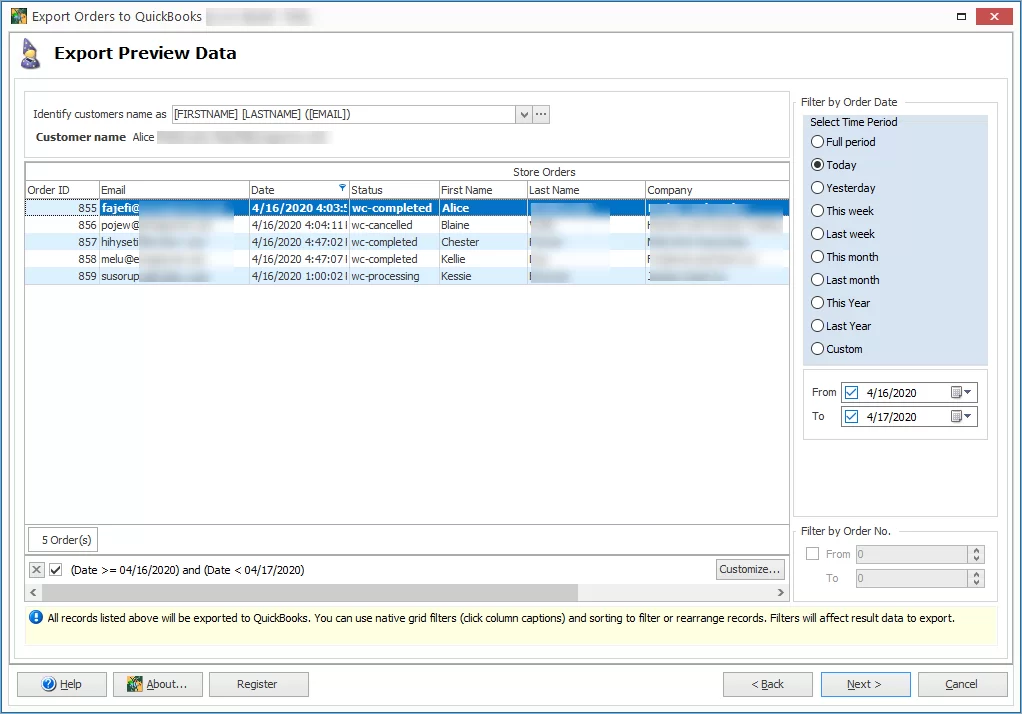
After everything’s ready with the products, click on the 'Process' button for export. The export results will be shown in the progress bar.
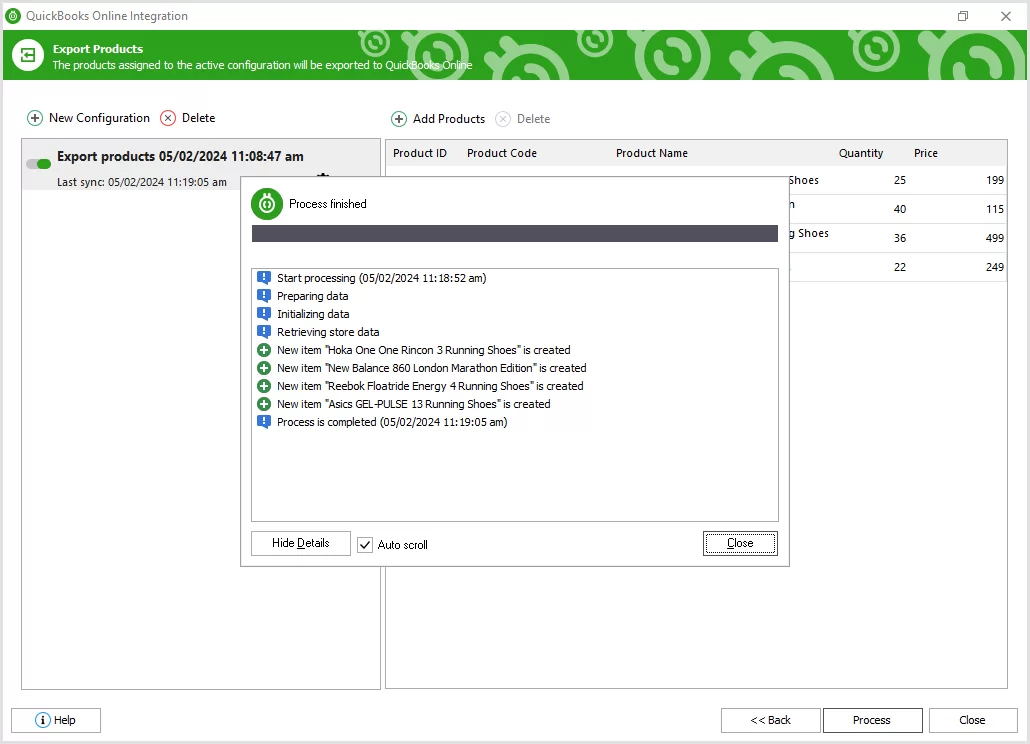
Once the export is finished, click 'Close' to complete the process and exit the addon.