Import WooCommerce Customers with IDs
Moving to a new instance of WooCommerce, you may need to migrate its entities preserving their IDs. In this article, we’ll describe how to import WooCommerce customers with IDs via Store Manager for WooCommerce.
Before we get down to import, let’s first check if any customer IDs already exist in the database. Yes, even a new WooCommerce installation may have some records in tables.
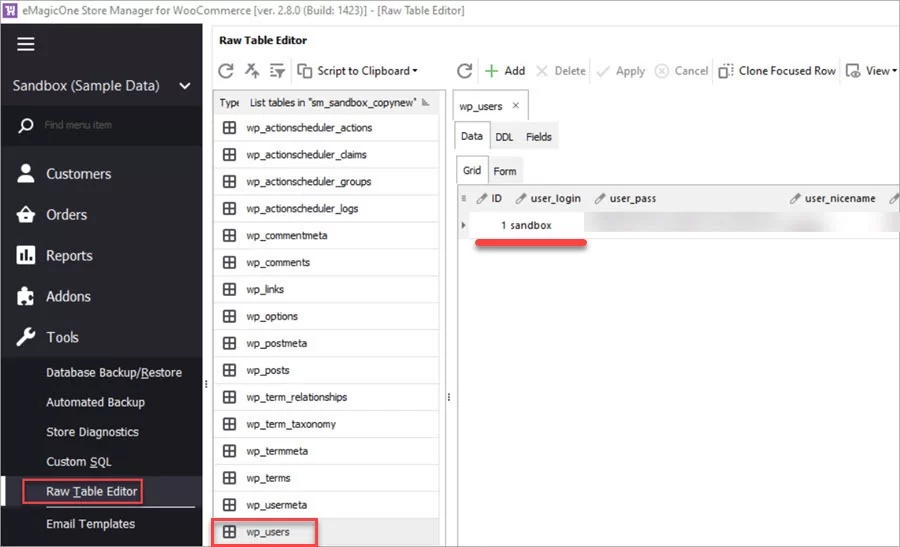
To check existing IDs, go to Store Manager > Tools > Raw Table Editor and open the wp_users table. As you can see, there already exists a record with ID 1.
In our file, customer IDs also start from 1. So if we import our customers from the file, their IDs will be incremented and therefore, differ from the initial ones.

To create customers with their initial IDs, we’ll break down the task into two steps.
Step 1. Import customer dummy data to create necessary IDs
As ID 1 already exists in the database, we need to create three more user IDs. For that, we’ll import three records from our file.
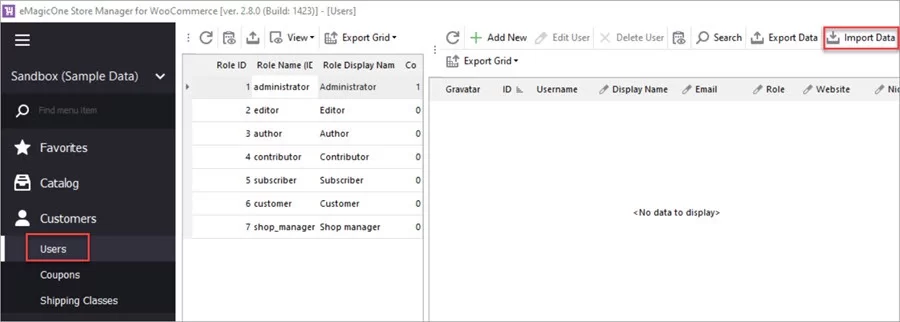
To import customers via Store Manager, navigate to Customers > Users > Import Data:
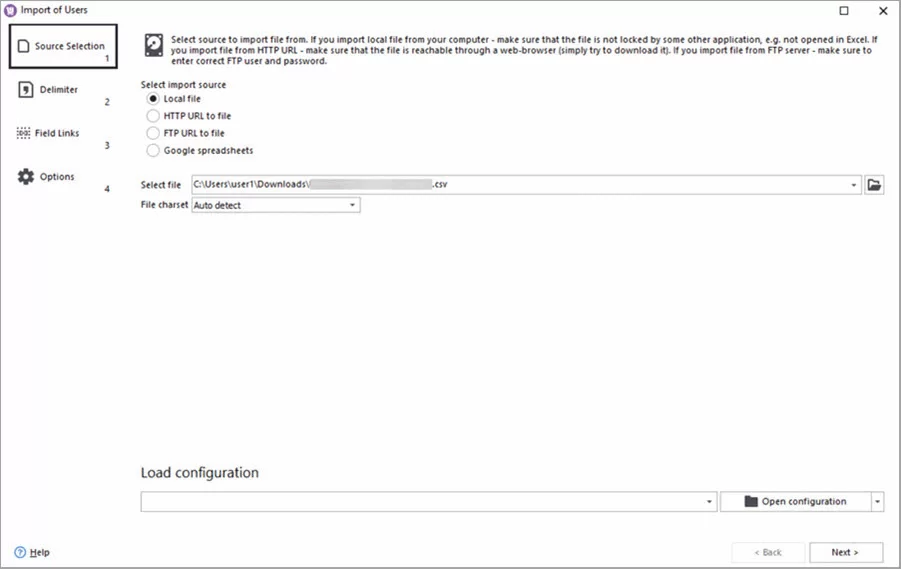
When the wizard opens, follow its prompts to set up and launch the import:
- Select the file with customers.
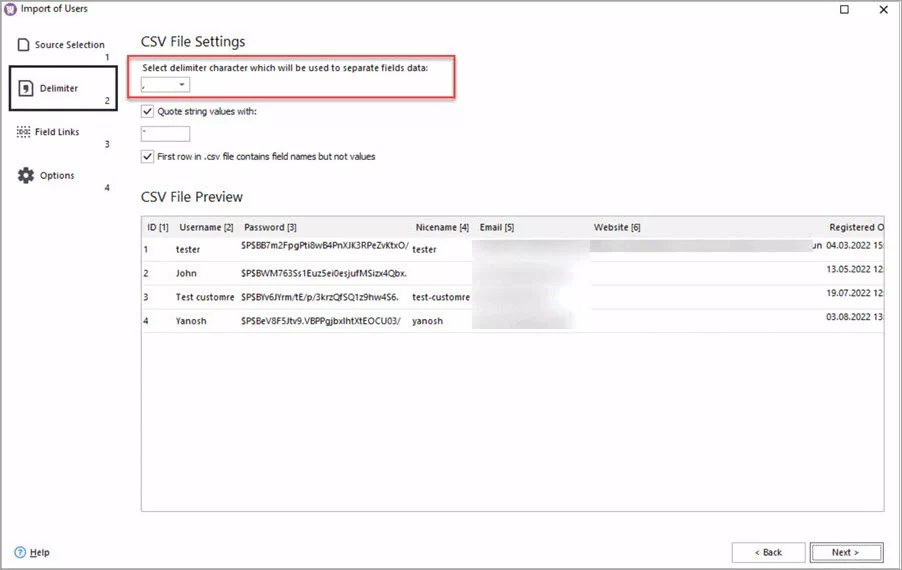
- Specify delimiters used in your import .csv file.
- Link columns from the file to the database fields.

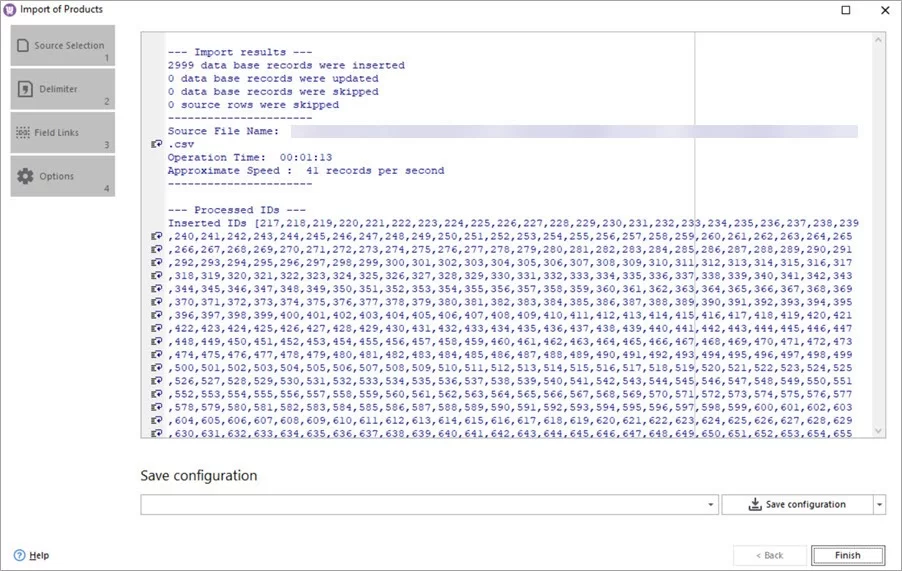
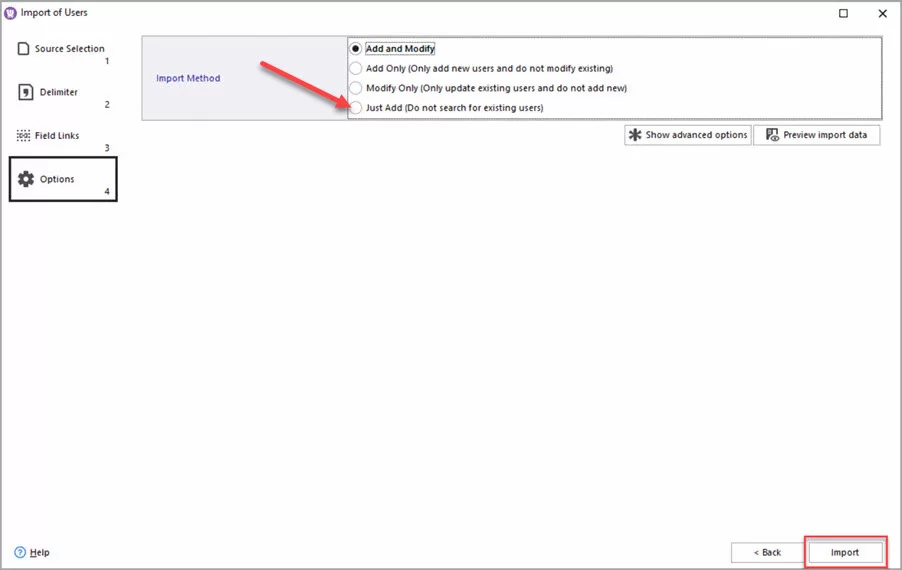
- Select the Just Add import option and start the import.
After the import is complete, you can check the created users with IDs in Store Manager:
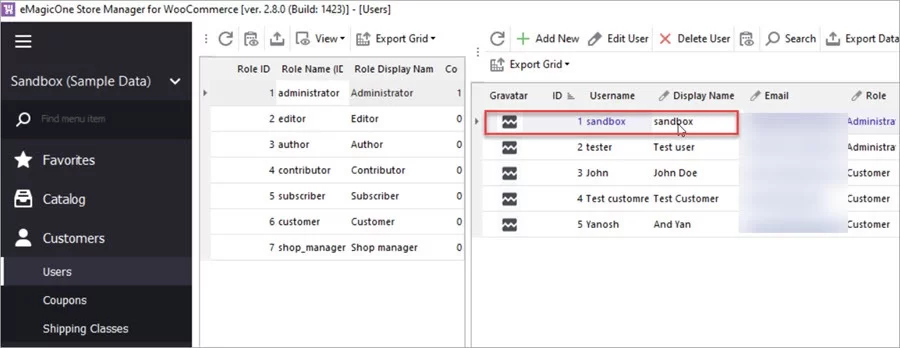
As you can see, the user with ID 1 is not the one listed in our file. To fix this, we’ll perform one more import during which we’ll replace existing user data with the one from our file.
Step 2. Import Actual Customer Data
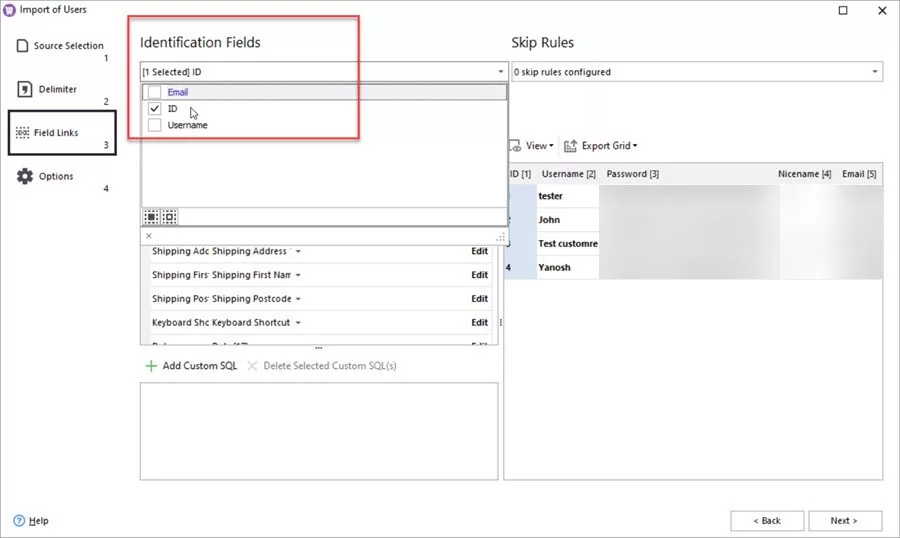
The import steps will be the same as described above. The only significant difference is that in step 3 Field Links, you should select ID as an identifier:
Finish the import following the wizard prompts. Now you have your customers with IDs and actual data in your new WooCommerce store.