WooCommerce Order Management Tutorials
WooCommerce order management is one the most important aspects of online store handling.
In WooCommerce orders are created when customers complete the checkout process. Each order is given a unique order ID.
When it comes to processing of orders, the task might be tricky as default means of sales management are a bit limited. Thus, there might occur the need to extend and enhance existing functionality.
Improve your WooCommerce order management flow with Store Manager for WooCommerceTry FREE
Store Manager for WooCommerce gives you more control over sales data. This article explains how order information is managed in the app.
The software allows you to view, create, edit, and delete orders, change details in them individually as well as in bulk.
Viewing Orders and Order Data
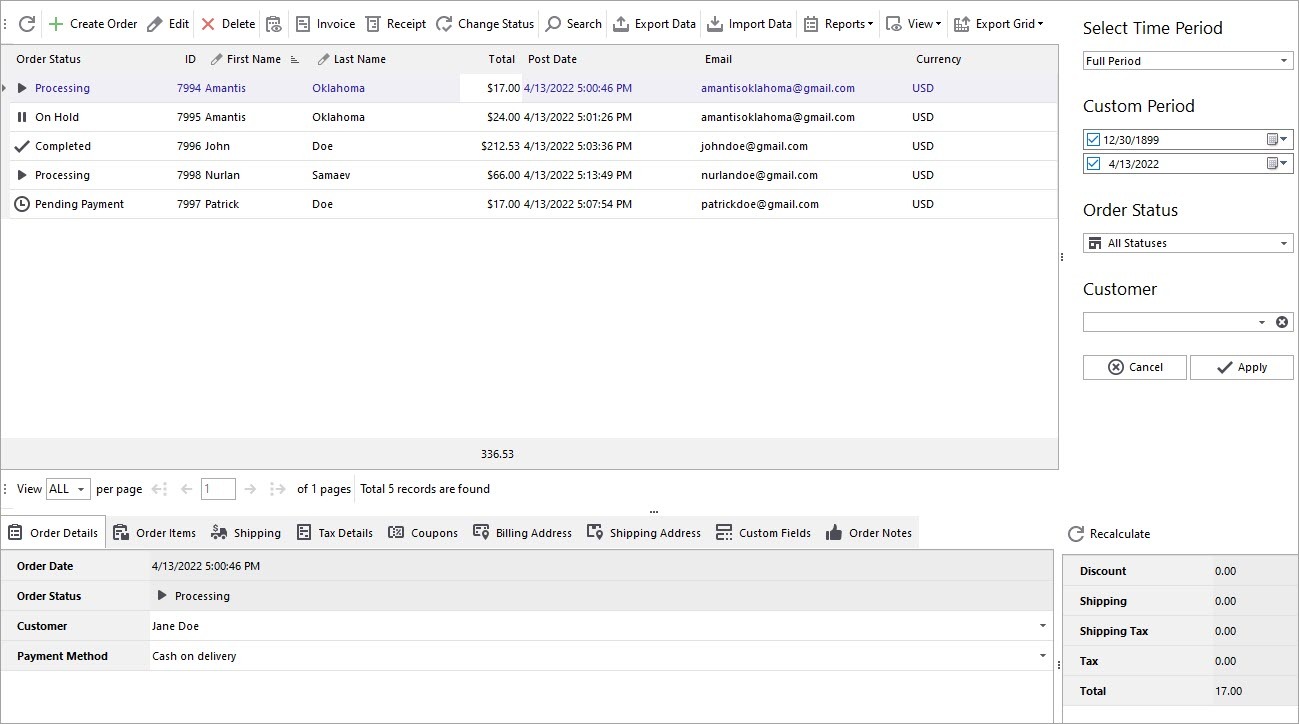
Browsing and filtering with Store Manager is extremely responsive. In Orders section of the application you can see all the sales data displayed at one page. There is no need to wait for browser pages to load. You can view and modify necessary details from the same place. This improves navigation time greatly.
Generally there are 4 data sections:
- Orders that displays the list of available orders.
- Edit orders grid with tabs possessing sales-related fields with information in them (details, ordered items, notes, billing and shipping address etc).
- Totals showing shipping and tax calculations.
- Filter allowing you to select out orders by time period or order status.
Filtering Sales
The first way to select out sales is using default filter on the right (it was mentioned above). Other filtering possibilities also include сustom filters by order ID, customer’s first and last name and totals.
Adding New Order
Create new order using the ‘Add New’ button in order menu. Once it is added, in the lower grid you can input the customer details, add ordered items, and calculate the totals. You should set a relevant status for the new order – if it needs to be paid use ‘pending’. To save changes press “Apply” button.
Editing Sales Info
From the single order page not only can you view all order data, you can edit and update it. It is possible to:
- Modify the order status and payment method
- Change buyer, shipping and billing details
- Edit order items, shipping and tax charges
Mass Update Order Info
Rather than editing details one-by-one, some of the info can be adjusted for multiple orders at once.All you need to do is to select sales you need to make modifications to and input values for them in appropriate fields of lower grid. The fields available for mass update are marked with text “Enter new values for selected records”.
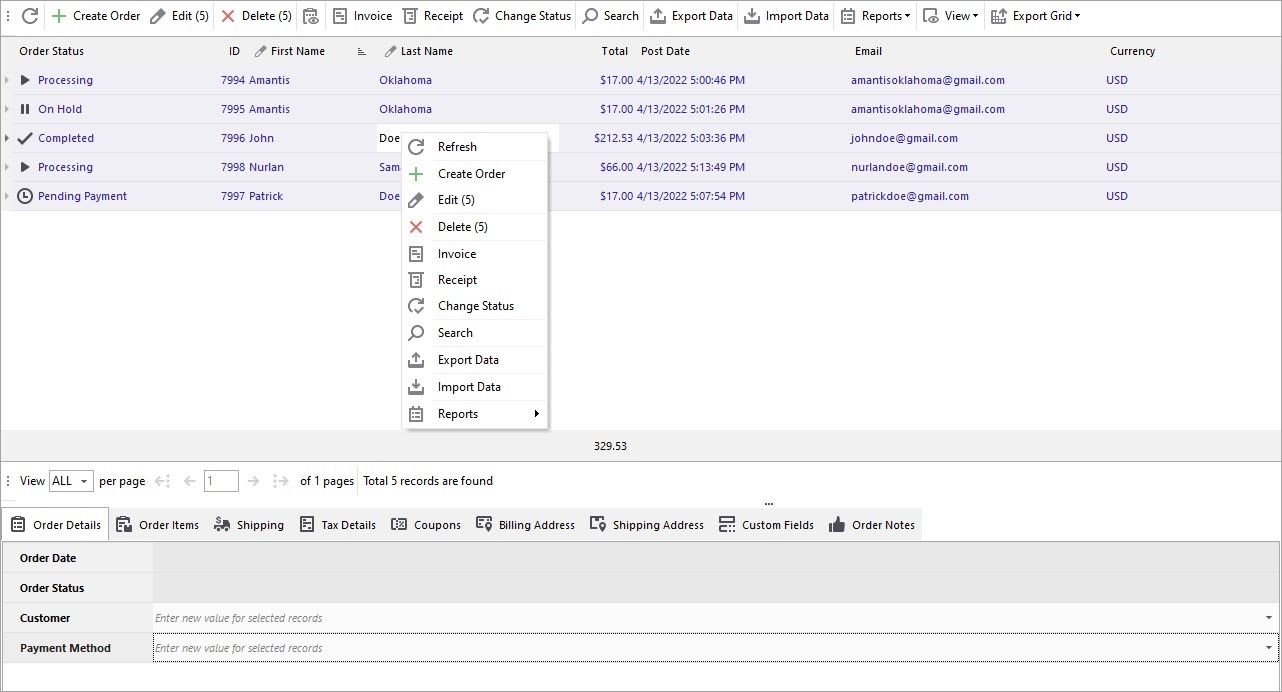
Delete Orders In Bulk
Just a reminder: it is advisable to cancel orders that were not processed, rather than deleting them. Keeping all the order records is better for your accounting.
However, in case there emerges the need to remove test orders, the “Delete” option will be helpful.
So How to Start Efficient WooCommerce Order Management?
- Download and install Store Manager for WooCommerce at your computer
- Set up database connection
- Go to ribbon menu, Store > Orders section
- Do necessary changes
- That’s it! Sit back and enjoy!
Need more reasons to give it a try? Store Manager for WooCommerce is all-in-one feature-rich management tool that possesses enhanced product, customers and orders management options - https://woocommerce-manager.com/
Do not spend time and money on multiple modules. Get all the needed functionality integrated into one tool!
Related Articles:
How to Remove WooCommere Orders
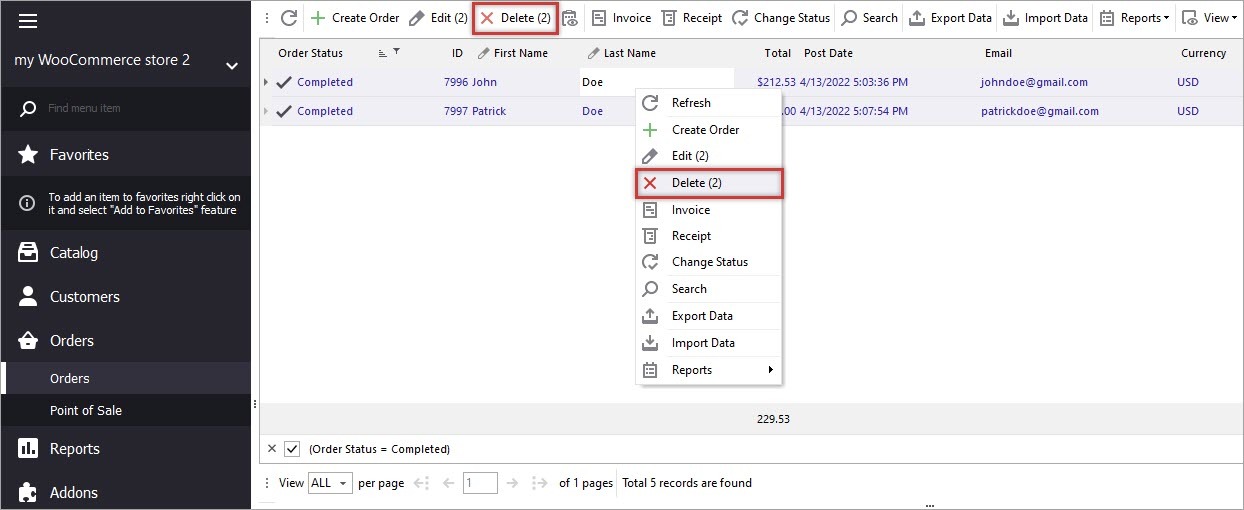
Do you need to remove WooCommerce orders with "Completed" status? Or you are moving from a shop with demo data to a new site and want to delete test records? Delete them one by one and in bulk with Store Manager. Read More...
How to Import Orders in WooCommerce
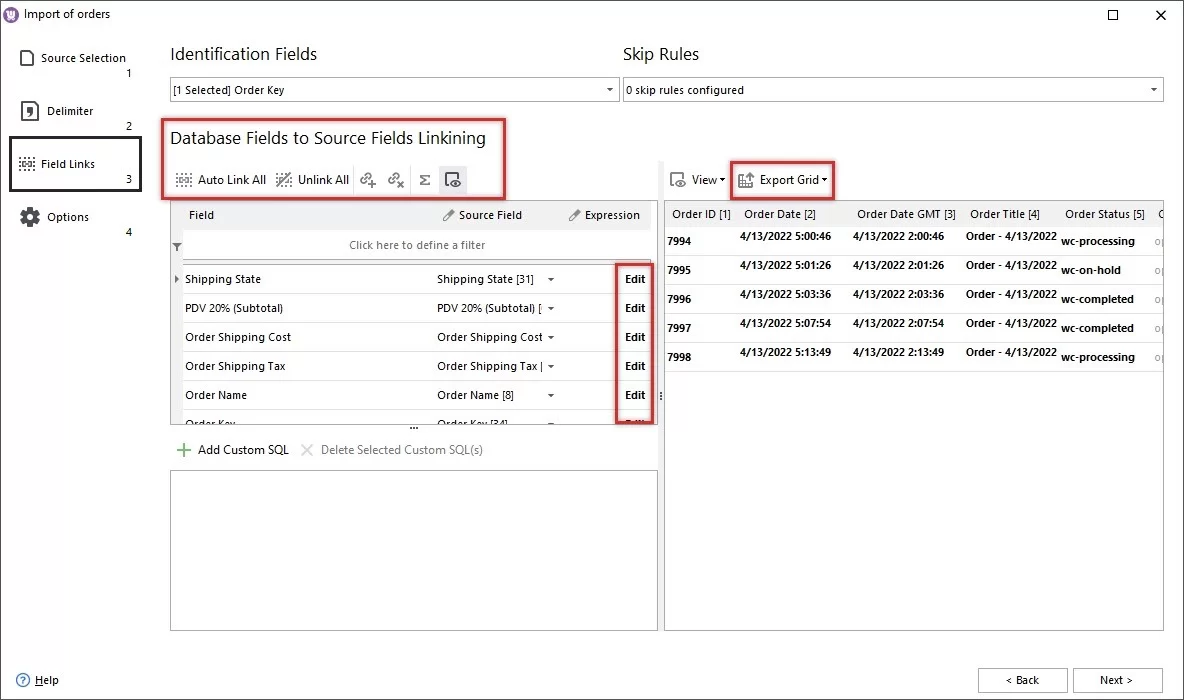
To assist you with WooCommerce orders upload Store Manager offers the possibility to do it from a CSV file in an advanced manner. Read More...
WooCommerce – Order Export To CSV
Running an online store, you may need to export WooCommerce orders to CSV, for instance, to prepare a report for yourself or your supplier. Use Store Manager for advanced export. Read More...
COMMENTS
