Schedule WooCommerce Stock Updates
The need to perform each and every step of inventory update process on frequent basis seems to be too exhausting. Fortunately, the possibility to schedule WooCommerce stock updates can help you out of such a trouble.
How to Schedule WooCommerce Stock Updates?
Using Store Manager you can select the CSV file containing the stock levels and import it to your WooCommerce site according to the preset time or frequency.
From your side, you just need to upload or create import configuration that will be executed according to the arranged schedule. The whole procedure will be accomplished automatically by Store Manager.
Use this step-by-step guide to configure automatic inventory updates in WooCommerce:
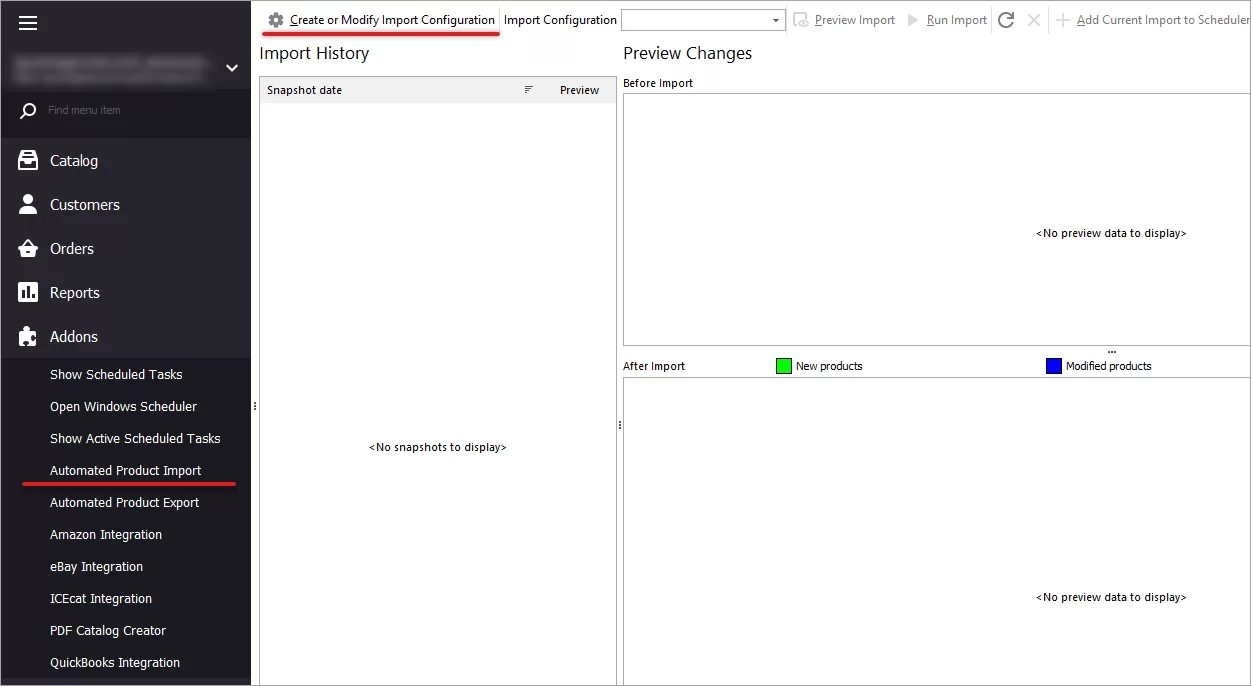
- Launch Automated Product Import tool from 'Addons' tab. Tap 'Create or Modify Import Configuration' button.
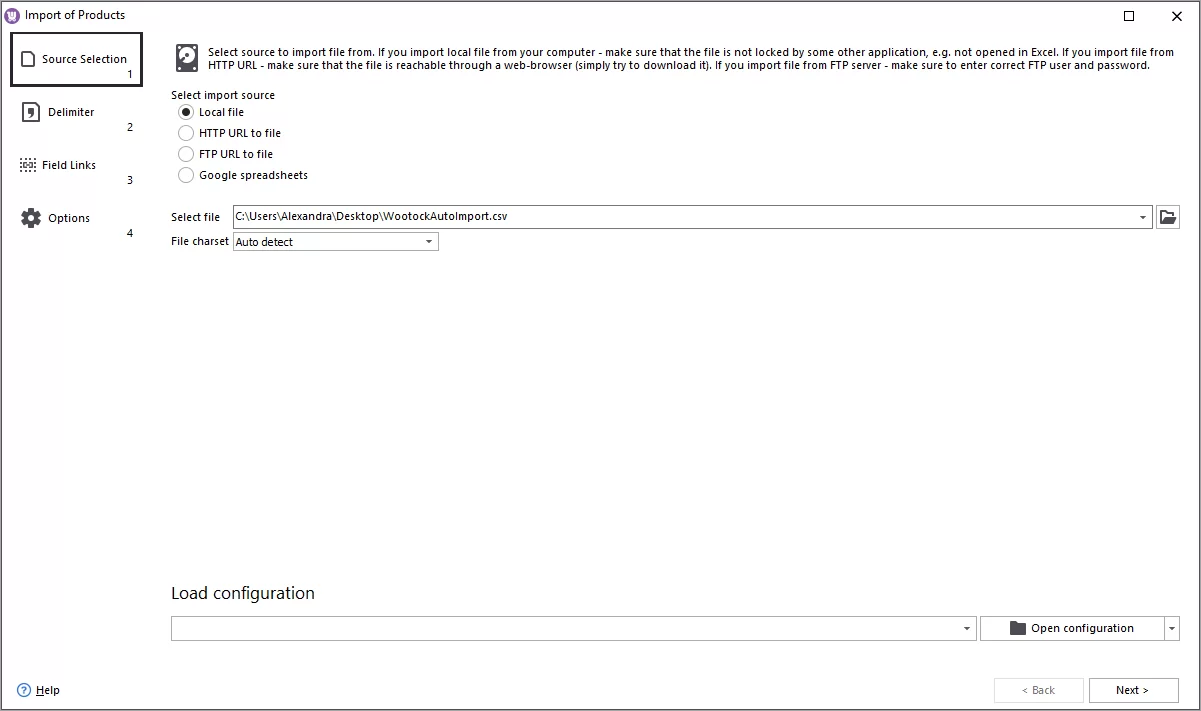
- Specify directory to the file containing the updated stock levels that you want to synchronize with your site. Press 'Next'.
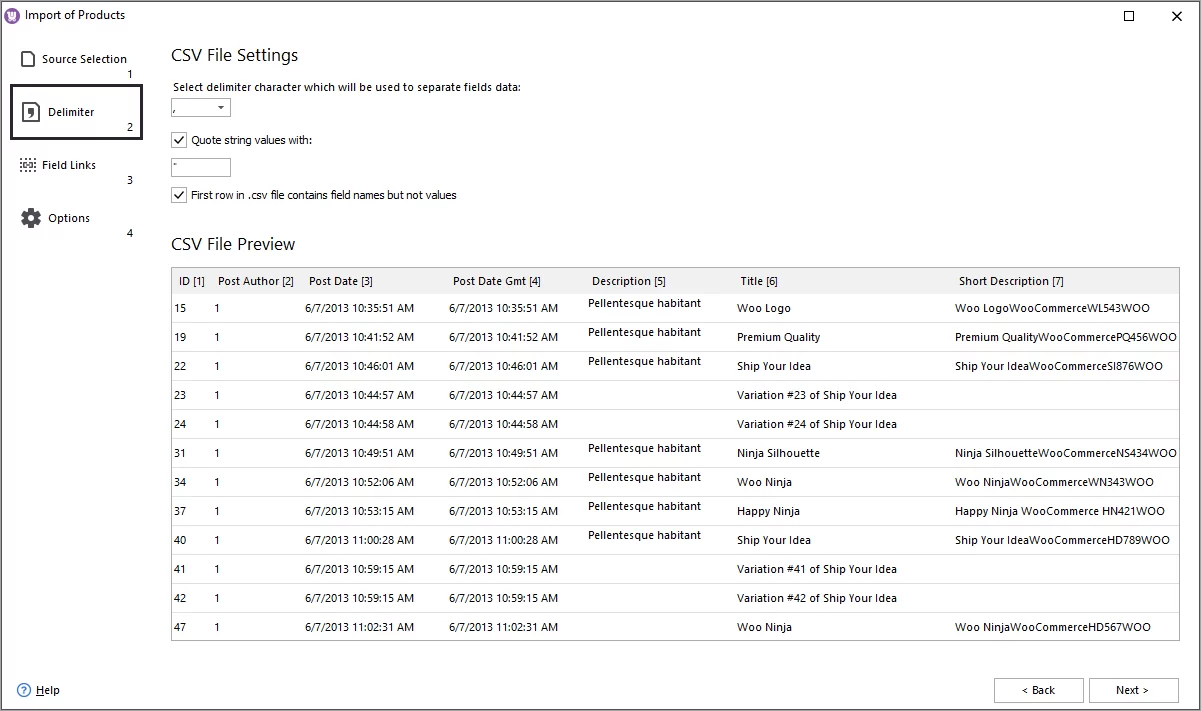
- Select CSV delimiters to separate data fields. If the first raw of the update file contains names but not values, check the corresponding box. Press 'Next'.
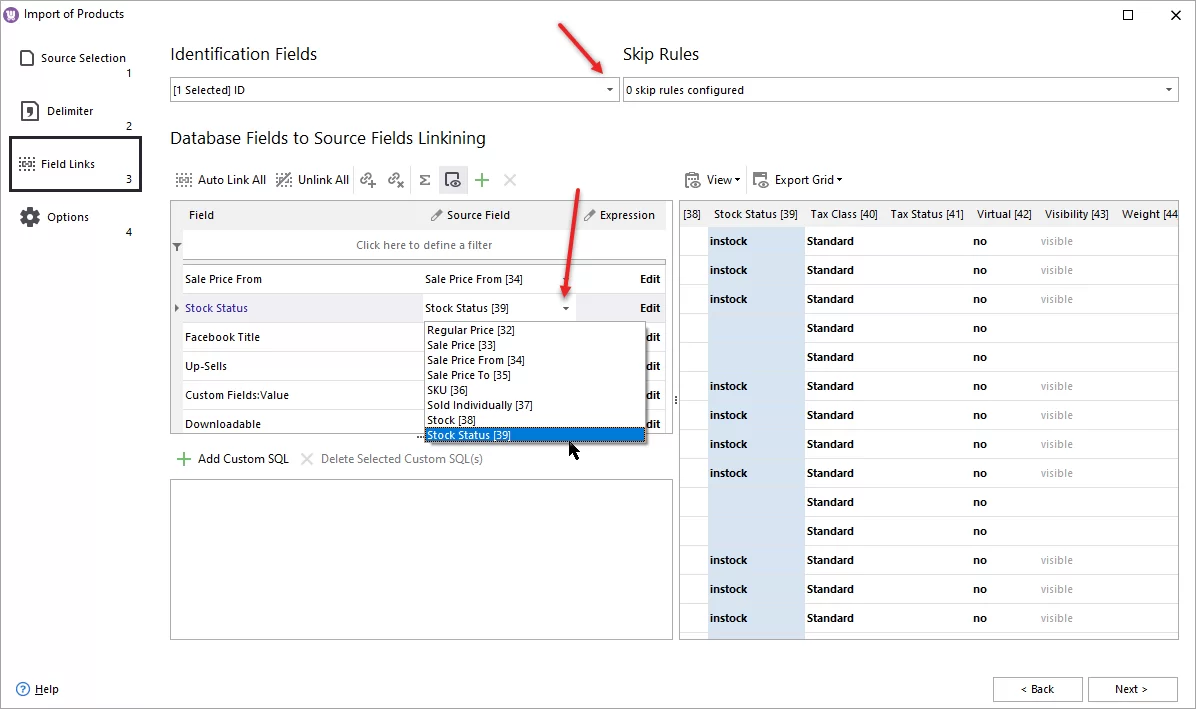
- Map fields contained in the file to the database fields using the drop-downs next to each field on the left pan. It is recommended to select ID as the product identifier for product update. Press 'Next'.
- Select 'Modify Only' import method. It is used to only update existing products. Press 'Import'.
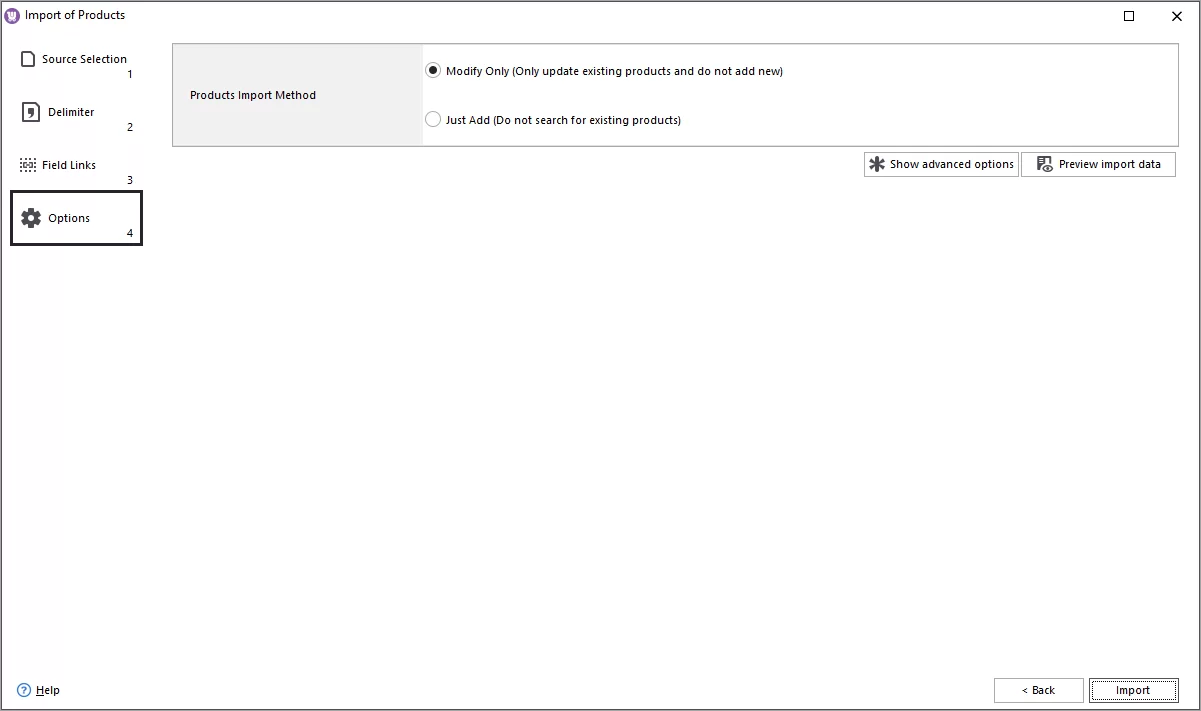
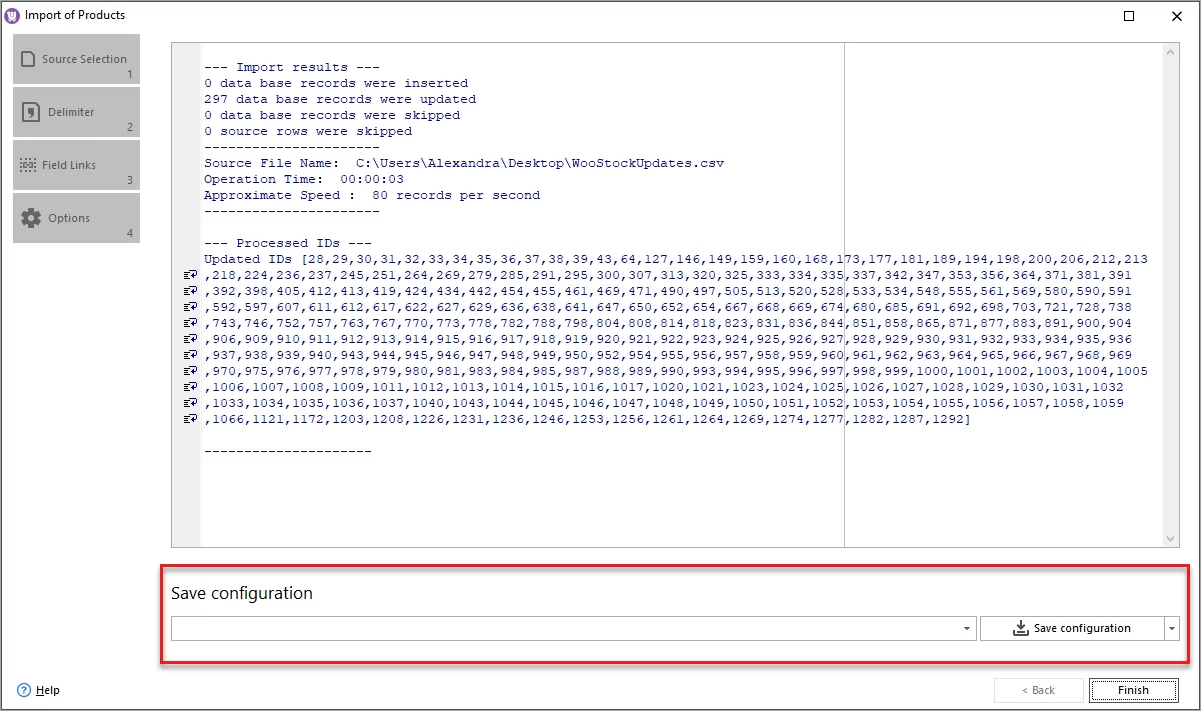
- Give the name to the current configuration and save it. Press 'Finish'.
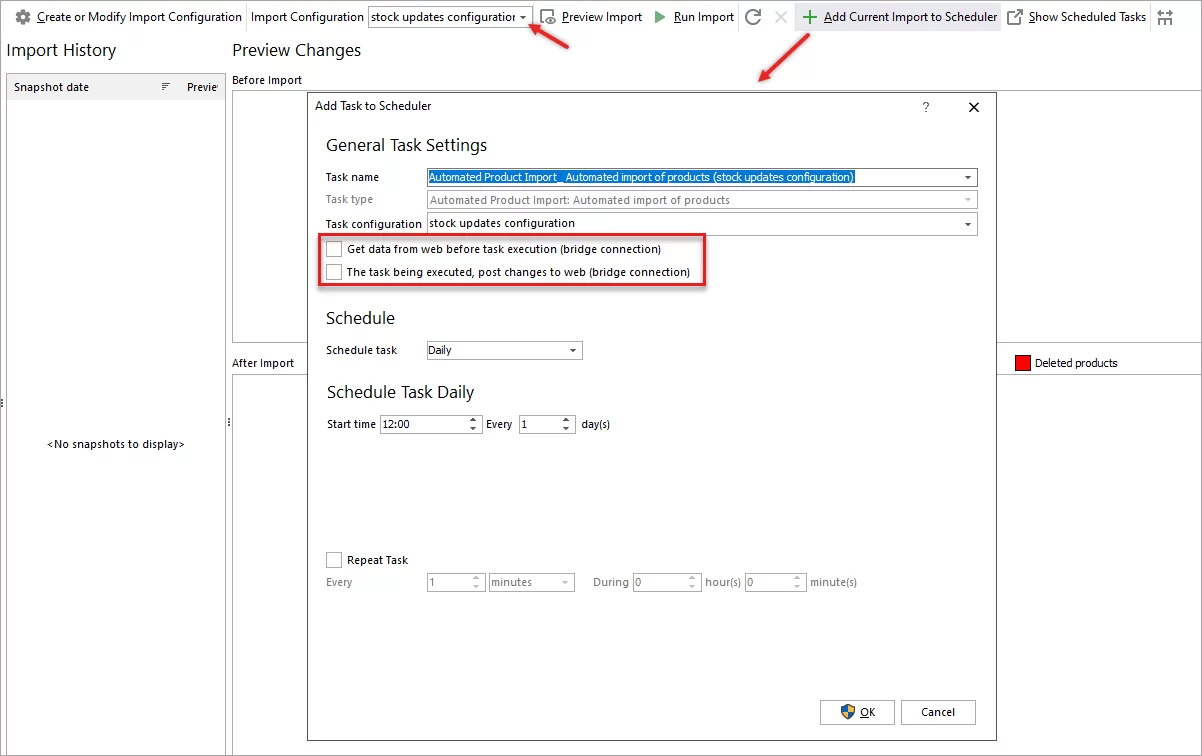
- Now you are ready to schedule WooCommerce stock updates using the created configuration. To do this, select the configuration form 'Import configuration' drop-down and press 'Add Сurrent Import to Scheduler' button.
Configure General Task Settings. In case you are using bridge connection type, you should enable the following options: Get data from web before task execution and Post data to web after task execution. This will ensure accurate update implementation.
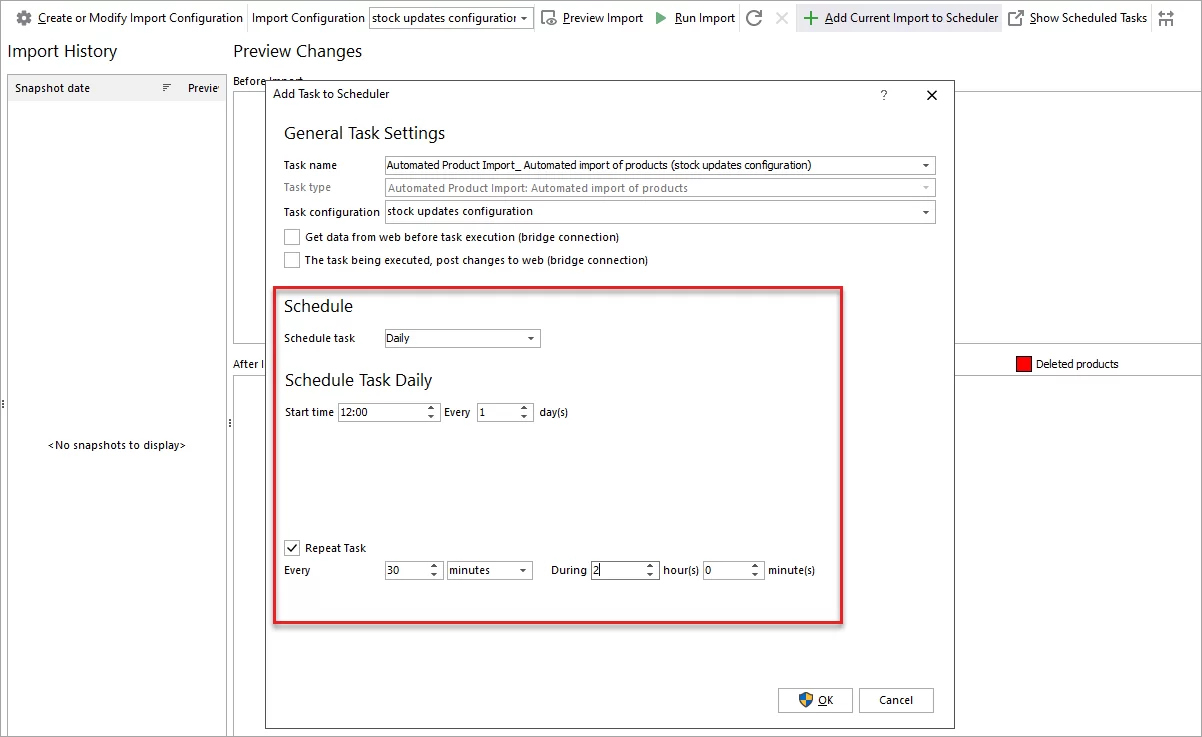
- Arrange the stock update task to be executed on regular basis (daily, weekly, monthly) or once at preset date and time. Check Repeat task box if you want the task to be repeated after every period of time specified.
Schedule More Than One WooCommerce Update Task
It is possible to create a couple of import configurations and schedule them for necessary time or frequency. You can check the list of tasks arranged by pressing 'Scheduled tasks' button.
Automated Product Import tool can be used to update any product details. Just make sure that those details are contained in the CSV file.