How to Add WooCommerce Product Brands in Bulk
When it comes to increasing your store conversion, you may consider adding manufacturer or brand information to your products. Indeed, this information helps attract user attentions and build trust. But in WooCommerce, there is no a default "Manufacturer" or Brand field. This can be solved via creating a custom field or using a popurar "Perfect Brands Plugin for WooCommerce". If you stick to the latter option, keep reading to learn how to asign a brand to an individual product and add brands to WooCommerce products in bulk.
Before we begin, make sure that the "Perfect Brands Plugin" is activated in your admin. To do so, go to Plugins > Installed plugins > Perfect Brands Plugin for WooCommerce..
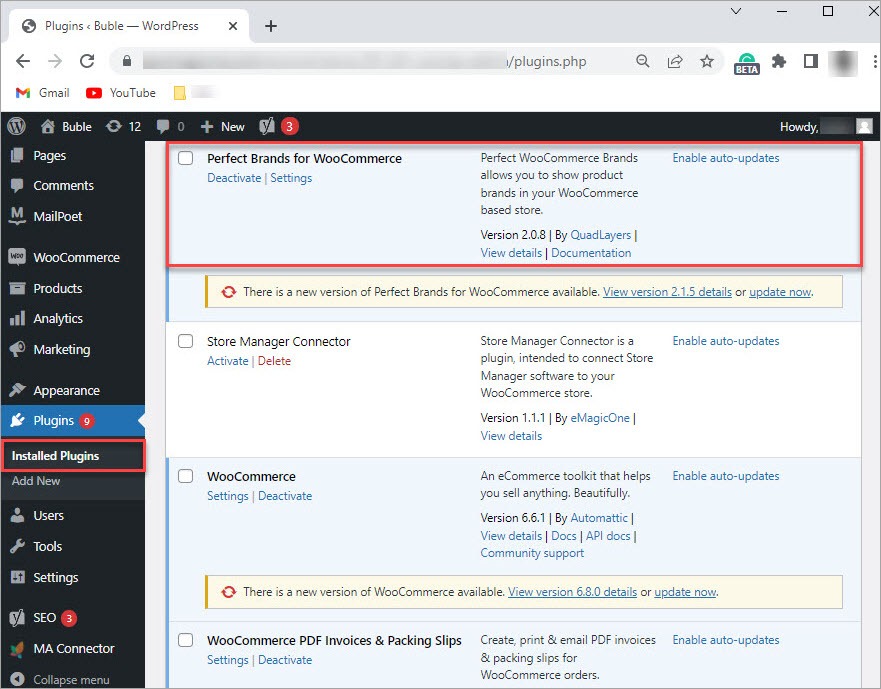
Now, let's proceed with adding brands to products.
Add WooCommerce Product Brands via Admin Panel
To add a brand to a product, select the product and click Edit. You can find the Brands section on the right. Here you can add a new brand or select an existing one(s):
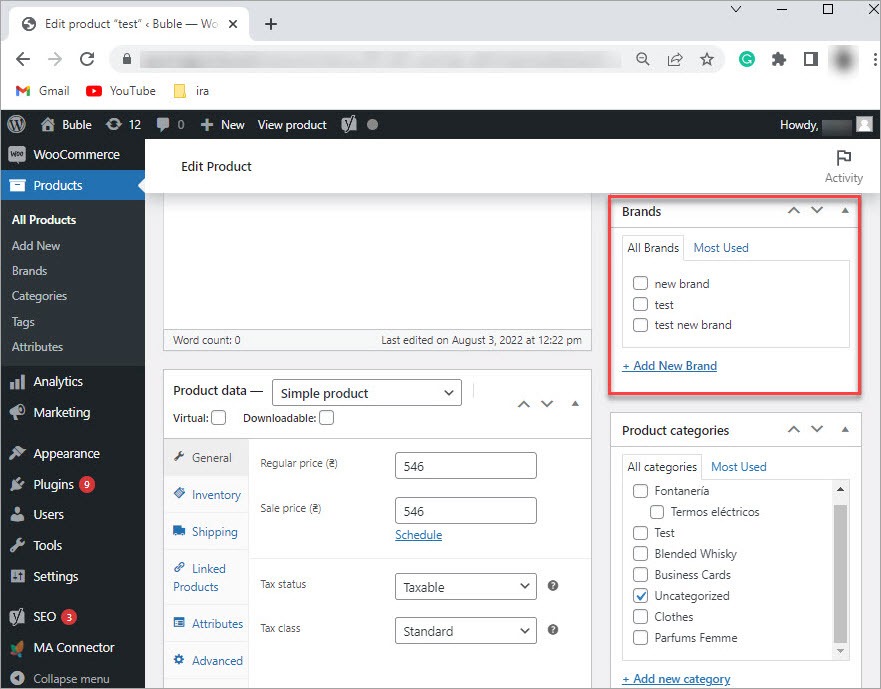
To add brands to multiple products, you have to edit each product one-by-one.
Add WooCommerce Brands in Bulk via Store Manager
Store Manager for WooCommerce supports the Perfect Brands Plugin for WooCommerce. You can use Store Manager to add brands to a single and multiple products.
Store Manager is a downloadable application that enhances the default functionality with tools for bulk edits, advanced import/export, database backup, data generation, and others.
If you don’t have Store Manager yet, download a free trial and install it on your computer. Connect the application to your store database and enjoy the simplicity of your store administration.
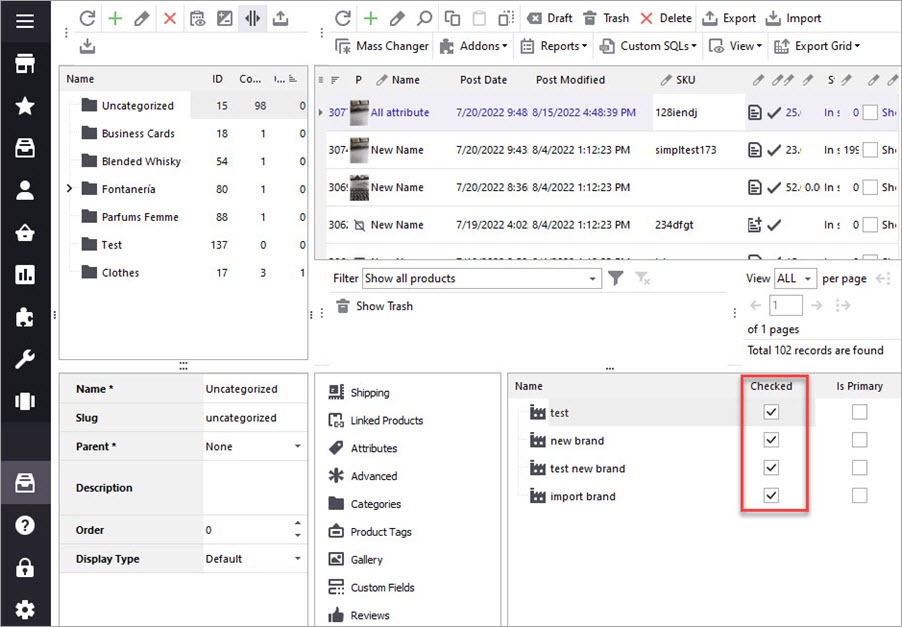
To add a brand, select a product and switch to the Brands tab in the lower grid. Select a checkbox(s) to add brands.
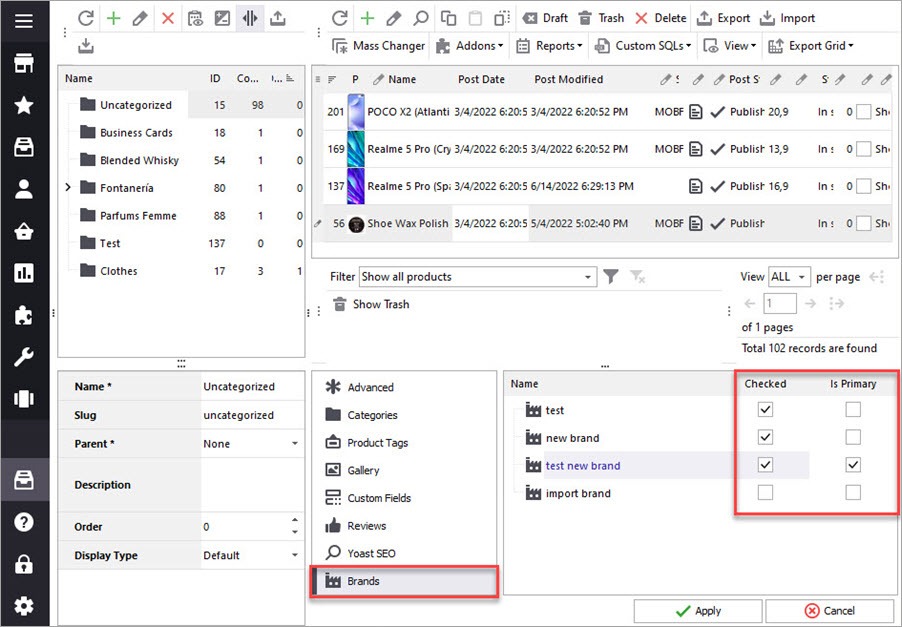
To add brands in bulk, simply select products and check the brands in the lower grid. Click Apply to save the changes.
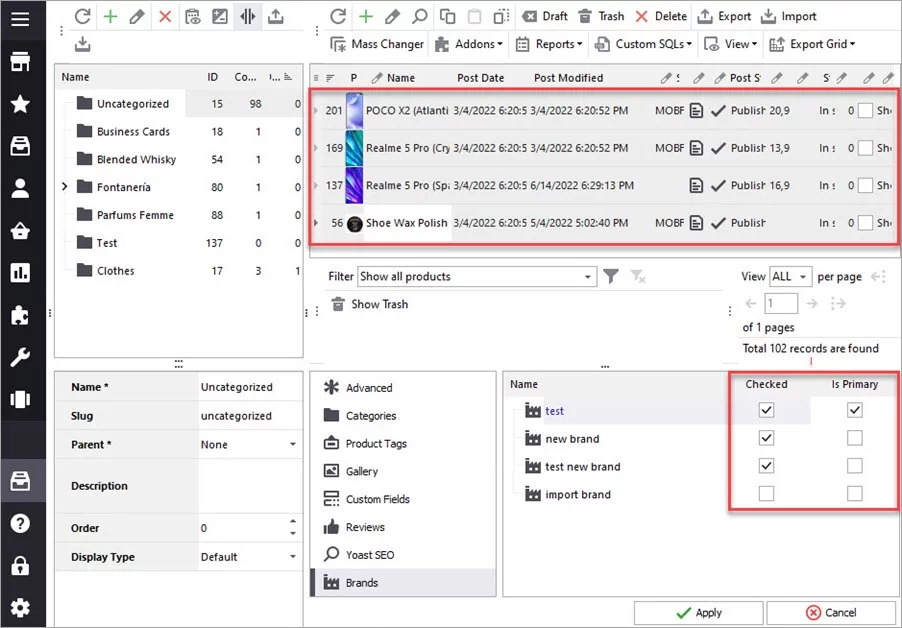
Store Manager also allows adding a brands to products in the course of import.
To add brands to existing products, the file format would have the following fields: SKU (or ID) and Brands. To add several brands to a product, separate them with a pipe line:

Launch import wizard and follow the suggested steps. In step 3, check the mapping of fields and complete the import.
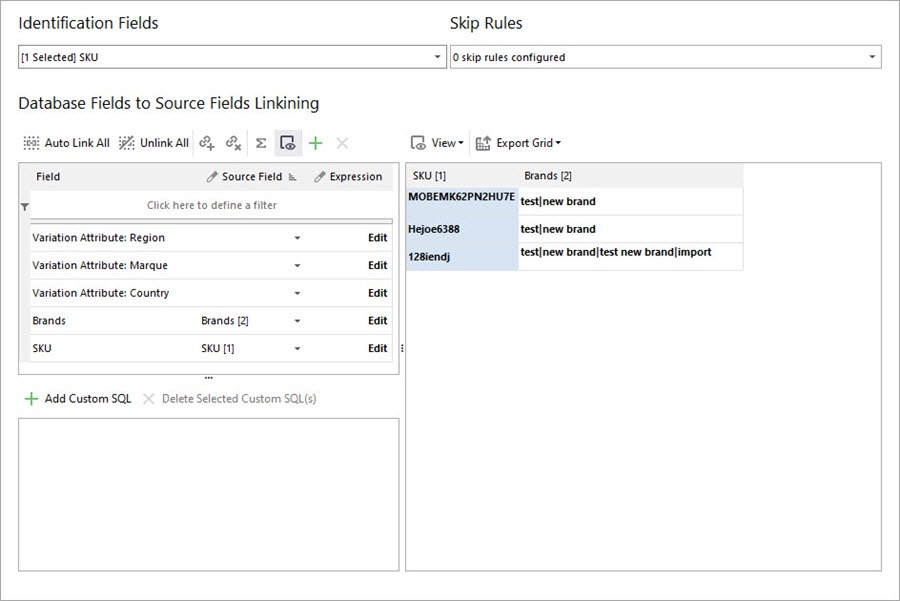
Let’s check the result in Store Manager. As you can see, the products were updated and brands were added to them.
If you have any questions on how to add WooCommerce product brands or struggling with brands import, write them in the comments section and we’ll try to help.
Add WooCommerce Product Brands in Bulk with Store Manager
Try now FREERelated Articles:
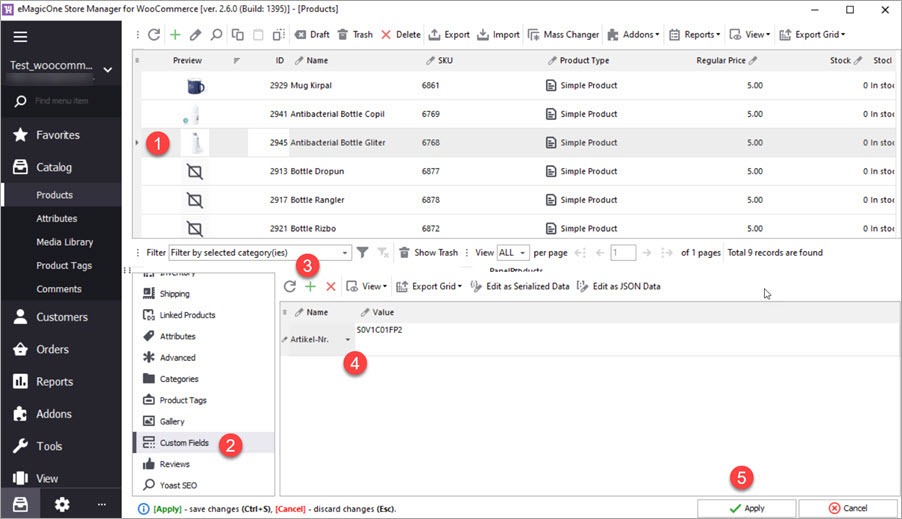
Add Custom Fields to WooCommerce Products
How to add custom fields to your merchandise massively via Store Manager.Read More...
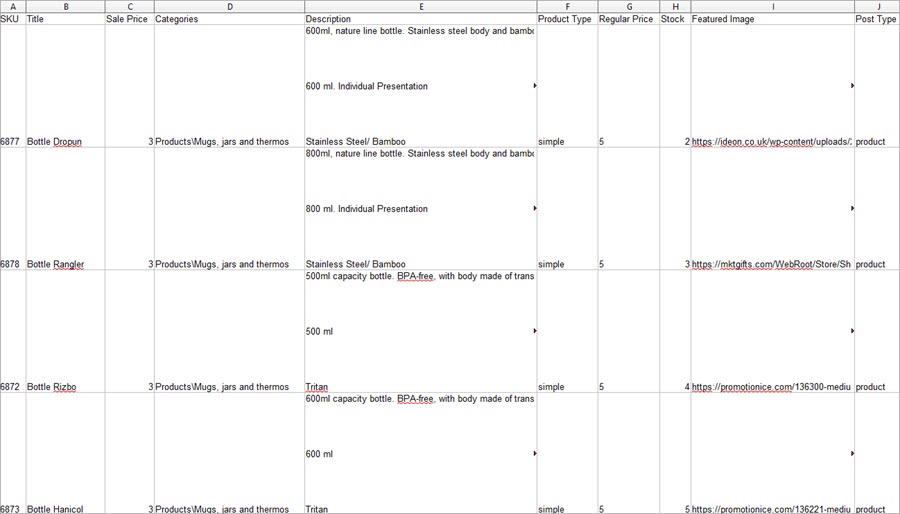
WooCommerce Product Import Tutorial
A detailed instruction on how to import products to WooCommerce. Read More...
Bulk Replace Text, Images, and Slug WooCommerce Fields
How to search for and replace various kinds of data within your WooCommerce store. Read More...
Update WooCommerce Product Tags In Bulk
How to update WooCommerce product tags in mass using WooCommerce Product Tags Mass Changer.Read More...


