WooCommerce XML Import
Are you running an e-commerce website and selling products from different suppliers? Then you’re probably looking for a tool to import XML feed to WooCommerce.
In this article, we’ll review such a tool. Store Manager for WooCommerce will help you connect with your suppliers, add new items, modify store data on the go, run automated import in the background, and other tasks.
Steps to import XML feed to WooCommerce
How to import XML feed to WooCommerce step-by-step:
- Run the Import Wizard
- Specify the XML file location
- Convert XML Data to CSV
- Select product identifier and map fields
- Select the import method
- Preview data
- View import log and save the configuration
- Check imported products
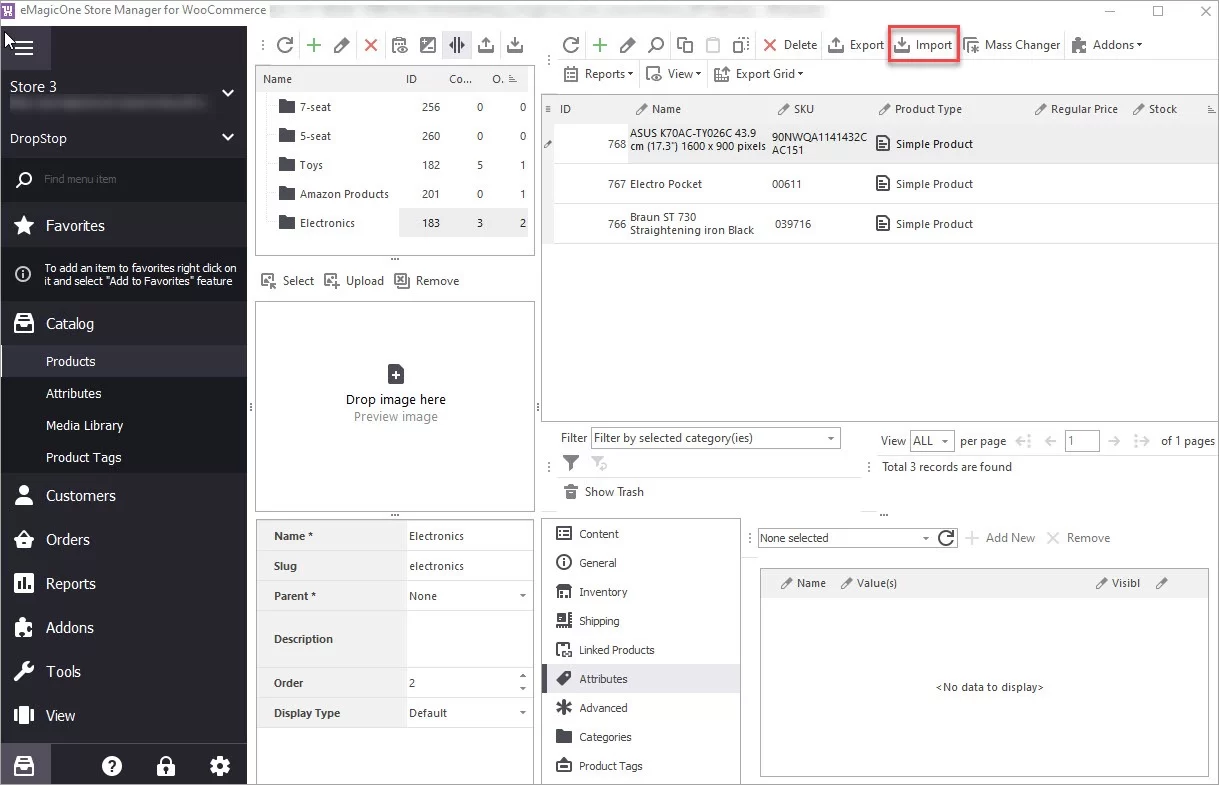
Run the Import Wizard
After you’ve installed Store Manager and connected to your store, you can begin the import setup. Press “Import” on the toolbar:
Select XML file
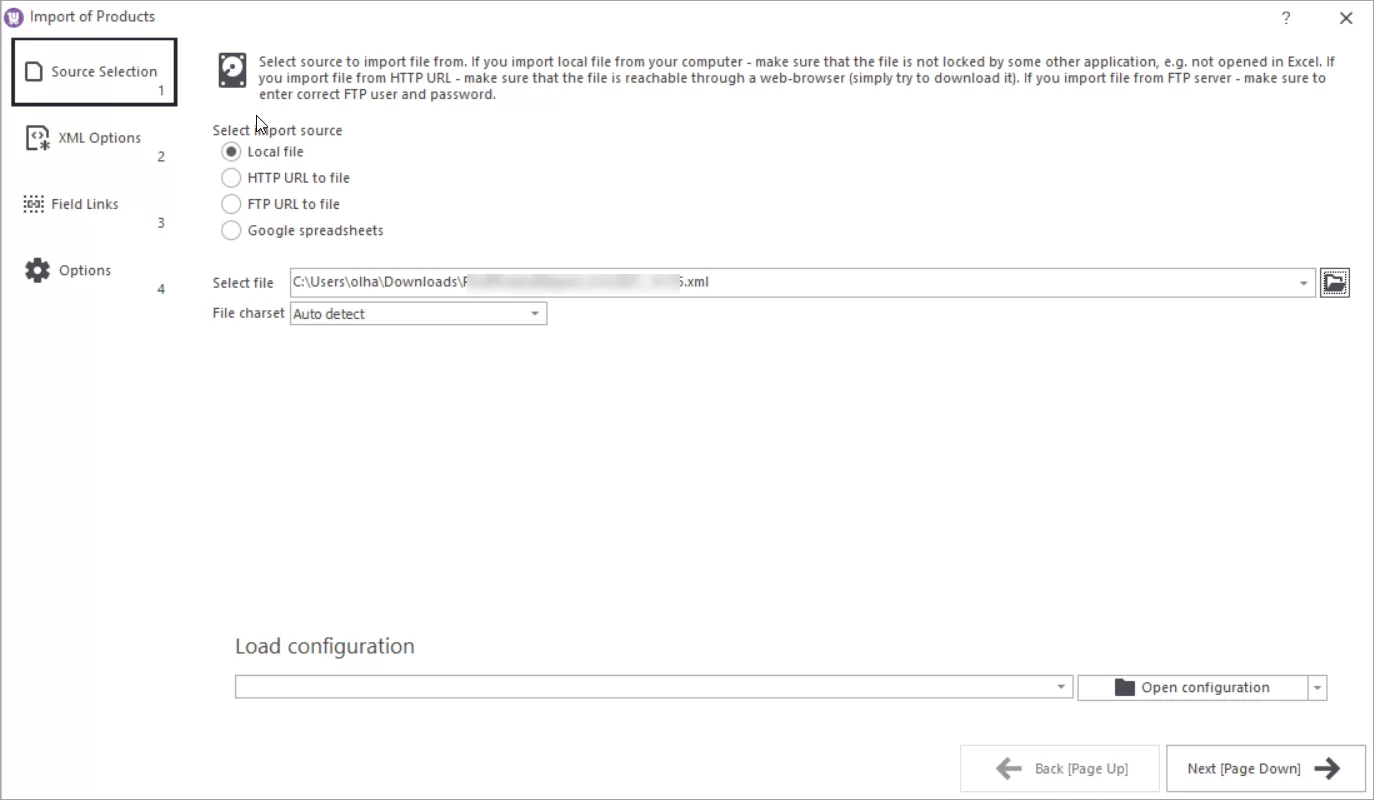
You can import an XML file from various locations: local computer, URL, or FTP:
Convert XML Data to CSV
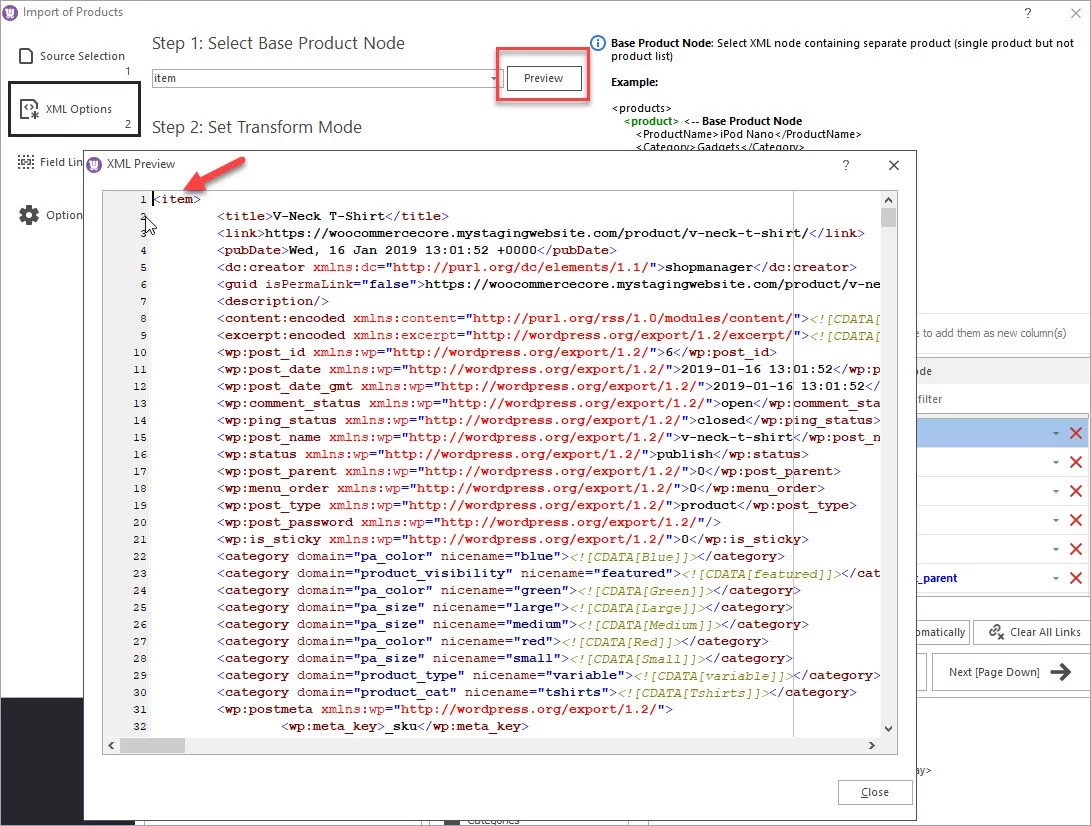
The settings in this step will help you parse the XML file and convert it into a table format. Firstly, select a node containing details of a product. In our case, it’s an Item (use the preview to check it with your file):
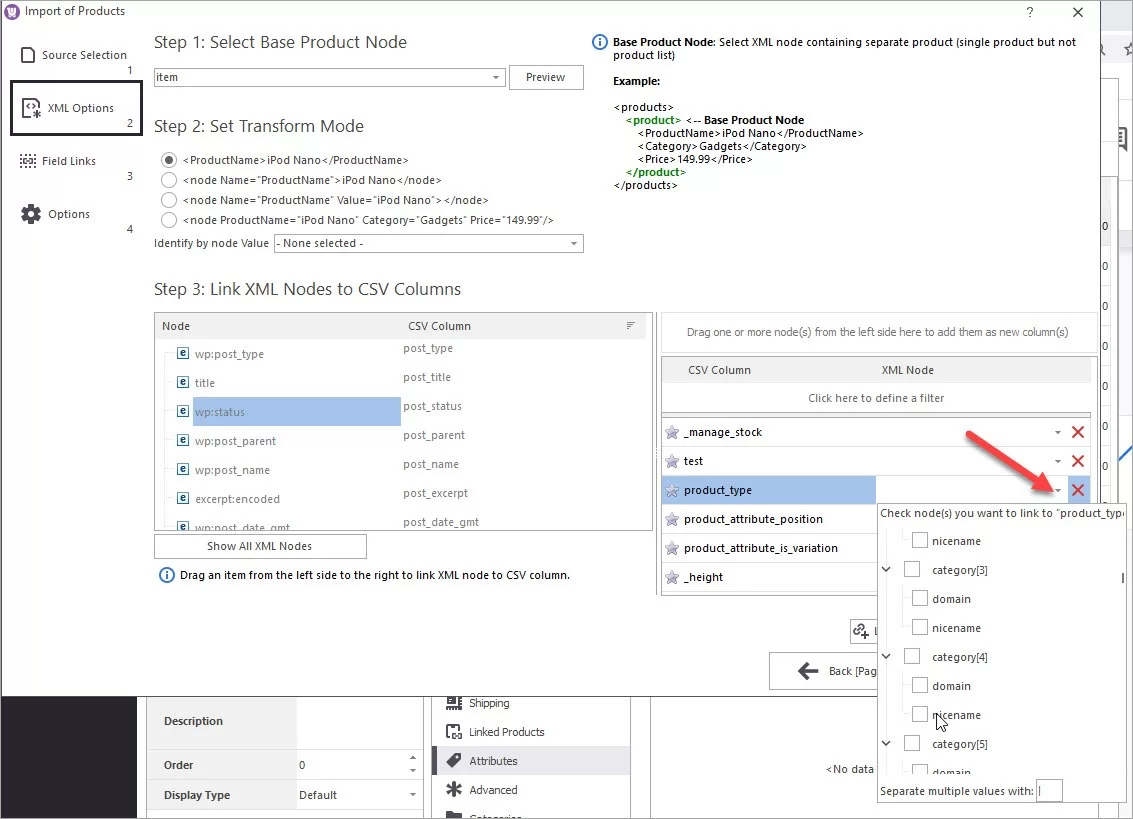
Next, specify the structure of the node that is used in your file. In our file, the structure is as follows: [code]text[/code].
And finally, associate XML nodes to CSV columns. Pick an XML node from the left pane and drag it to the corresponding CSV column in the right pane. Or click the field next to a CSV column to assign an XML node to it:
Press “Next” to proceed.
Select product identifier and map fields
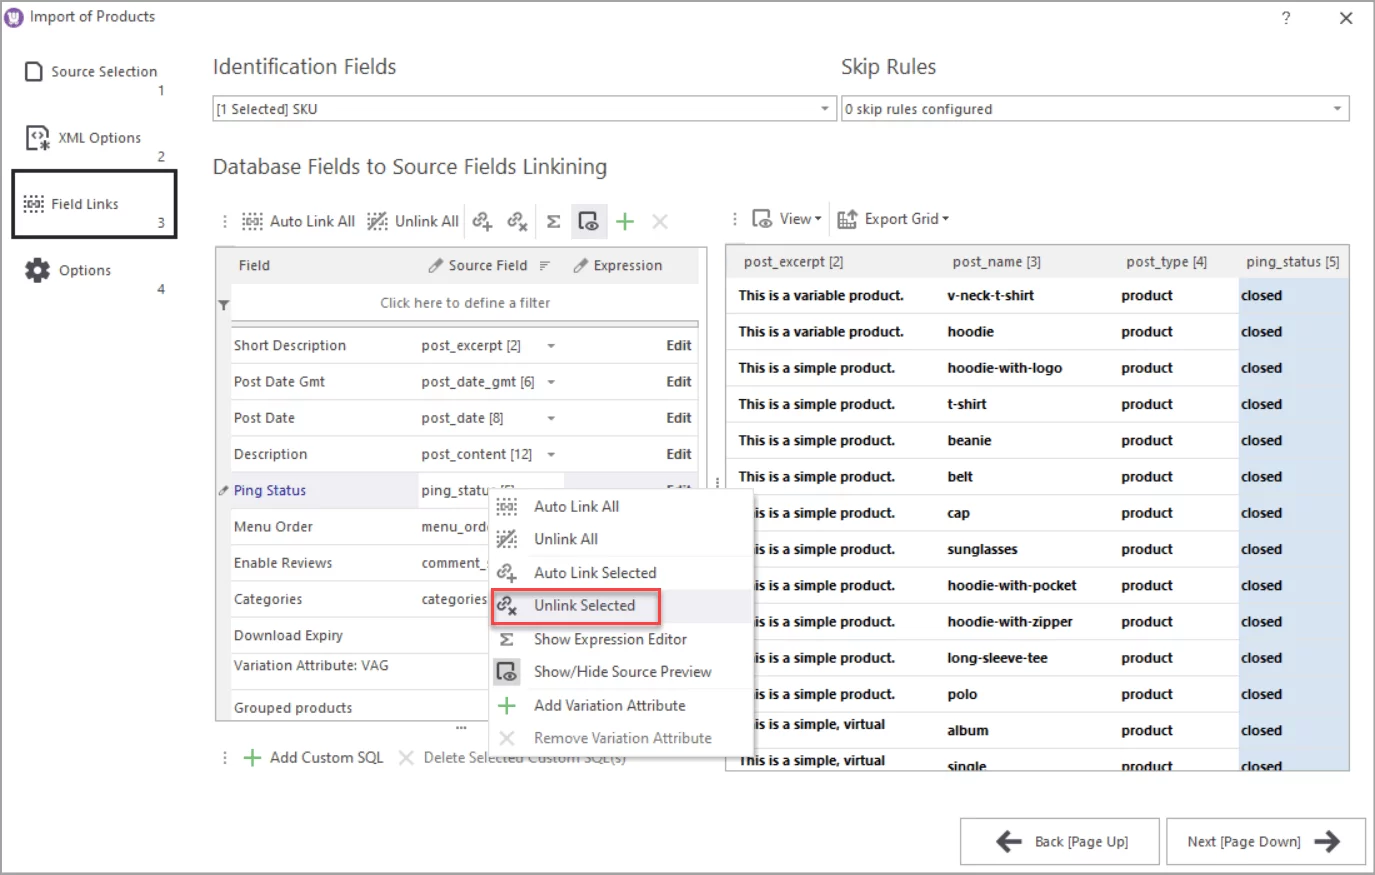
Now, select how you want to identify products: by their SKU or ID. Mind, that ID can be used only to update existing products that were previously exported with their IDs. The identification by SKU will work in most cases. We would recommend trying this one if you’re not sure.
You can add an SQL rule to skip the import of certain data, for instance, products with zero stock.
For the correct import, it is important to link fields from your source file to the corresponding WooCommerce database fields. To skip the import of certain feed columns, leave them unlinked or unlink yourself:
To see how to map columns and configure other import settings, watch this 5-minute tutorial:
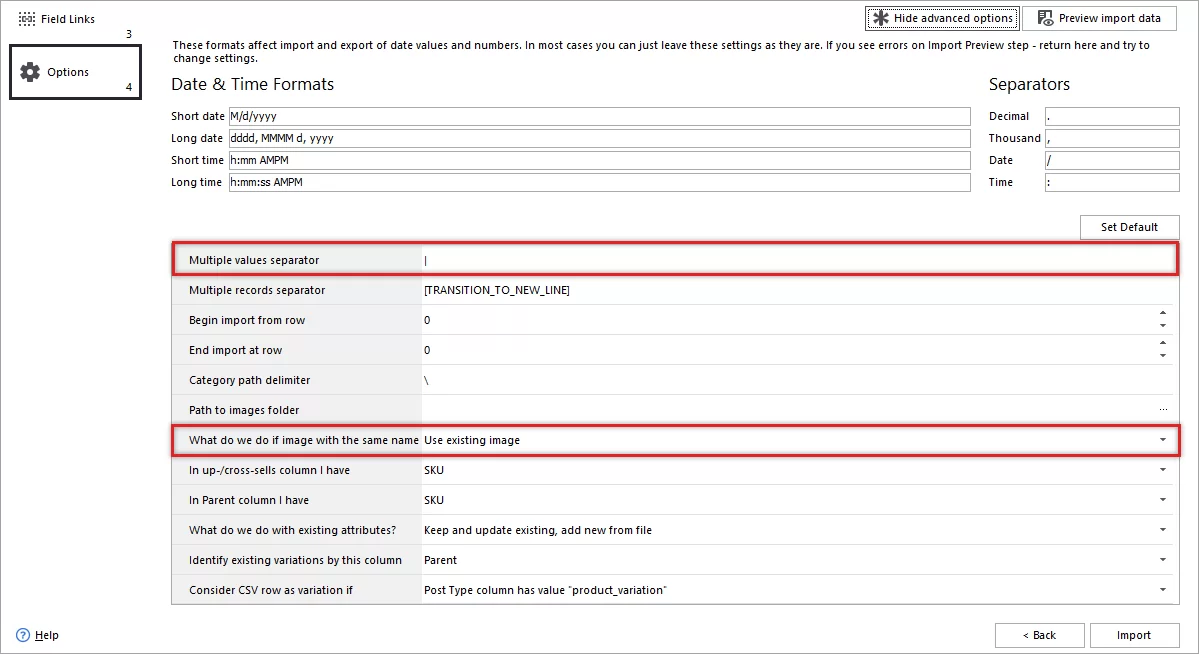
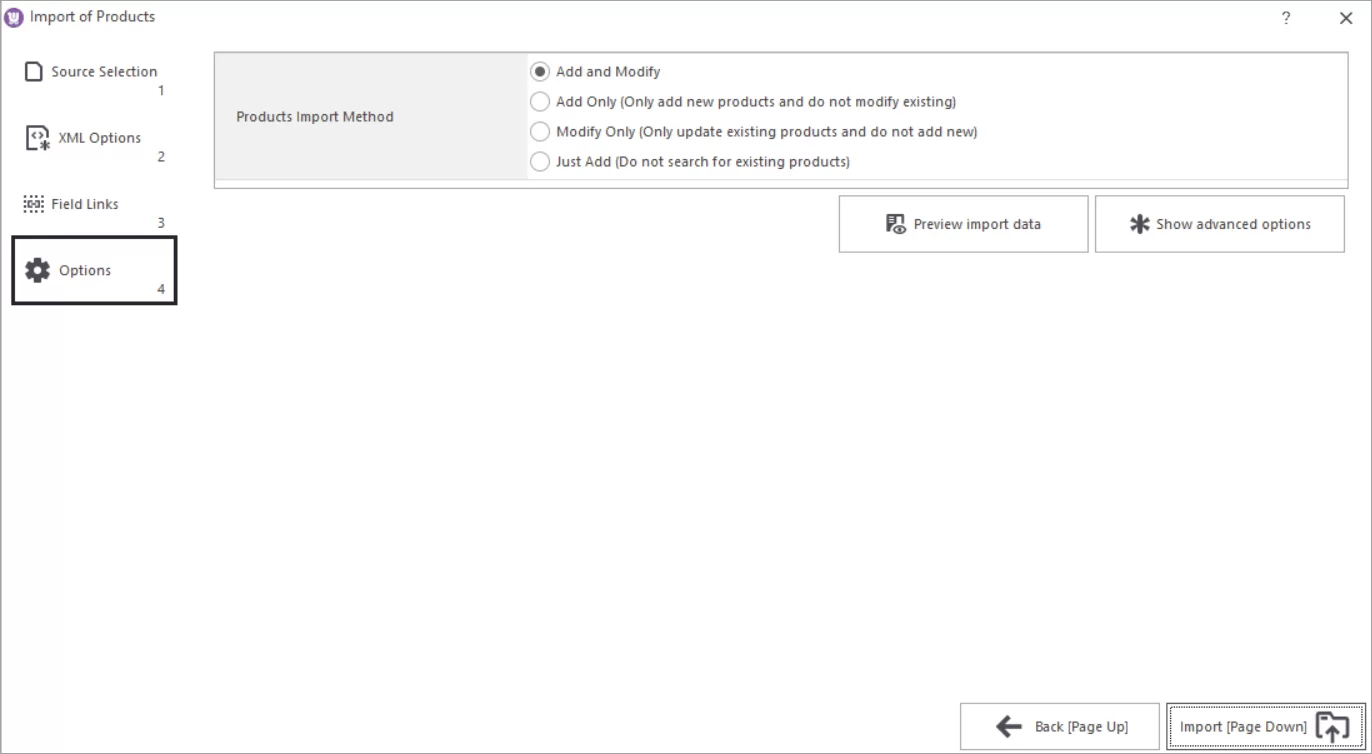
Select the import method
Data from the feed can be imported in several ways.
For initial import you can use the “Add only” option. Thus you’ll skip checking for the matching products and the import will go faster.
Use the “Add and Modify” option to add new and update existing products during import. If you only want to update existing products, use the “Modify Only” option.
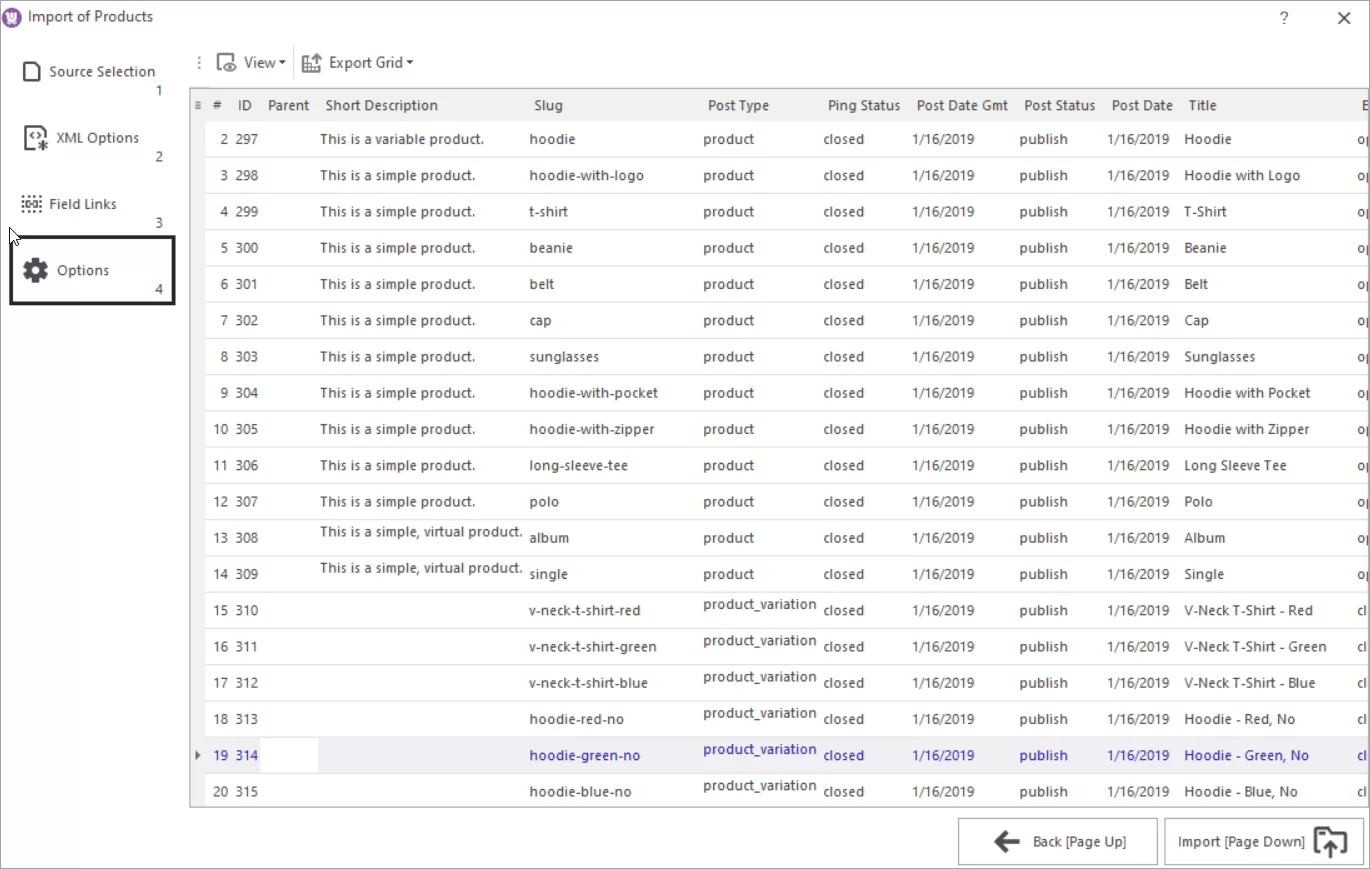
Preview data
Preview product list before importing it to make sure all the fields were linked correctly. Then press “Import”:
View import log and save the configuration
In this step, you can save current configuration to use in the future. You can also use it to set up automated product import.
Review the import log to make sure all required products were created. If some products were skipped, you will be able to see their IDs and the reasons why they weren’t imported.
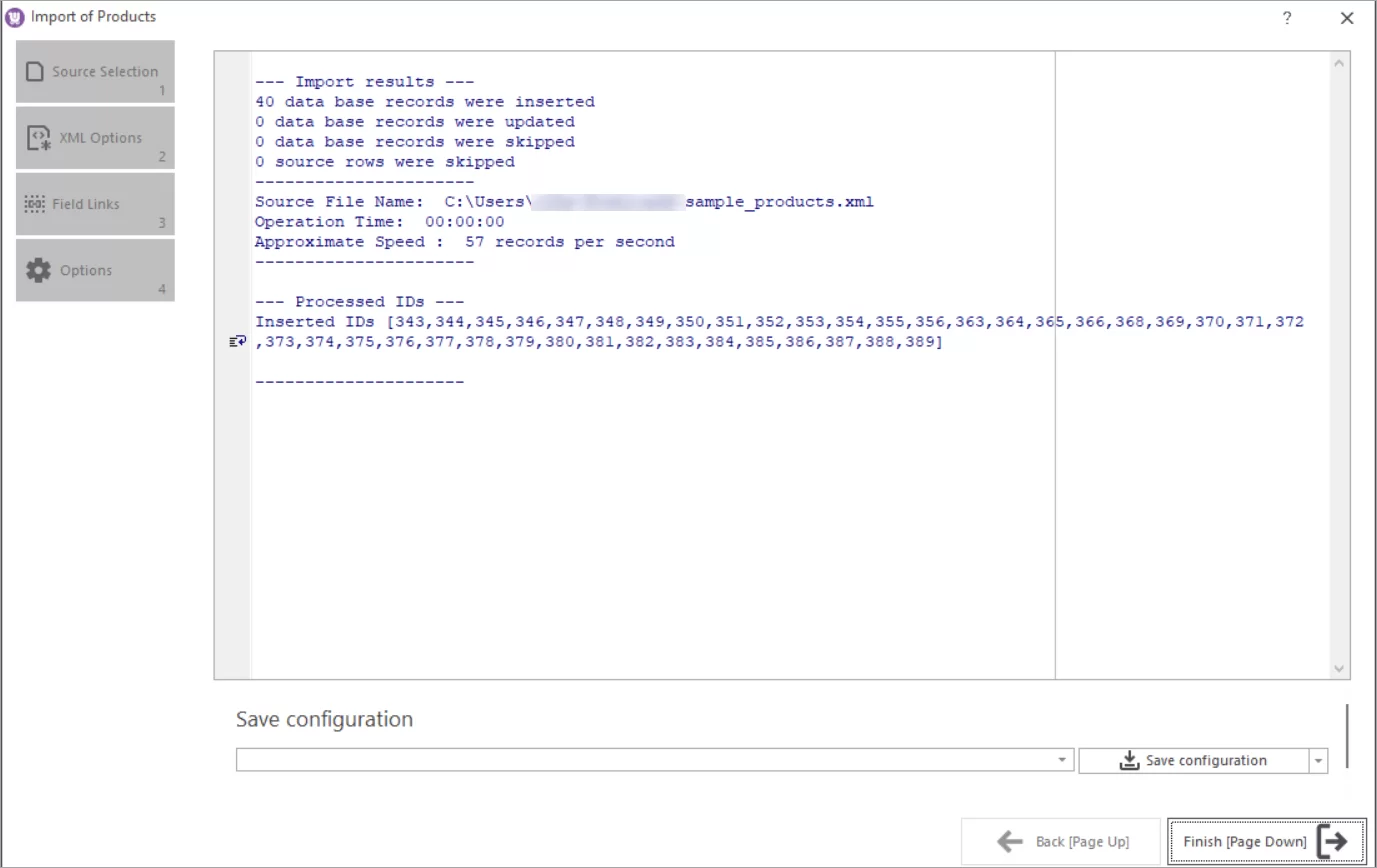
To exit the Wizard, press “Finish”.
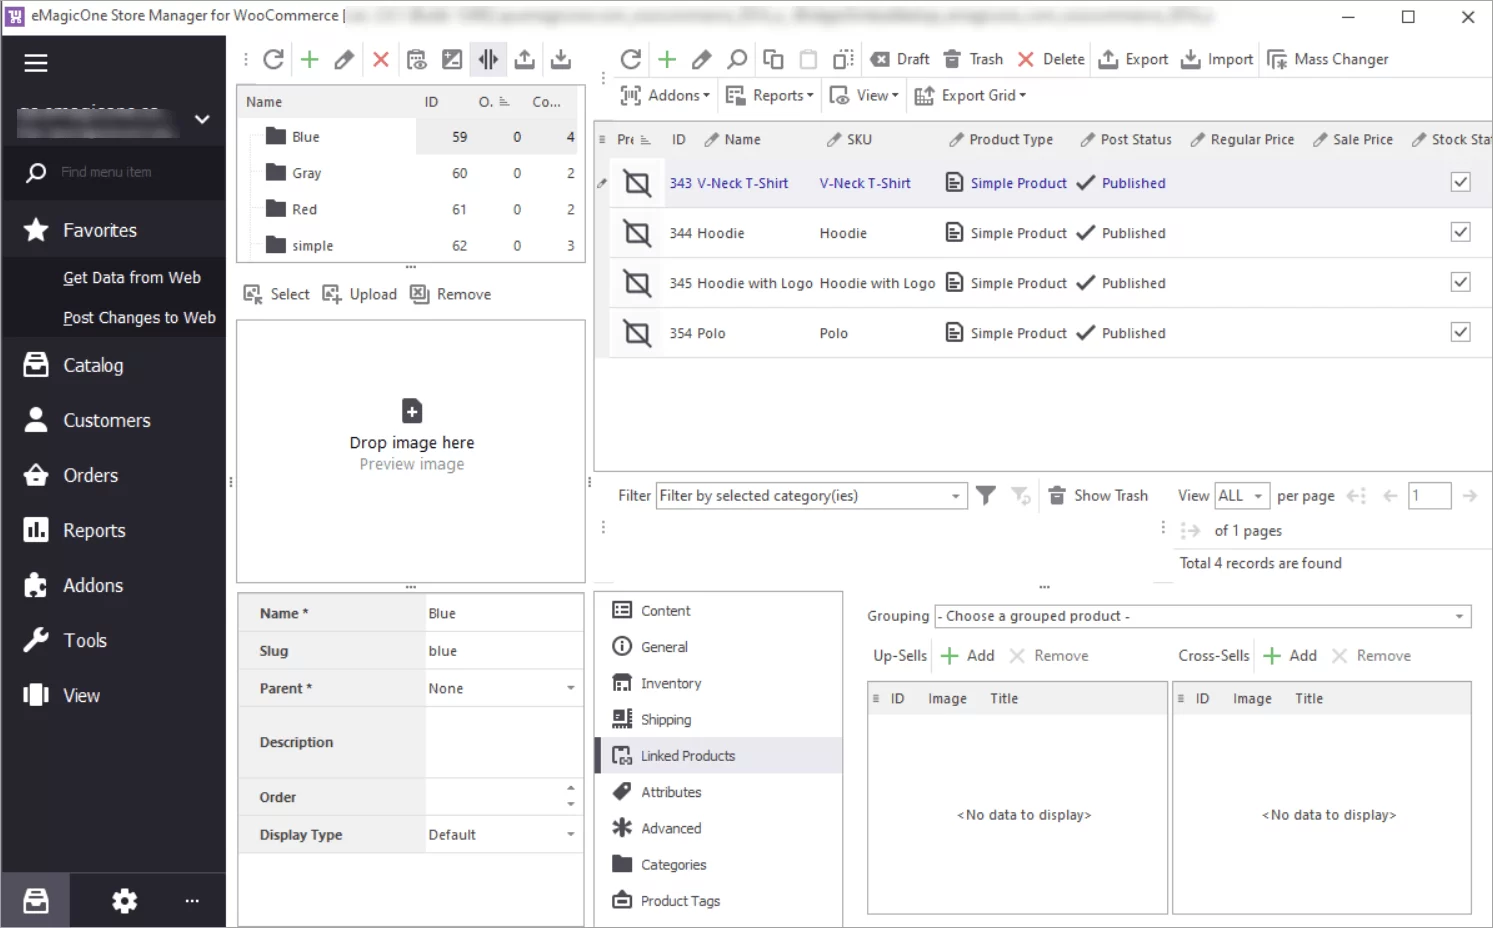
Check imported products
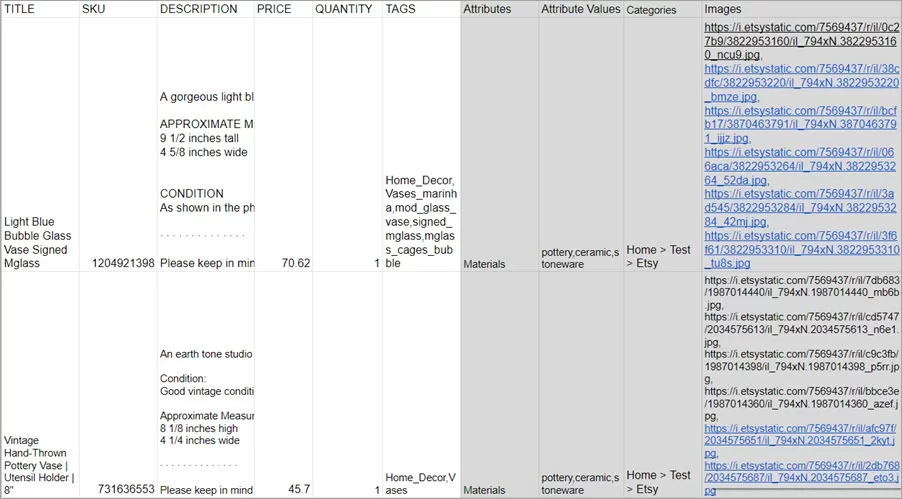
Now let’s check the result with the Store Manager. Here are the four products imported from XML:
How to update stock upon XML Import
Suppose, you need to set the product “Out of stock” if its quantity turns 0 upon import, and set it “In Stock” if quantity is greater than 0 after the update. To solve tasks like this, use the “Expression” tool in the third step of the Wizard described above.
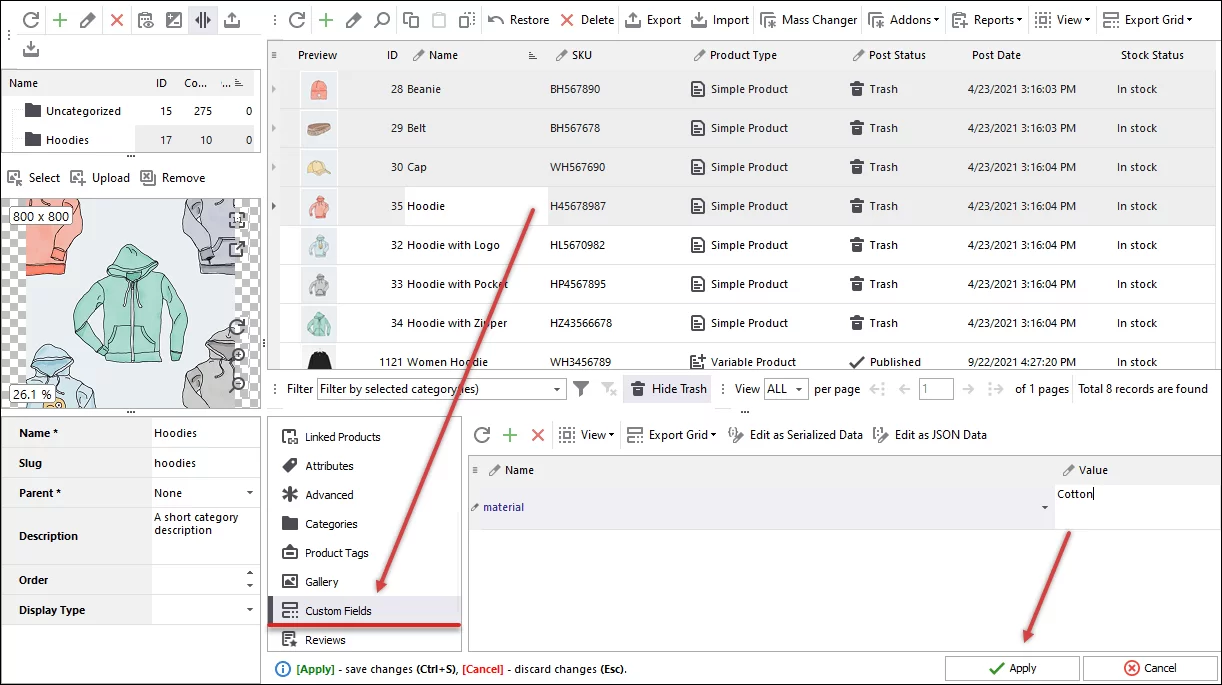
- Assign the Product Quantity column to the Stock field.
- Add the following expression to the Stock field: IF([SOURCE_FIELD(Stock)]=0,"no","yes")
- Add the expression to the Stock Status field: IF([SOURCE_FIELD(Stock)]=0,"outofstock","instock")
Using expressions, you can update other store data in the same way.
As you can see, the import tool within Store Manager for WooCommerce allows you not only import data from an XML file, but also make modifications within the wizard.